Sew a Breezy Sundress from Shirred Fabric in No Time
Create a comfortable, one-seam sundress from a pre-smocked fabric panel—perfect for summer—using simple steps and basic supplies.
By Morgan Carter5 steps
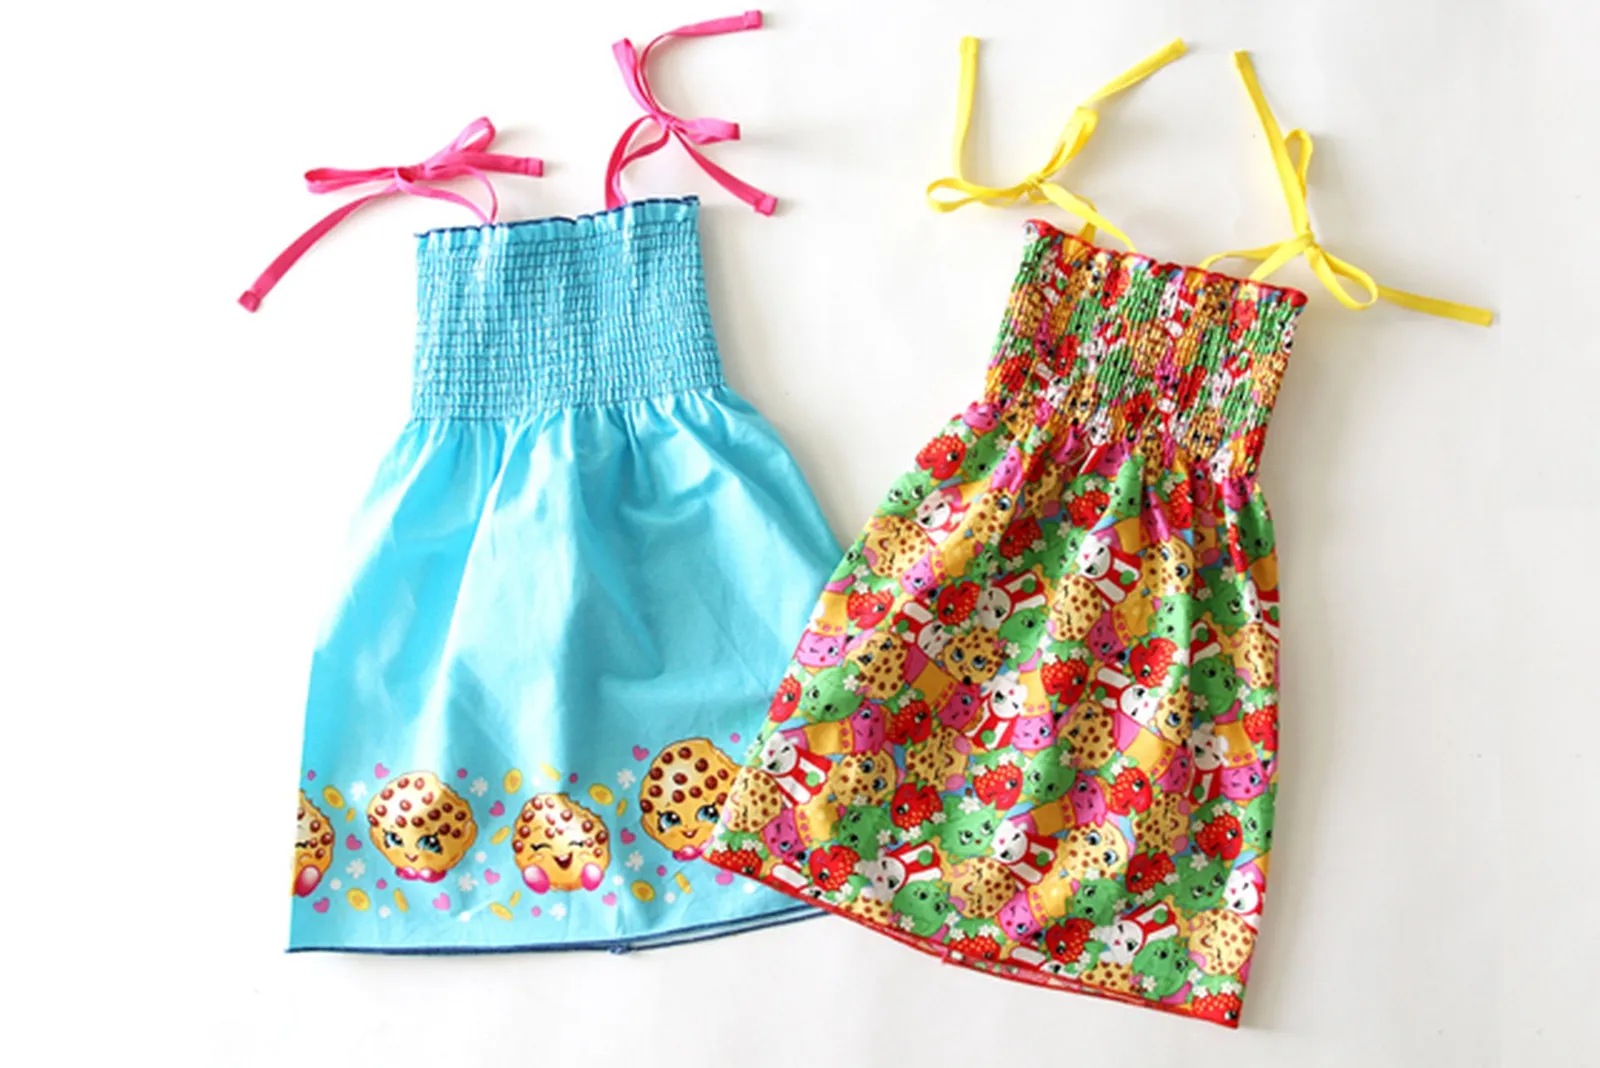
I still recall the first time I spotted a pre-smocked fabric panel in a store and wondered what it was. The answer: it’s the simplest material you can buy to whip up a quick sundress for yourself or your kids this summer. All it takes is one seam to transform a shirred panel into a comfy, easy dress. A few years back, when my mom used these remarkable panels to make dresses for my children, they wore them daily. They’d bypass my own time-intensive, expensive handmade dresses and plead to wear the pre-smocked one instead. So, as the saying goes, if you can’t beat them, join them!


Step 1: Sew the Back Seam
Pre-smocked fabric is made of elastic threads that gather the material. When working with elastic thread, I prefer to reinforce seams so they don’t come undone. That’s why I’m sewing a French seam along the back. It encloses all raw edges and gives the dress a polished look.
First, cut the fabric panel to size using the chest measurement chart above. To make a French seam, place the side edges wrong sides together and pin. Sew with a 1/4-inch seam allowance. Press the seam to one side.
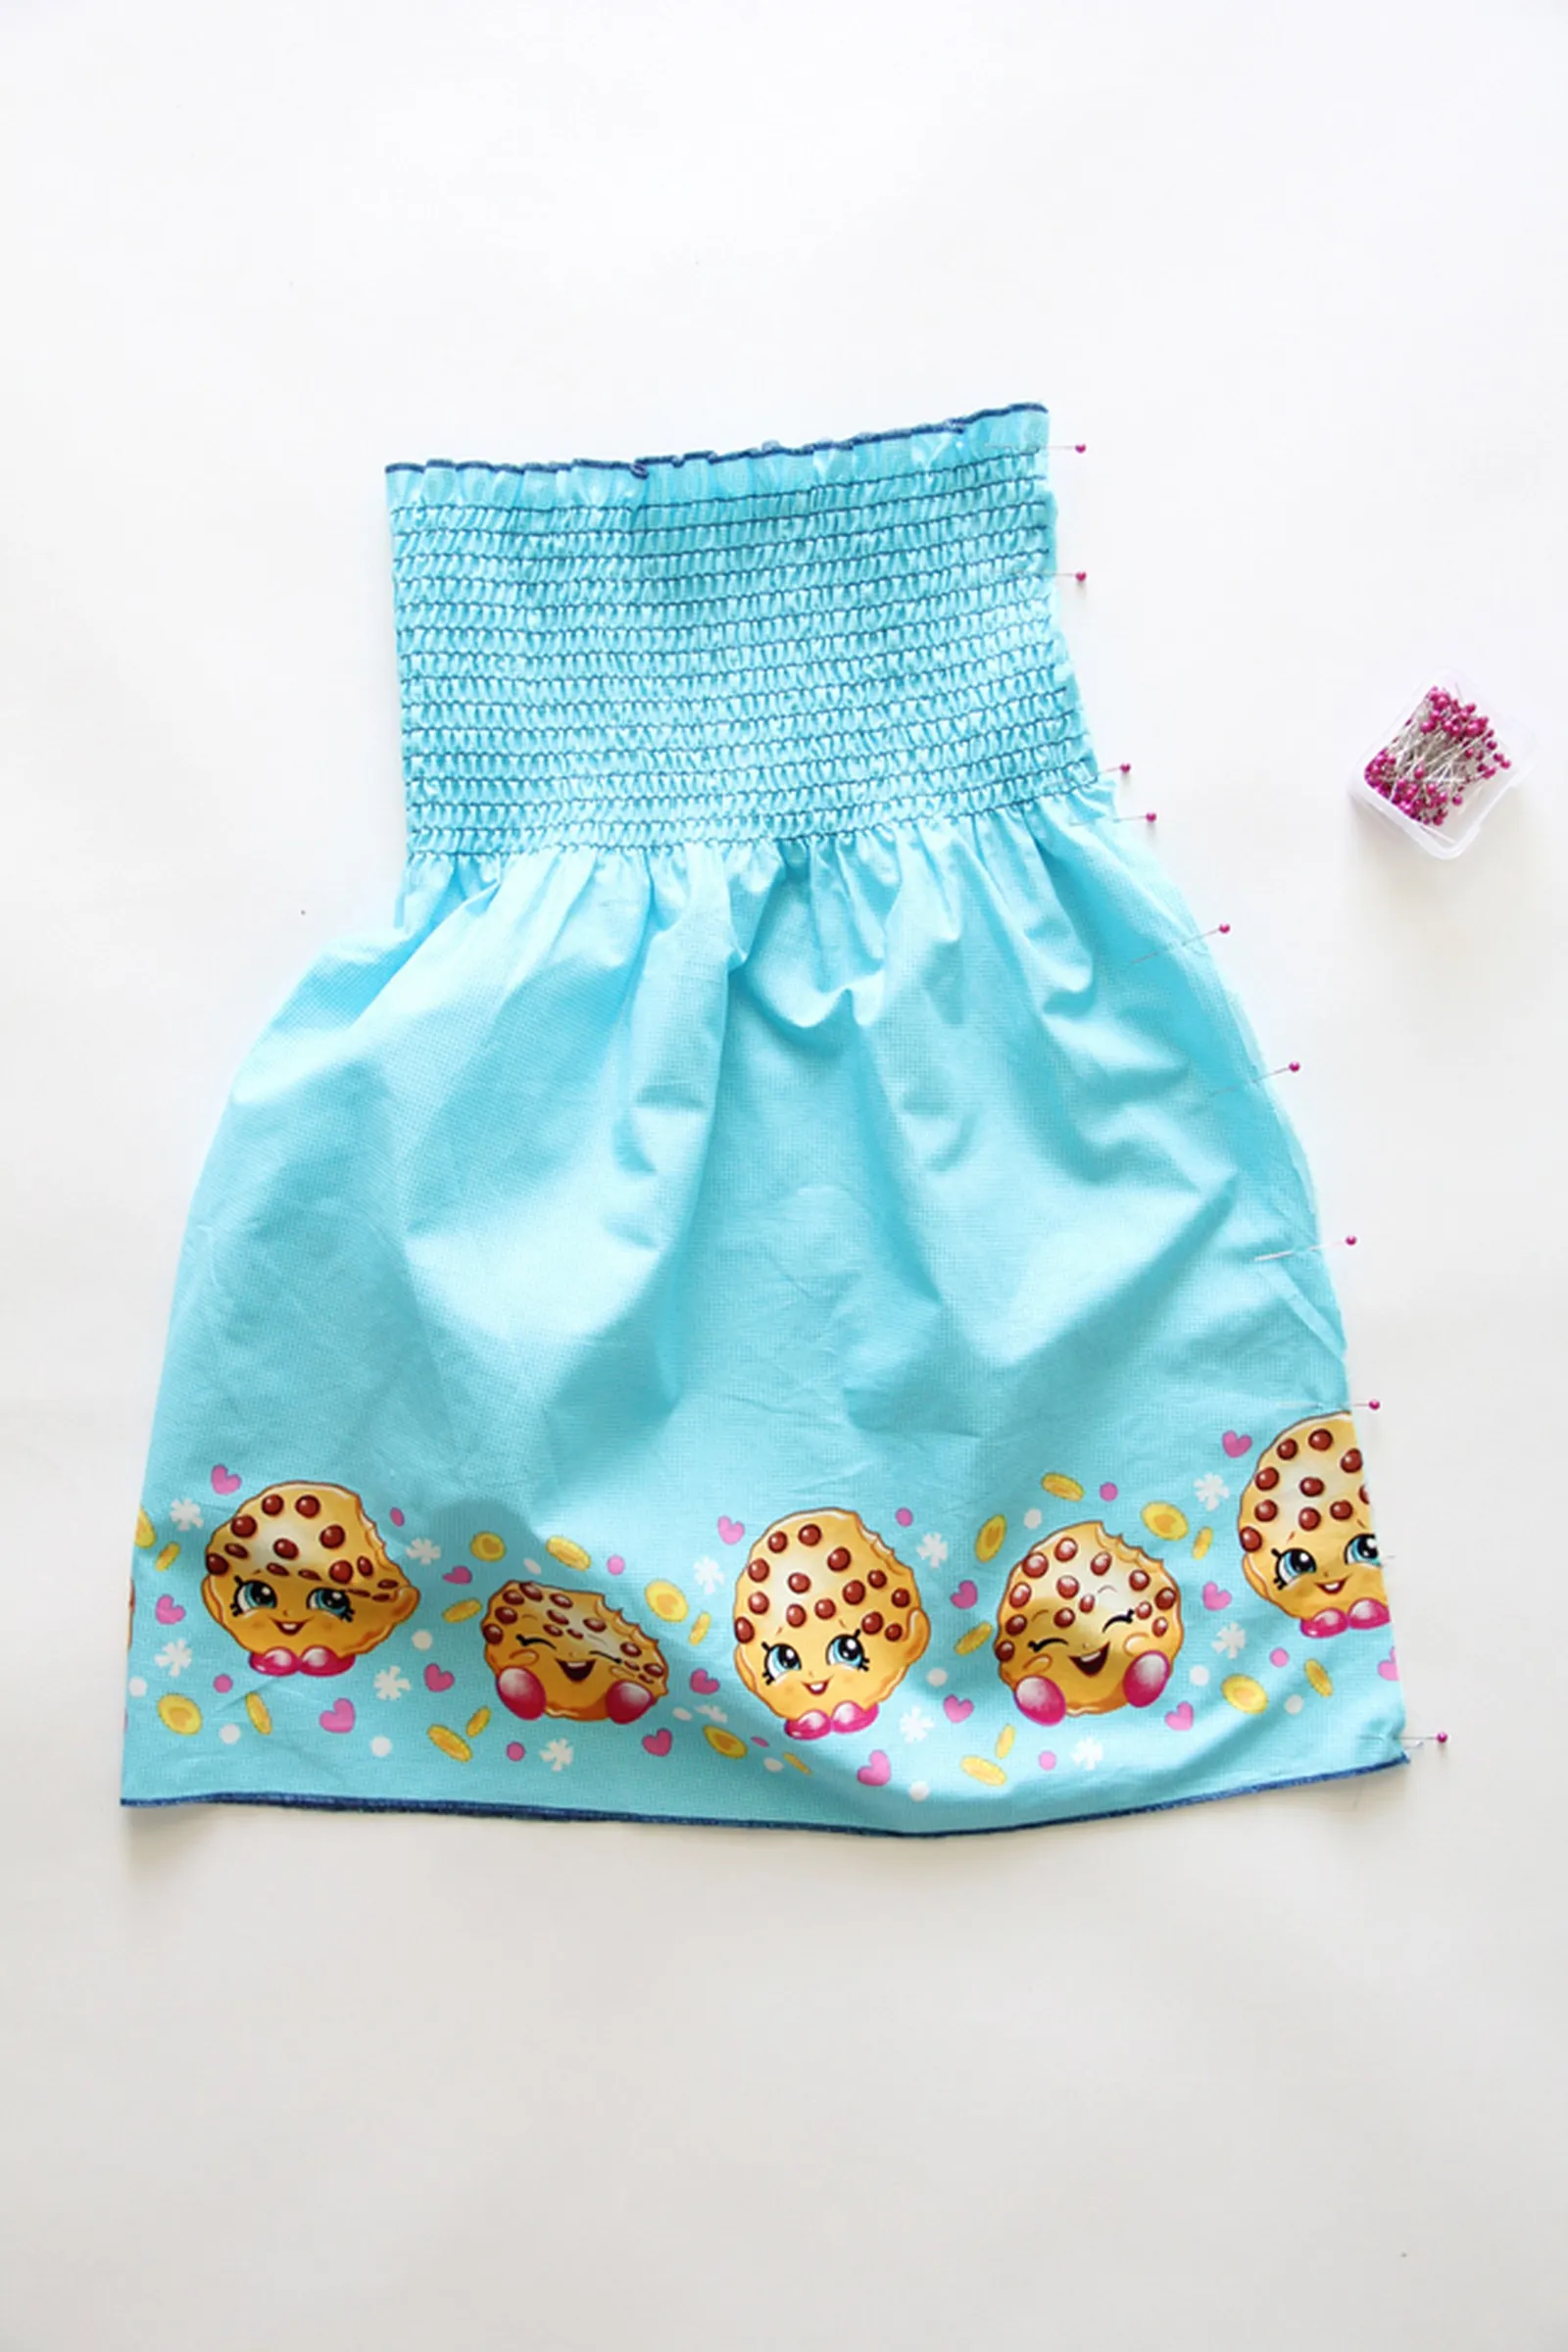
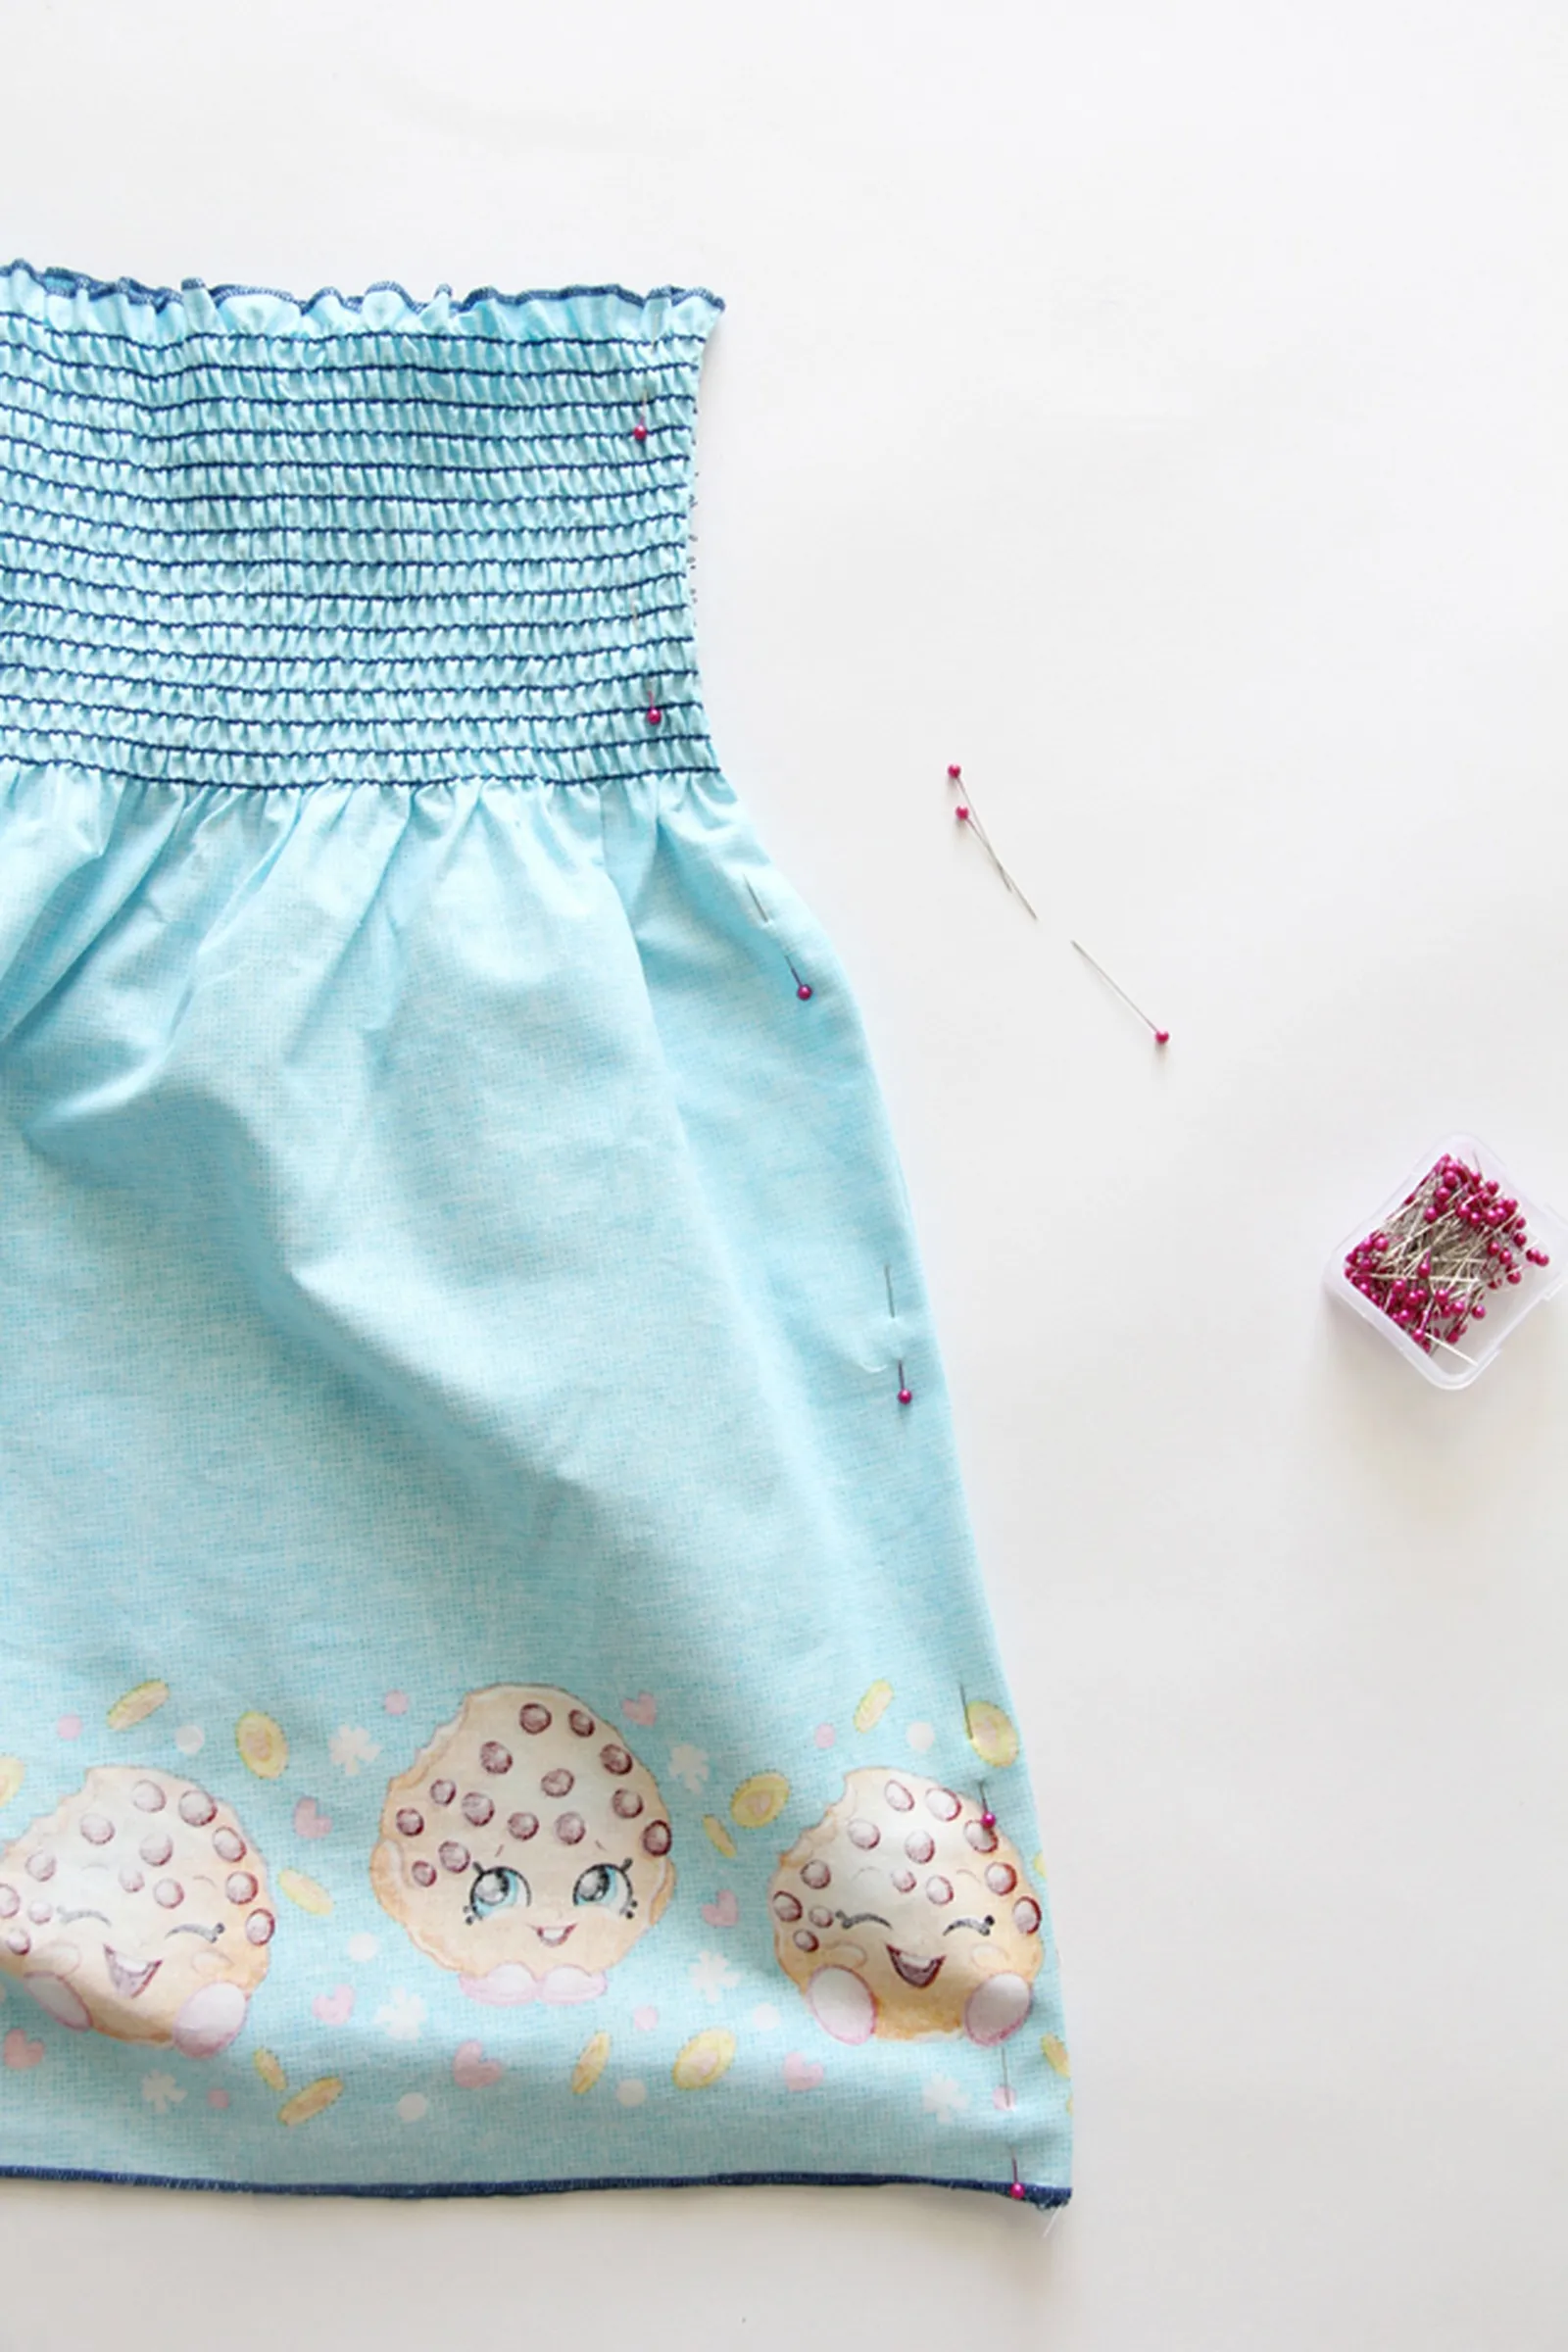
Turn the dress wrong side out and pin the raw seam together, enclosing the raw edge. Sew again with a 1/2-inch seam allowance. Press the seam to one side, then edge stitch to secure.
Step 2: Make the Dress Straps
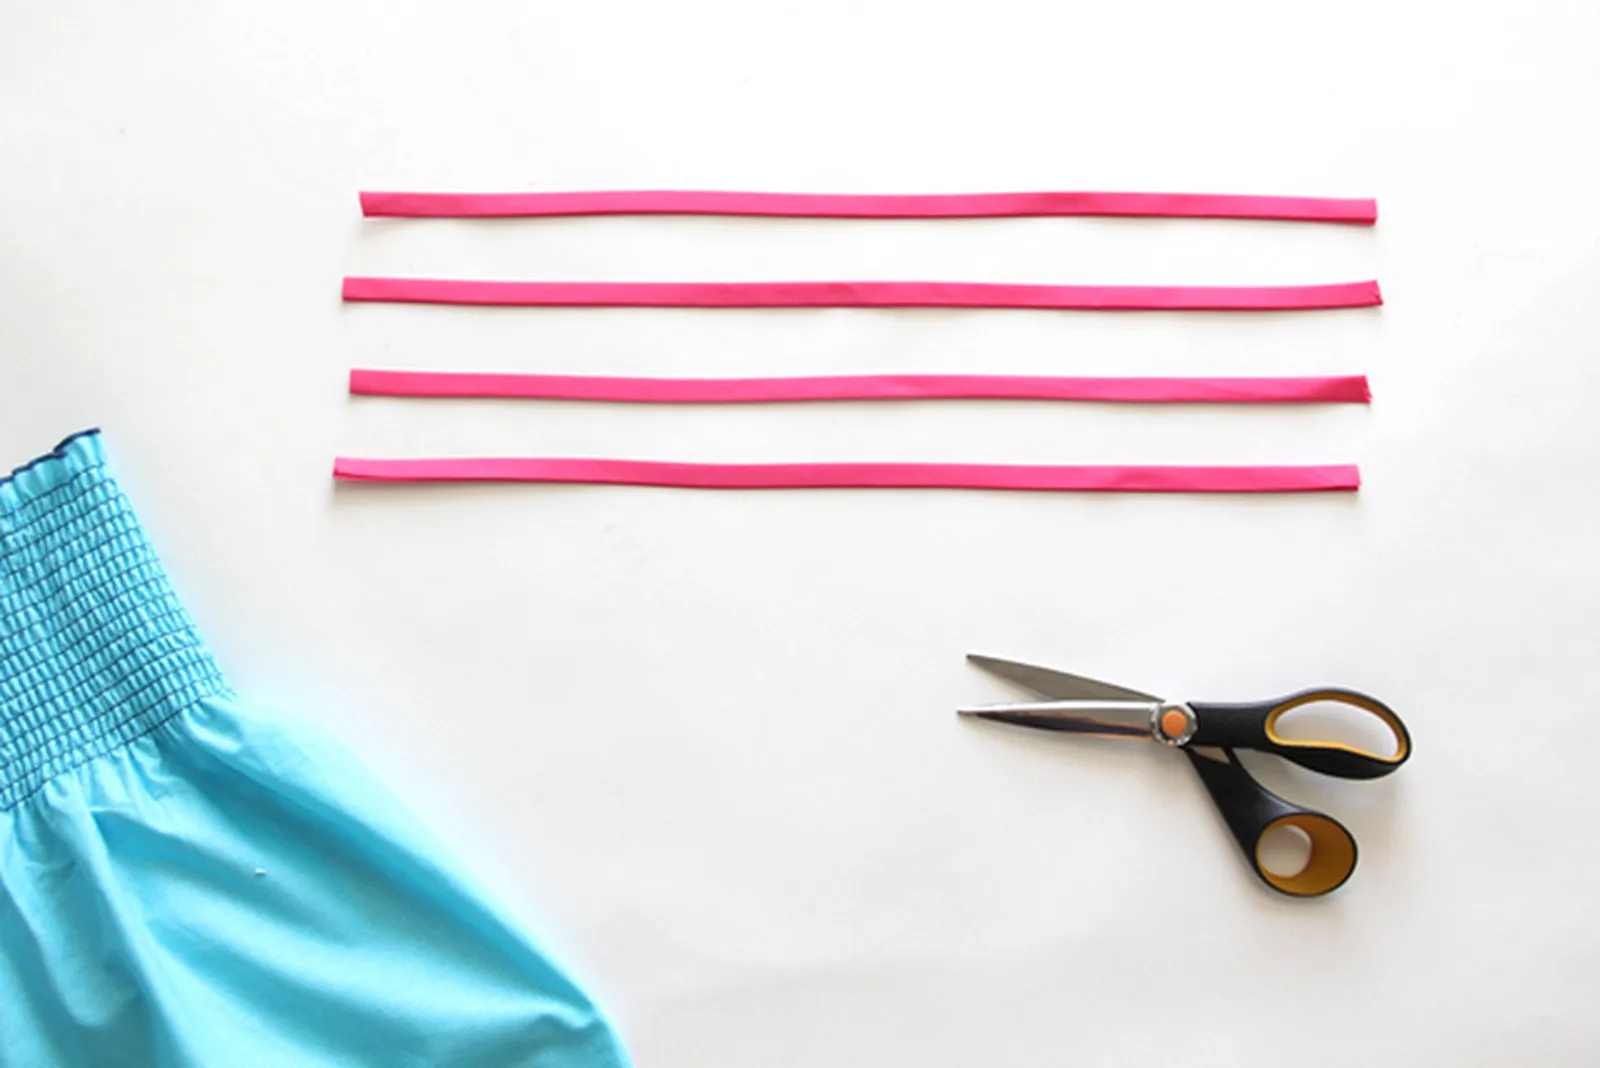
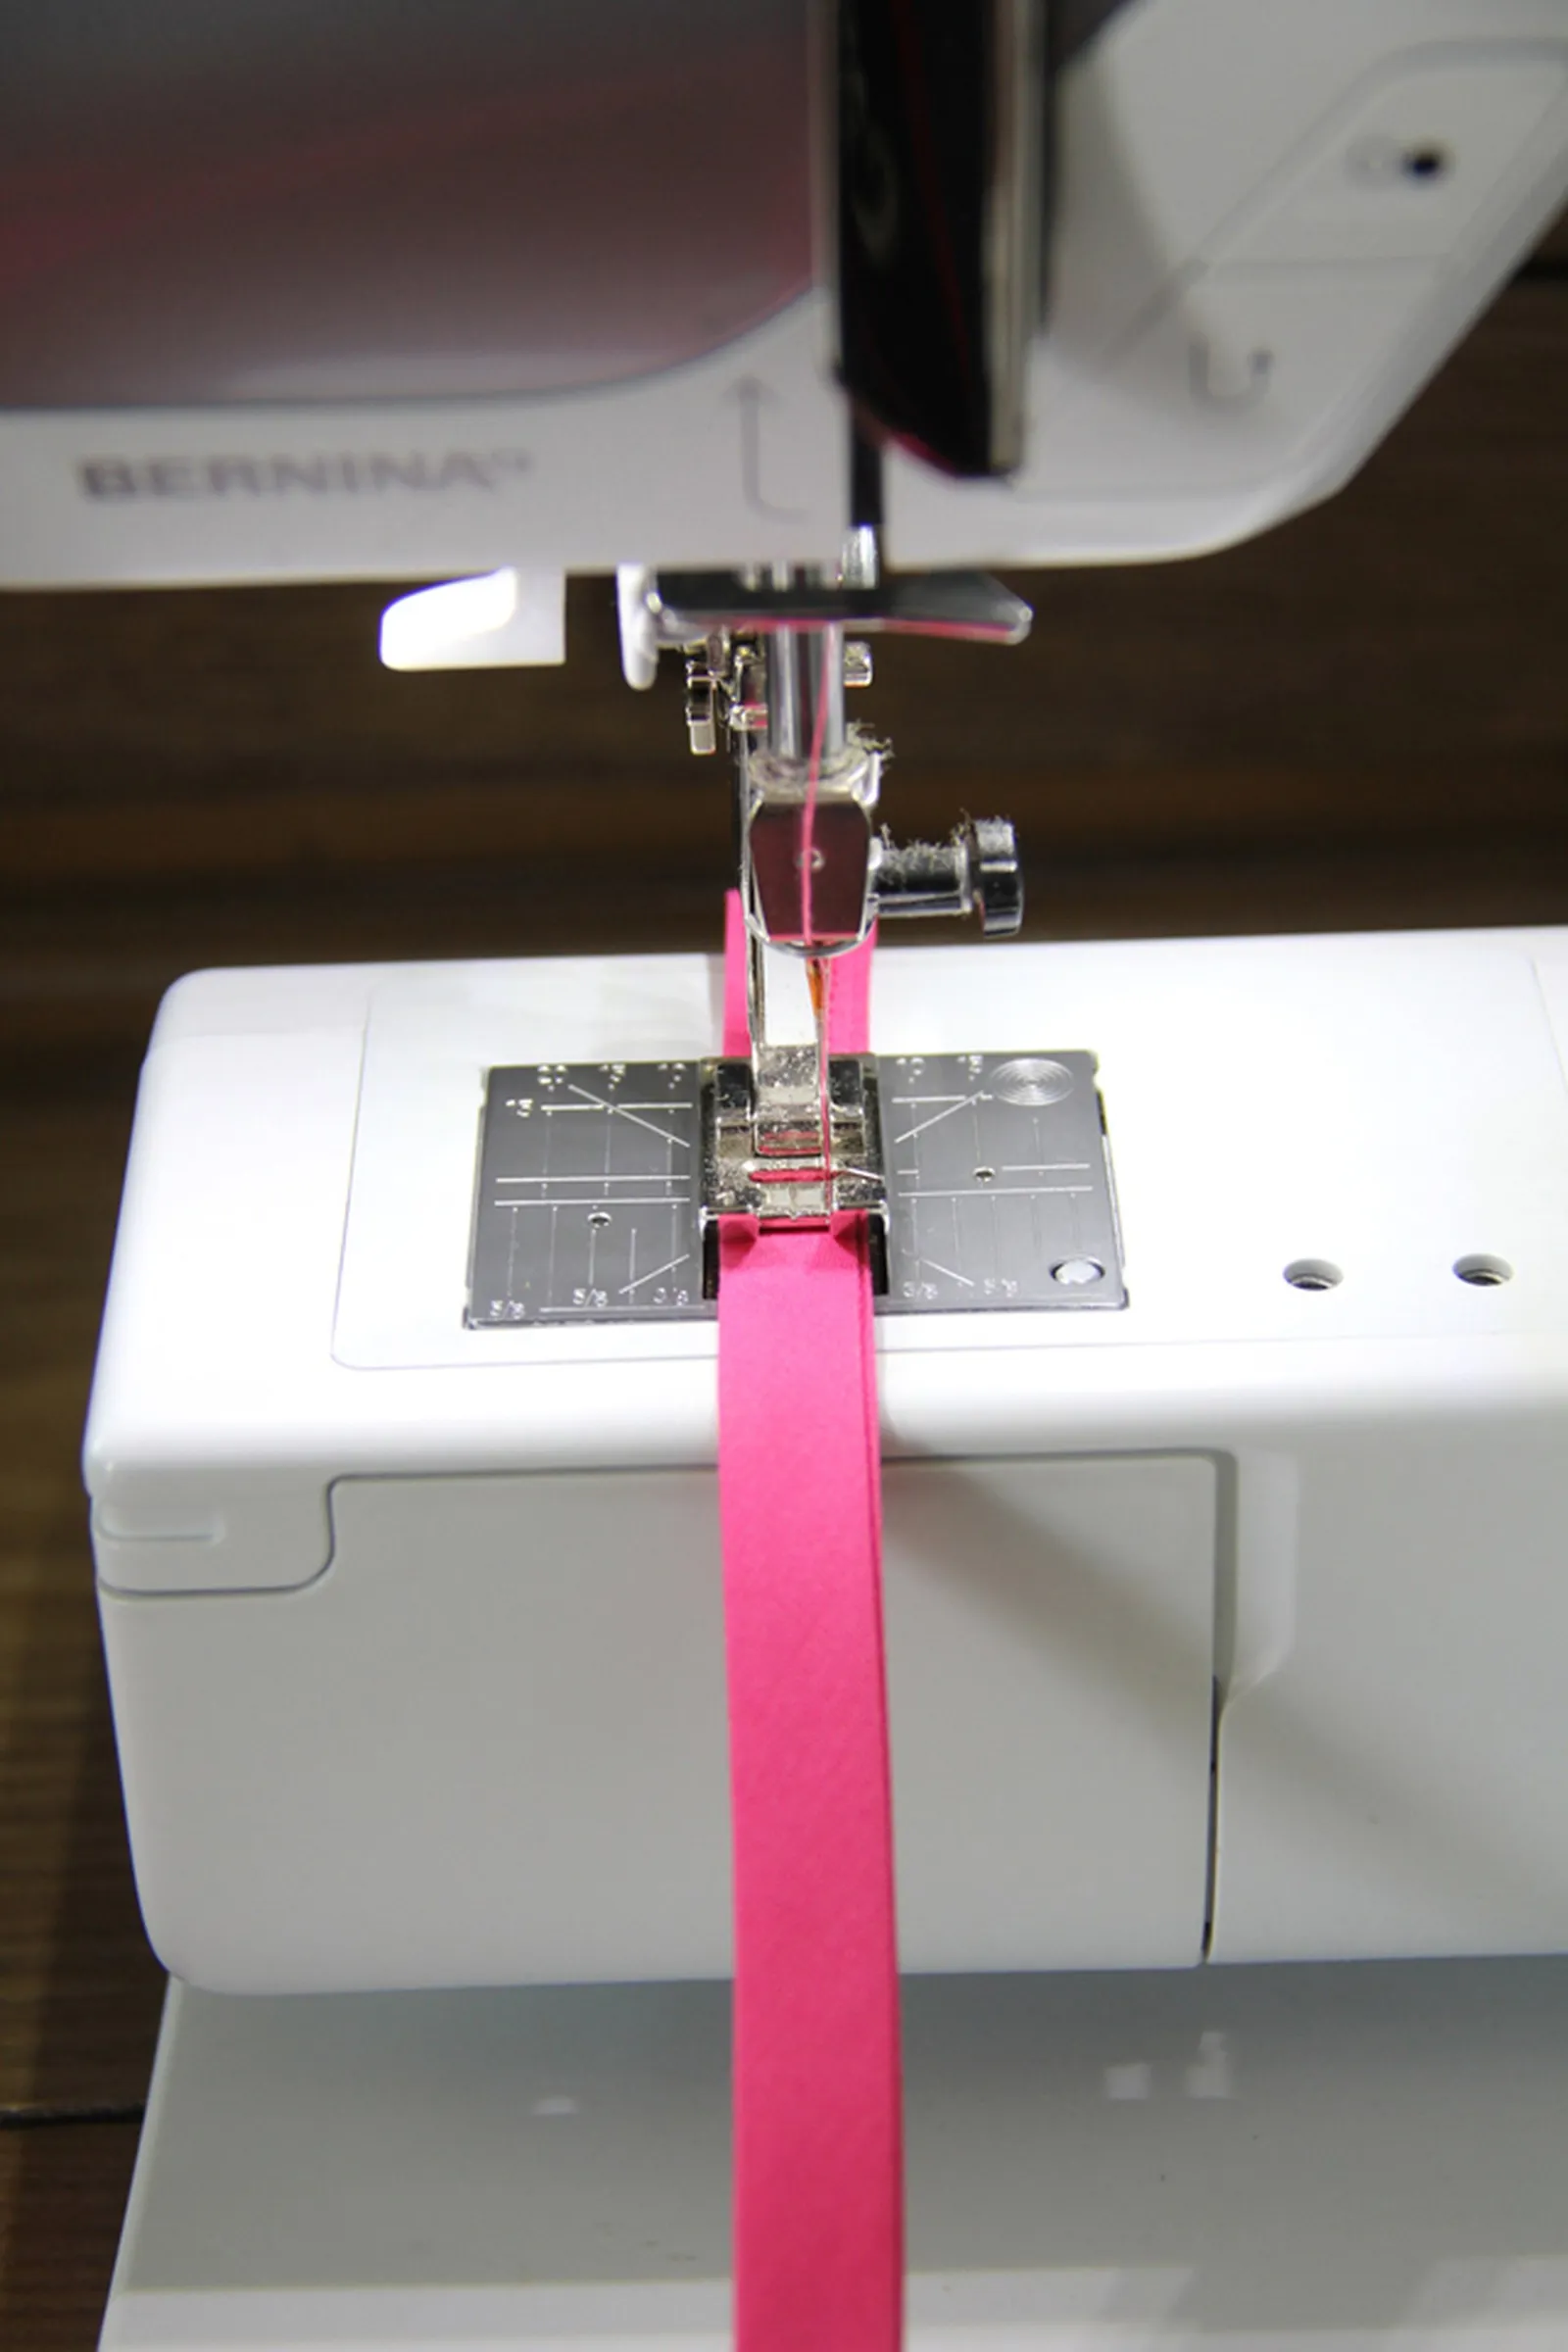
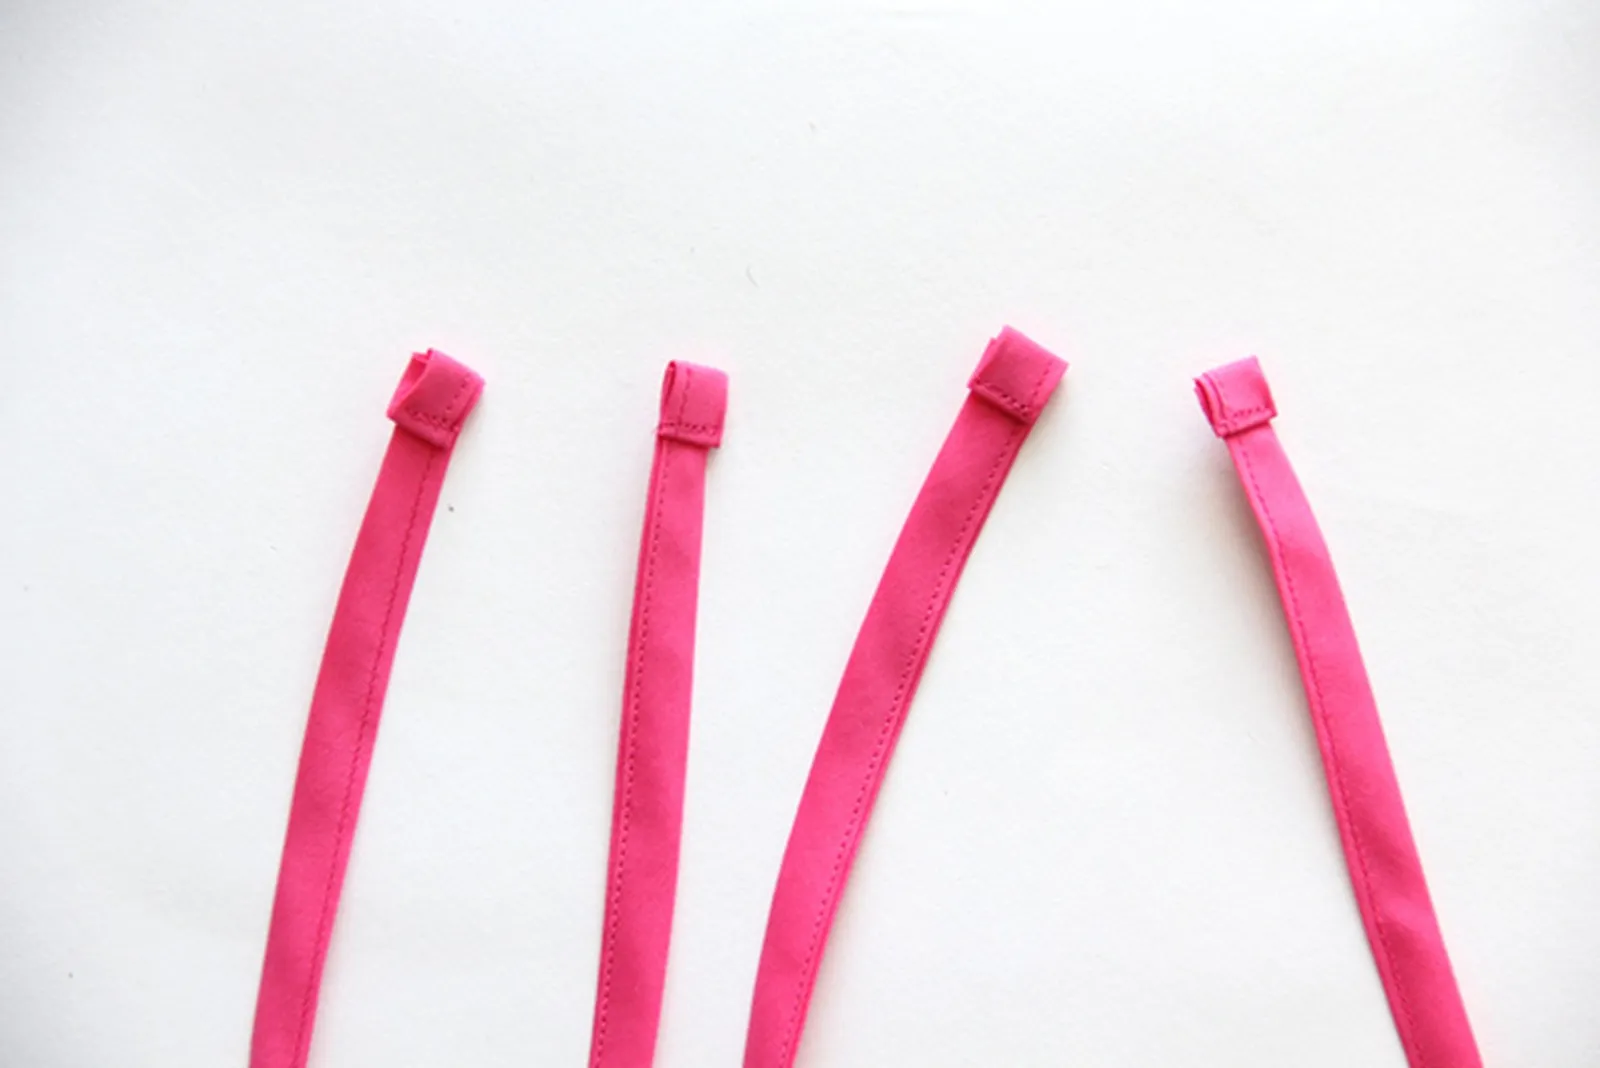
Cut four straps, each 20 inches long. Press each bias tape strip so the folds from packaging are smooth. Sew along the folded outer edge to close the bias tape, creating one long strap. Fold the raw side edge under 1/4 inch, then another 1/4 inch, and sew to secure. Repeat for all four straps.
Step 3: Attach Straps to the Dress
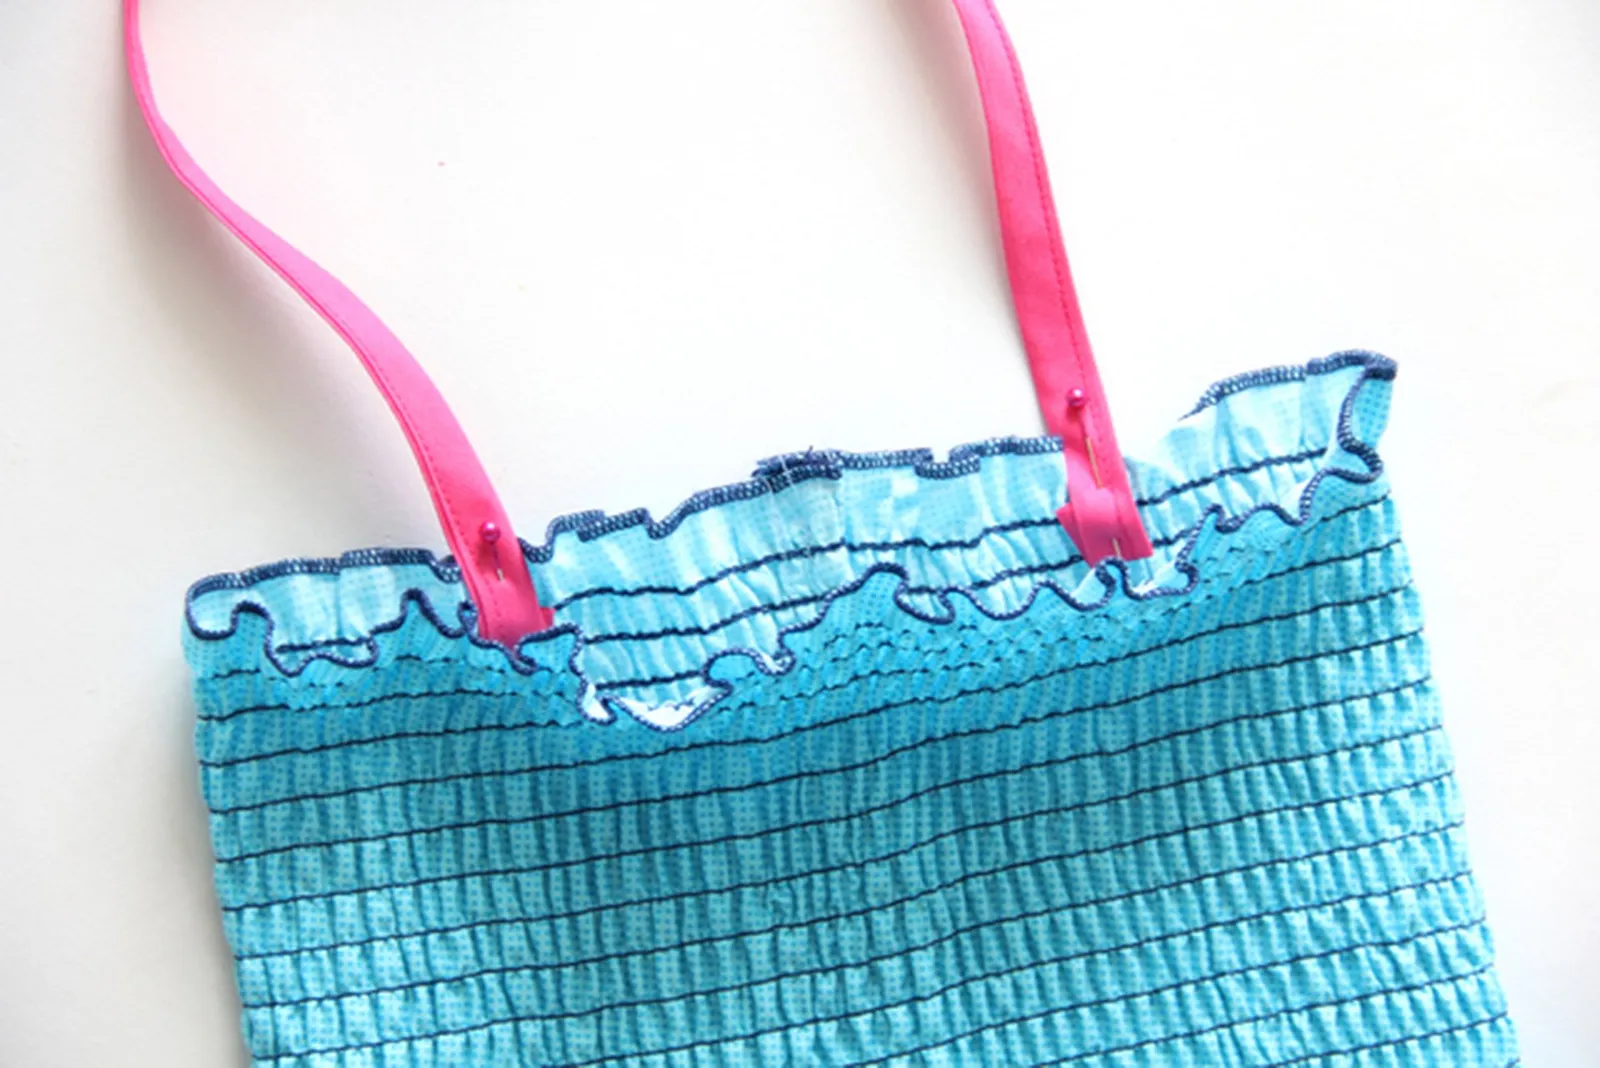
Center the dress seam along the back. Pin the raw edge of a strap to the inside of the dress, 2 1/2 to 3 inches on either side of the seam. Sew a rectangle around the bottom of the strap to secure it. Repeat for the other two straps on the front, aligning them in the same positions as the back straps.
Step 4: Hem the Dress to Finish
Hemming isn’t needed with pre-smocked panels because the fabric already has a finished edge at the bottom. But for a specific dress length, hemming is necessary. To hem, decide the final length you want and add 1 inch. Cut to size. Fold the raw edge under 1/4 inch toward the wrong side and press. Fold again 3/4 inch and press, enclosing the raw edge. Sew around to secure.
Step 5: Press the Dress to Finish
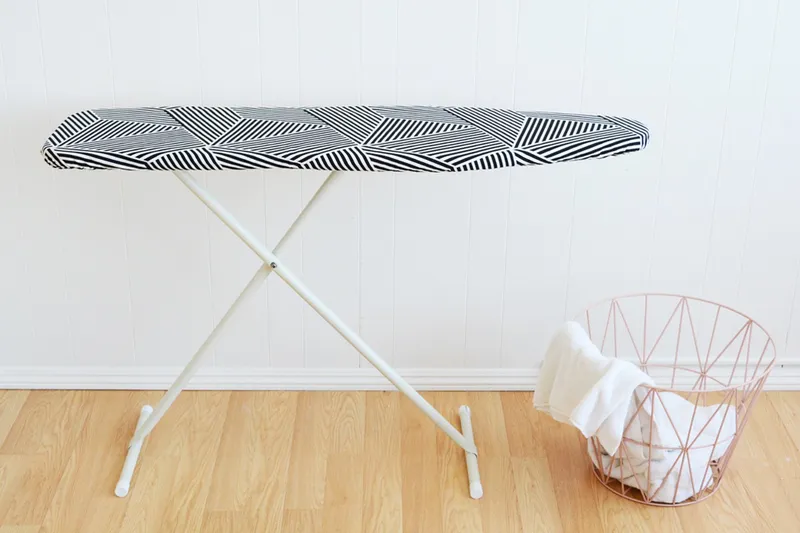
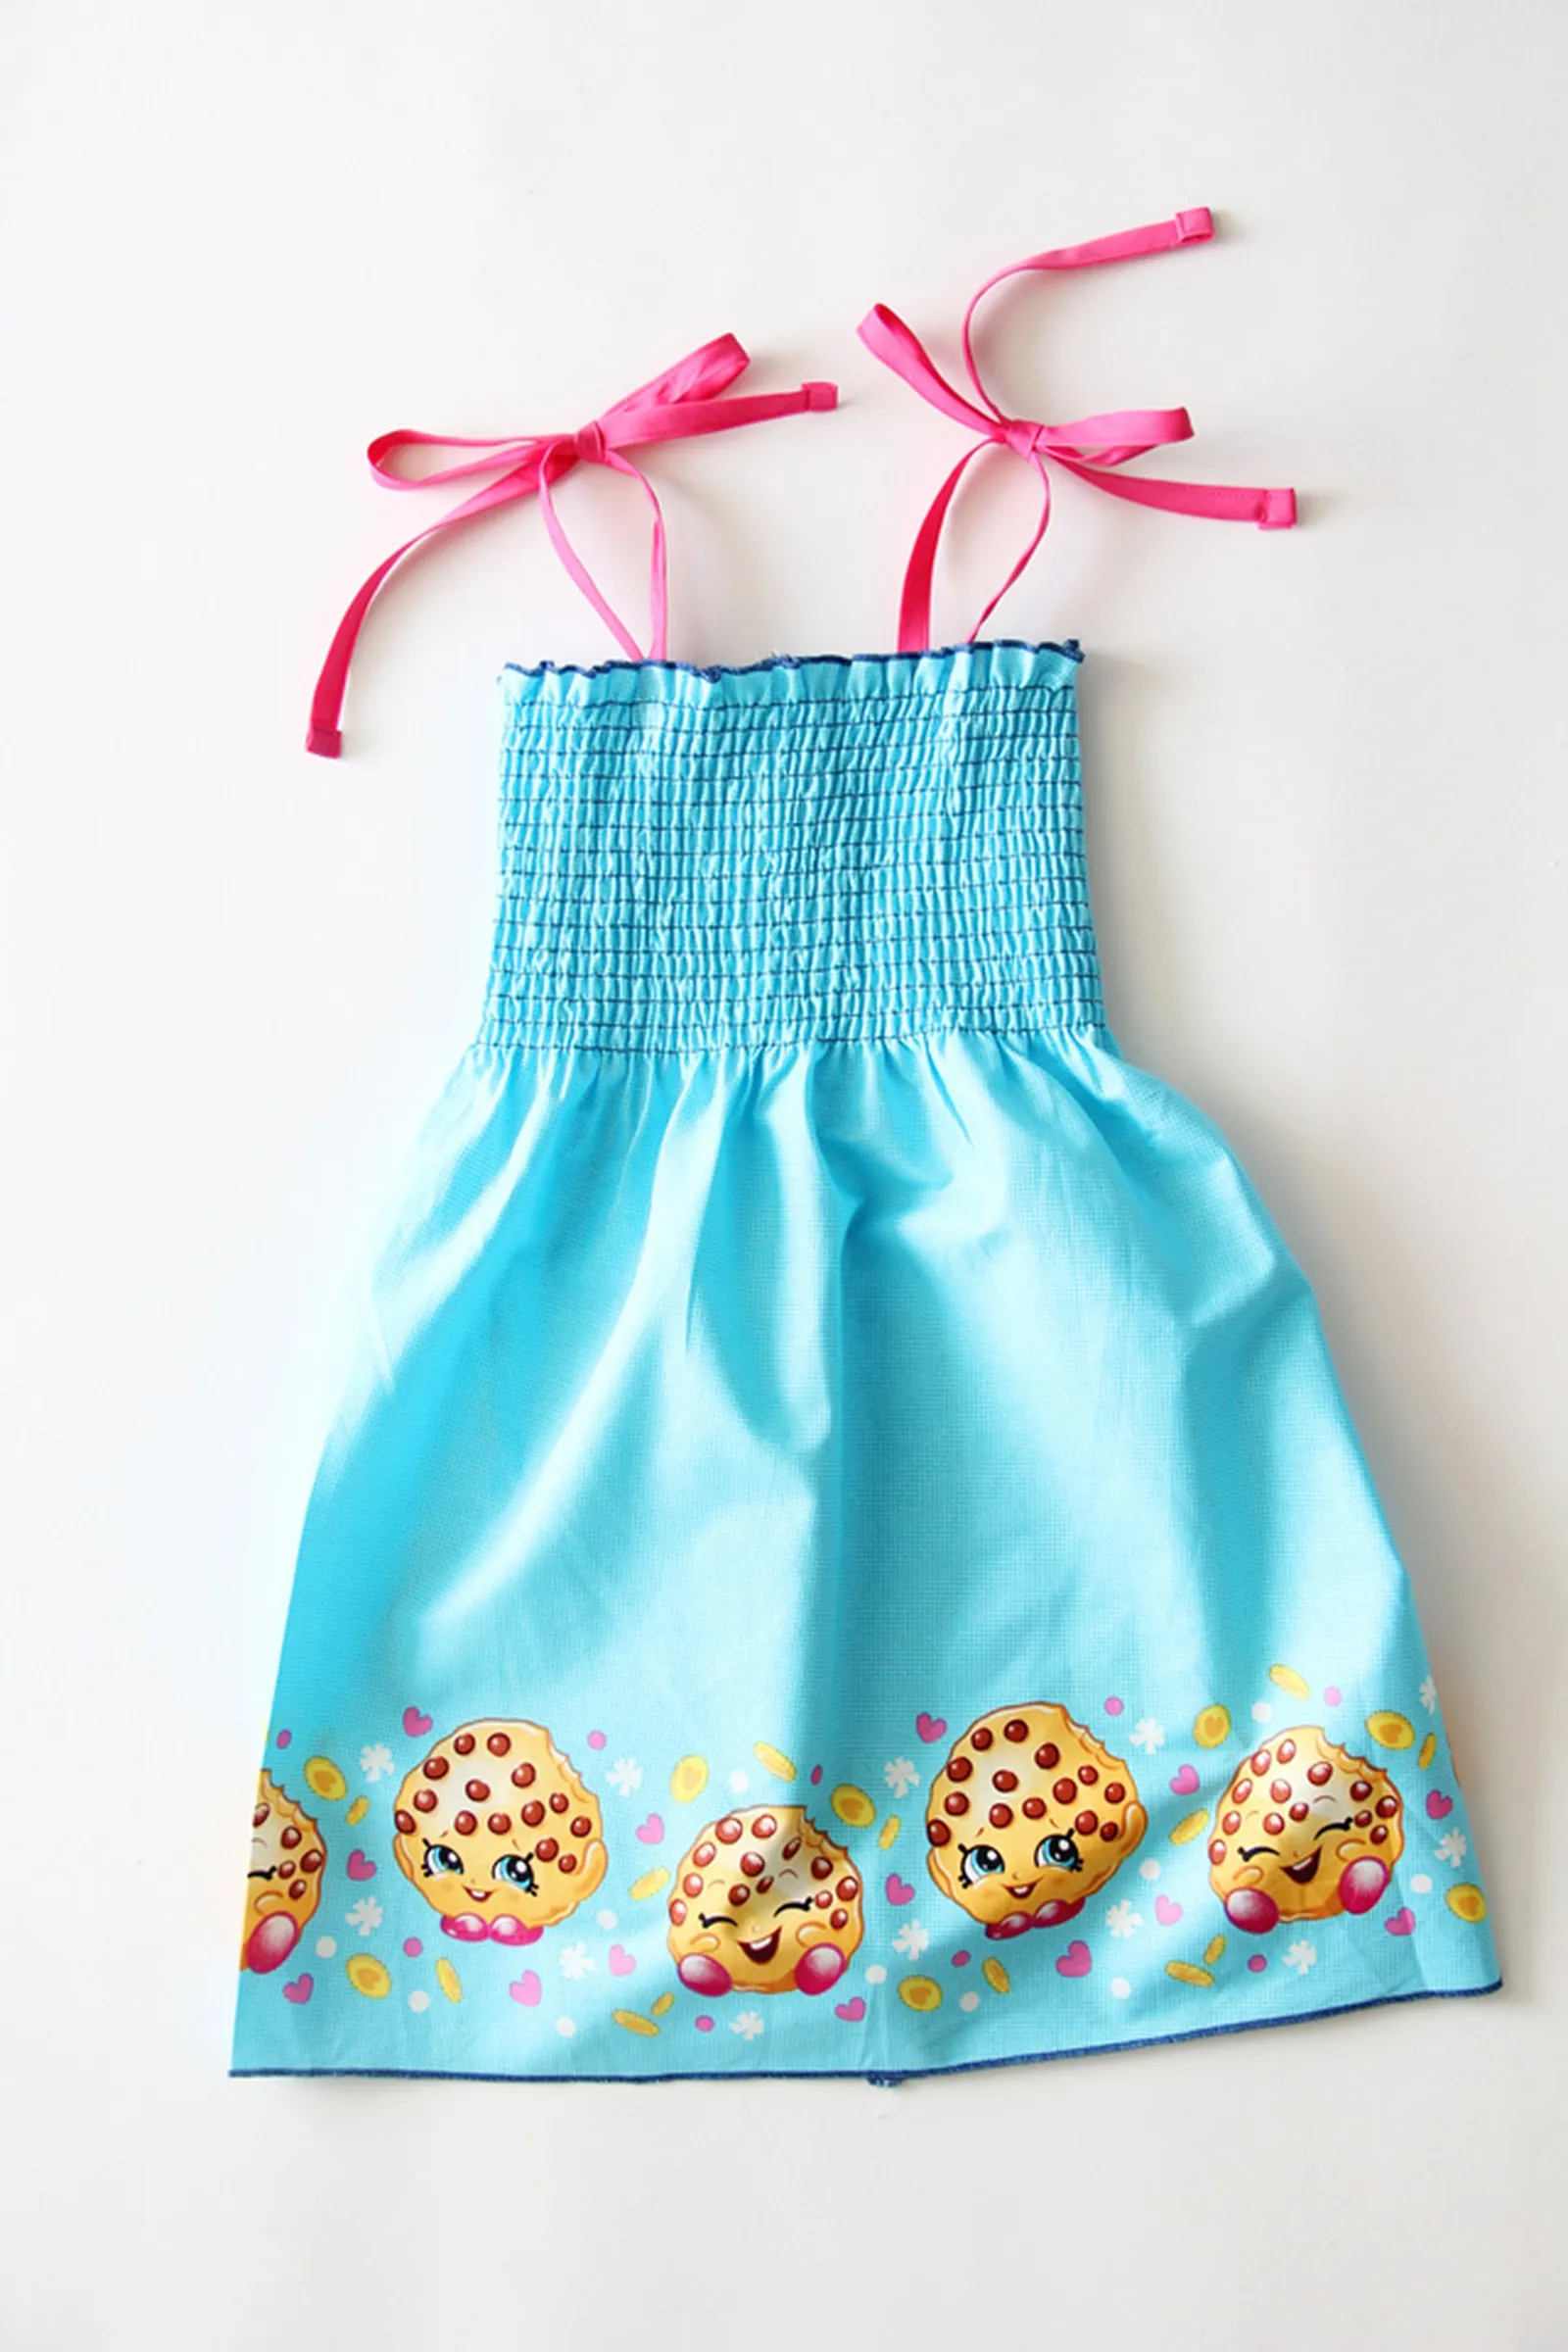
Always press handmade clothing to give it a professional appearance. As expected, my daughter grabbed this dress and put it on immediately after I showed it to her. She even begged to wear it to soccer practice and to school the next day. And it took me only 20 minutes to make. Go figure.