Turning Discarded Dress Shirts Into a Keepsake Quilt
Old men's dress shirts that would otherwise be discarded can be cut apart and reassembled into a practical quilt for the home. Making one also offers a way to preserve the memory of a family member, such as a father, grandfather or husband, through the shirts he wore.
By Taylor Campbell14 steps
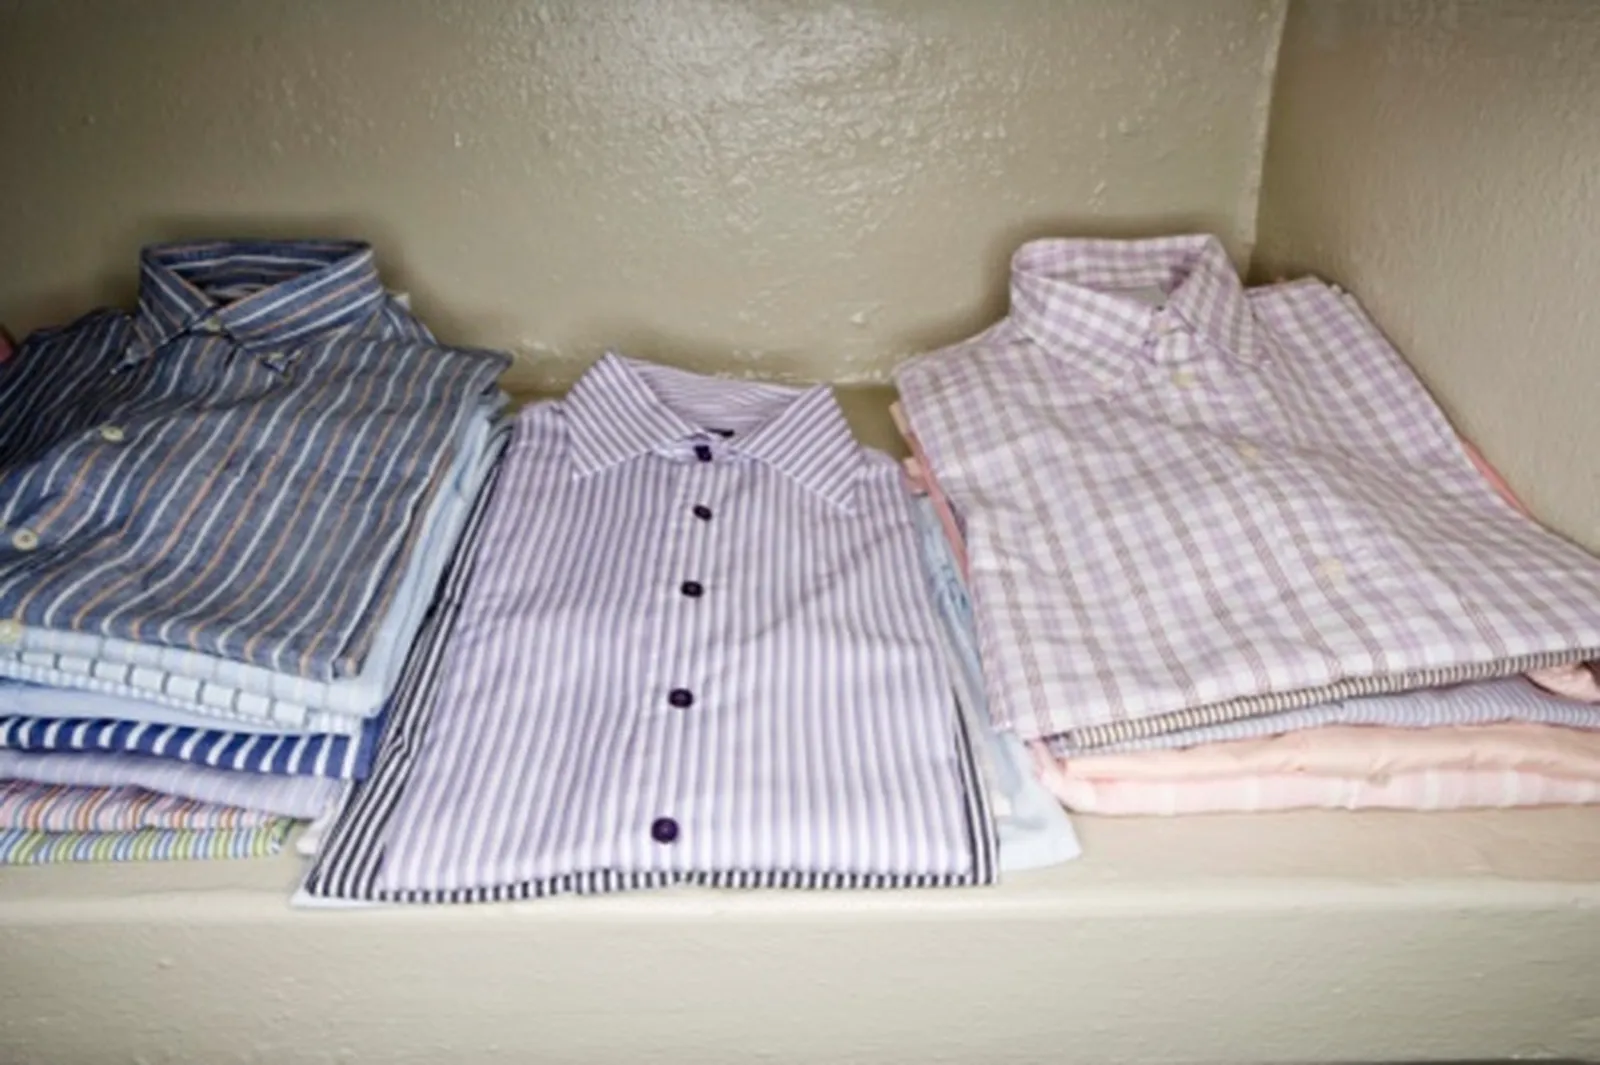
Old dress shirts that can no longer be worn become the raw material for a handmade quilt
Old men's dress shirts that are no longer wearable can be given a second life as a quilt, which keeps them out of the trash and reduces the space they would occupy in a landfill. The finished quilt is also a useful household item. Beyond recycling, a quilt made this way can serve as a tribute to someone close — for instance, it could be assembled from the dress shirts of a father, grandfather or husband.
Step 1
Look at the colors and patterns of the shirts you have gathered. It helps to group them into related color families — for example, a set of purple tones along with colors that pair well with a purple palette.
Step 2
Inspect each shirt closely. Discard any that are worn out, excessively thin, fraying, torn or pulled. Where stains are present, plan your cuts so the stained areas are avoided.
Step 3
Remove every seam by cutting it away. Take out darts, pleats and hems as well. Snip off the buttons and keep them for a later project.
Step 4
Launder and dry the fabric pieces before you begin. Press them with an iron so the material lies as flat as you can make it.
Step 5
Select a quilt design. A nine-patch block is a sensible choice for someone new to quilting.
Step 6
To keep every square uniform, build a template. Measure and cut a piece of posterboard to the size required by your chosen pattern. Lay the template on the "wrong" side of the fabric — the side that will not be visible on the finished quilt — and trace around it. For each block, cut five squares in a darker fabric and four in a lighter one.
Step 7
Arrange the squares on your work surface. The darker squares go in the four corners and in the middle. The lighter squares occupy the middle positions of the top, bottom, left and right edges, forming one block.
Step 8
Join the squares using a quarter-inch seam allowance. Begin with the top row: lay the first square over the second and stitch their left edges together. Then lay the third square over the second and stitch their right edges together. Do the same for the other two rows.
Step 9
Iron the seams. Turn the first row toward you and place it face down over the second row. Stitch these two rows together along the upper edge of the fabric. Unfold the joined rows and lay them on the work surface. Turn the third row face down over the second row and join the rows the same way.
Step 10
Keep making blocks in this manner until the quilt reaches the size you want.
Step 11
Pre-shrink the backing fabric by washing it first.
Step 12
Join the backing horizontally in two pieces. Halve the width of the quilt and cut the backing to that measurement, adding a quarter-inch of extra fabric for seams. Sew the seams at a quarter-inch allowance.
Step 13
Join the backing vertically in two pieces. Halve the length of the quilt, cut the backing to that measurement with the same quarter-inch allowance for seams, and sew the seams.
Step 14
Assemble the layers on your work surface. Spread the backing flat with its "wrong" side up. Lay the batting over the backing. Place the pieced quilt top over both layers and secure everything with safety pins. Sew the layers together, then quilt or tie the quilt and finish it with binding.