Make Your Own Ironing Board Cover: A Beginner Sewing Project
If store-bought covers leave you uninspired, sew a custom one that fits your board and your style. This step-by-step guide walks you through cutting, stitching, and securing a cover with a drawstring and velcro.
By Harper Hall17 steps
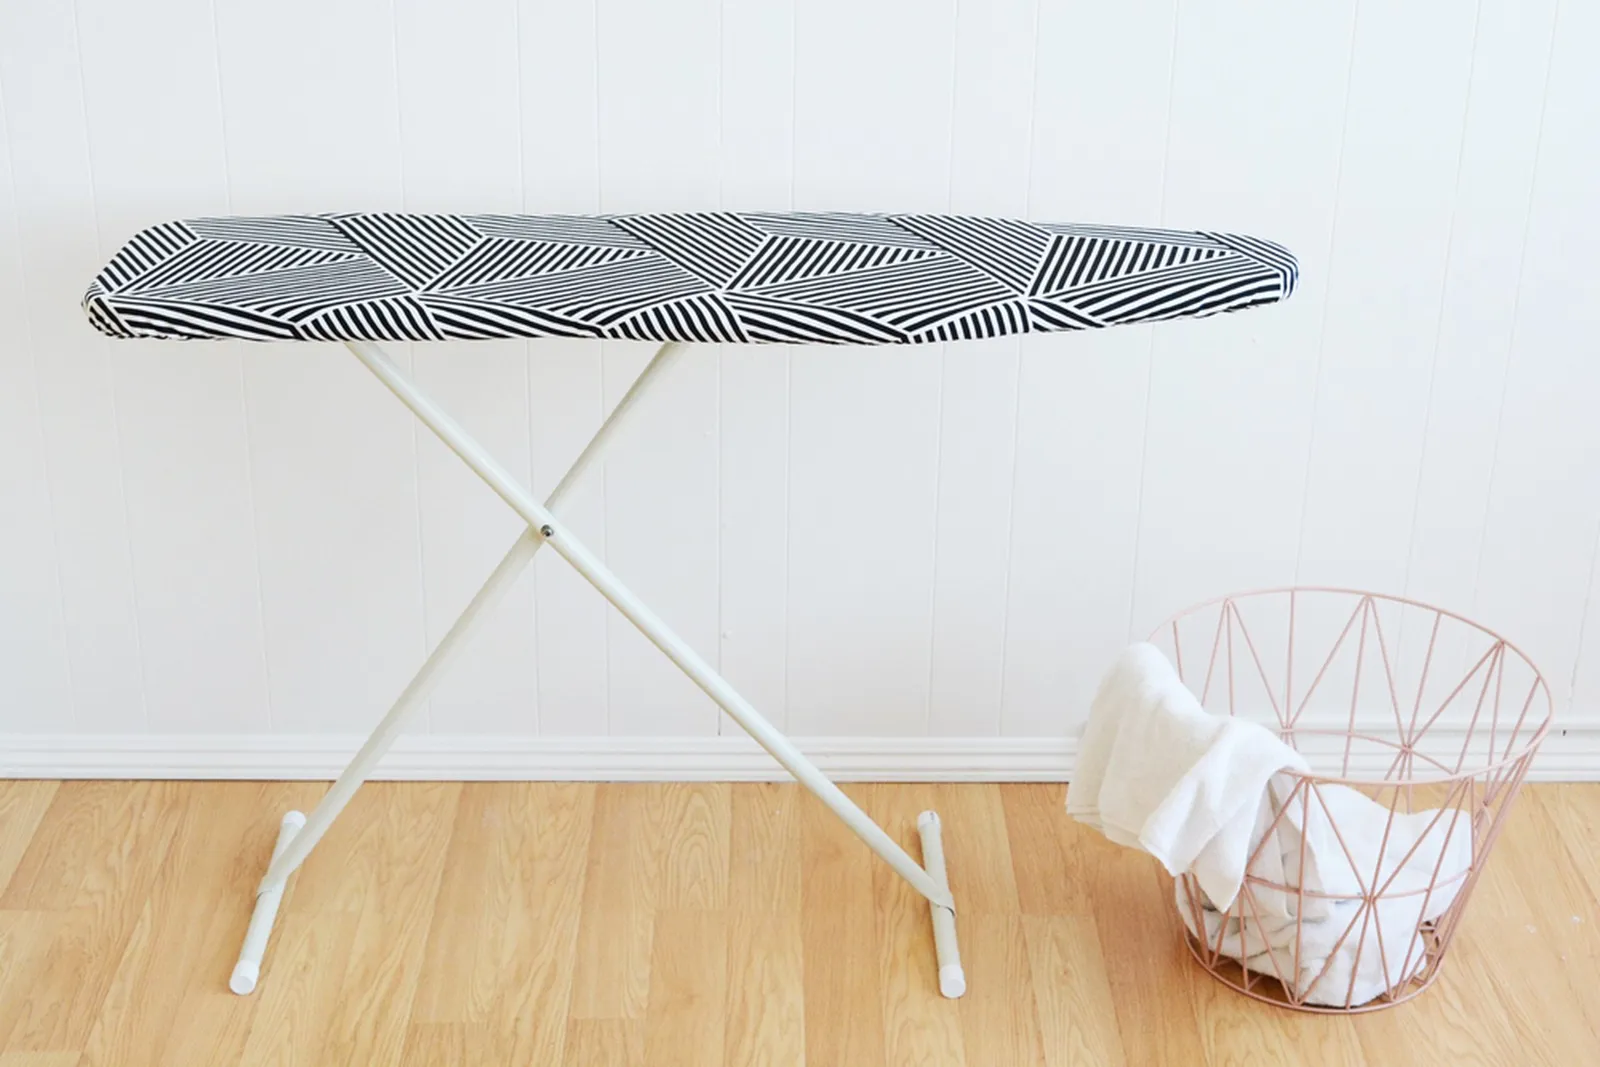
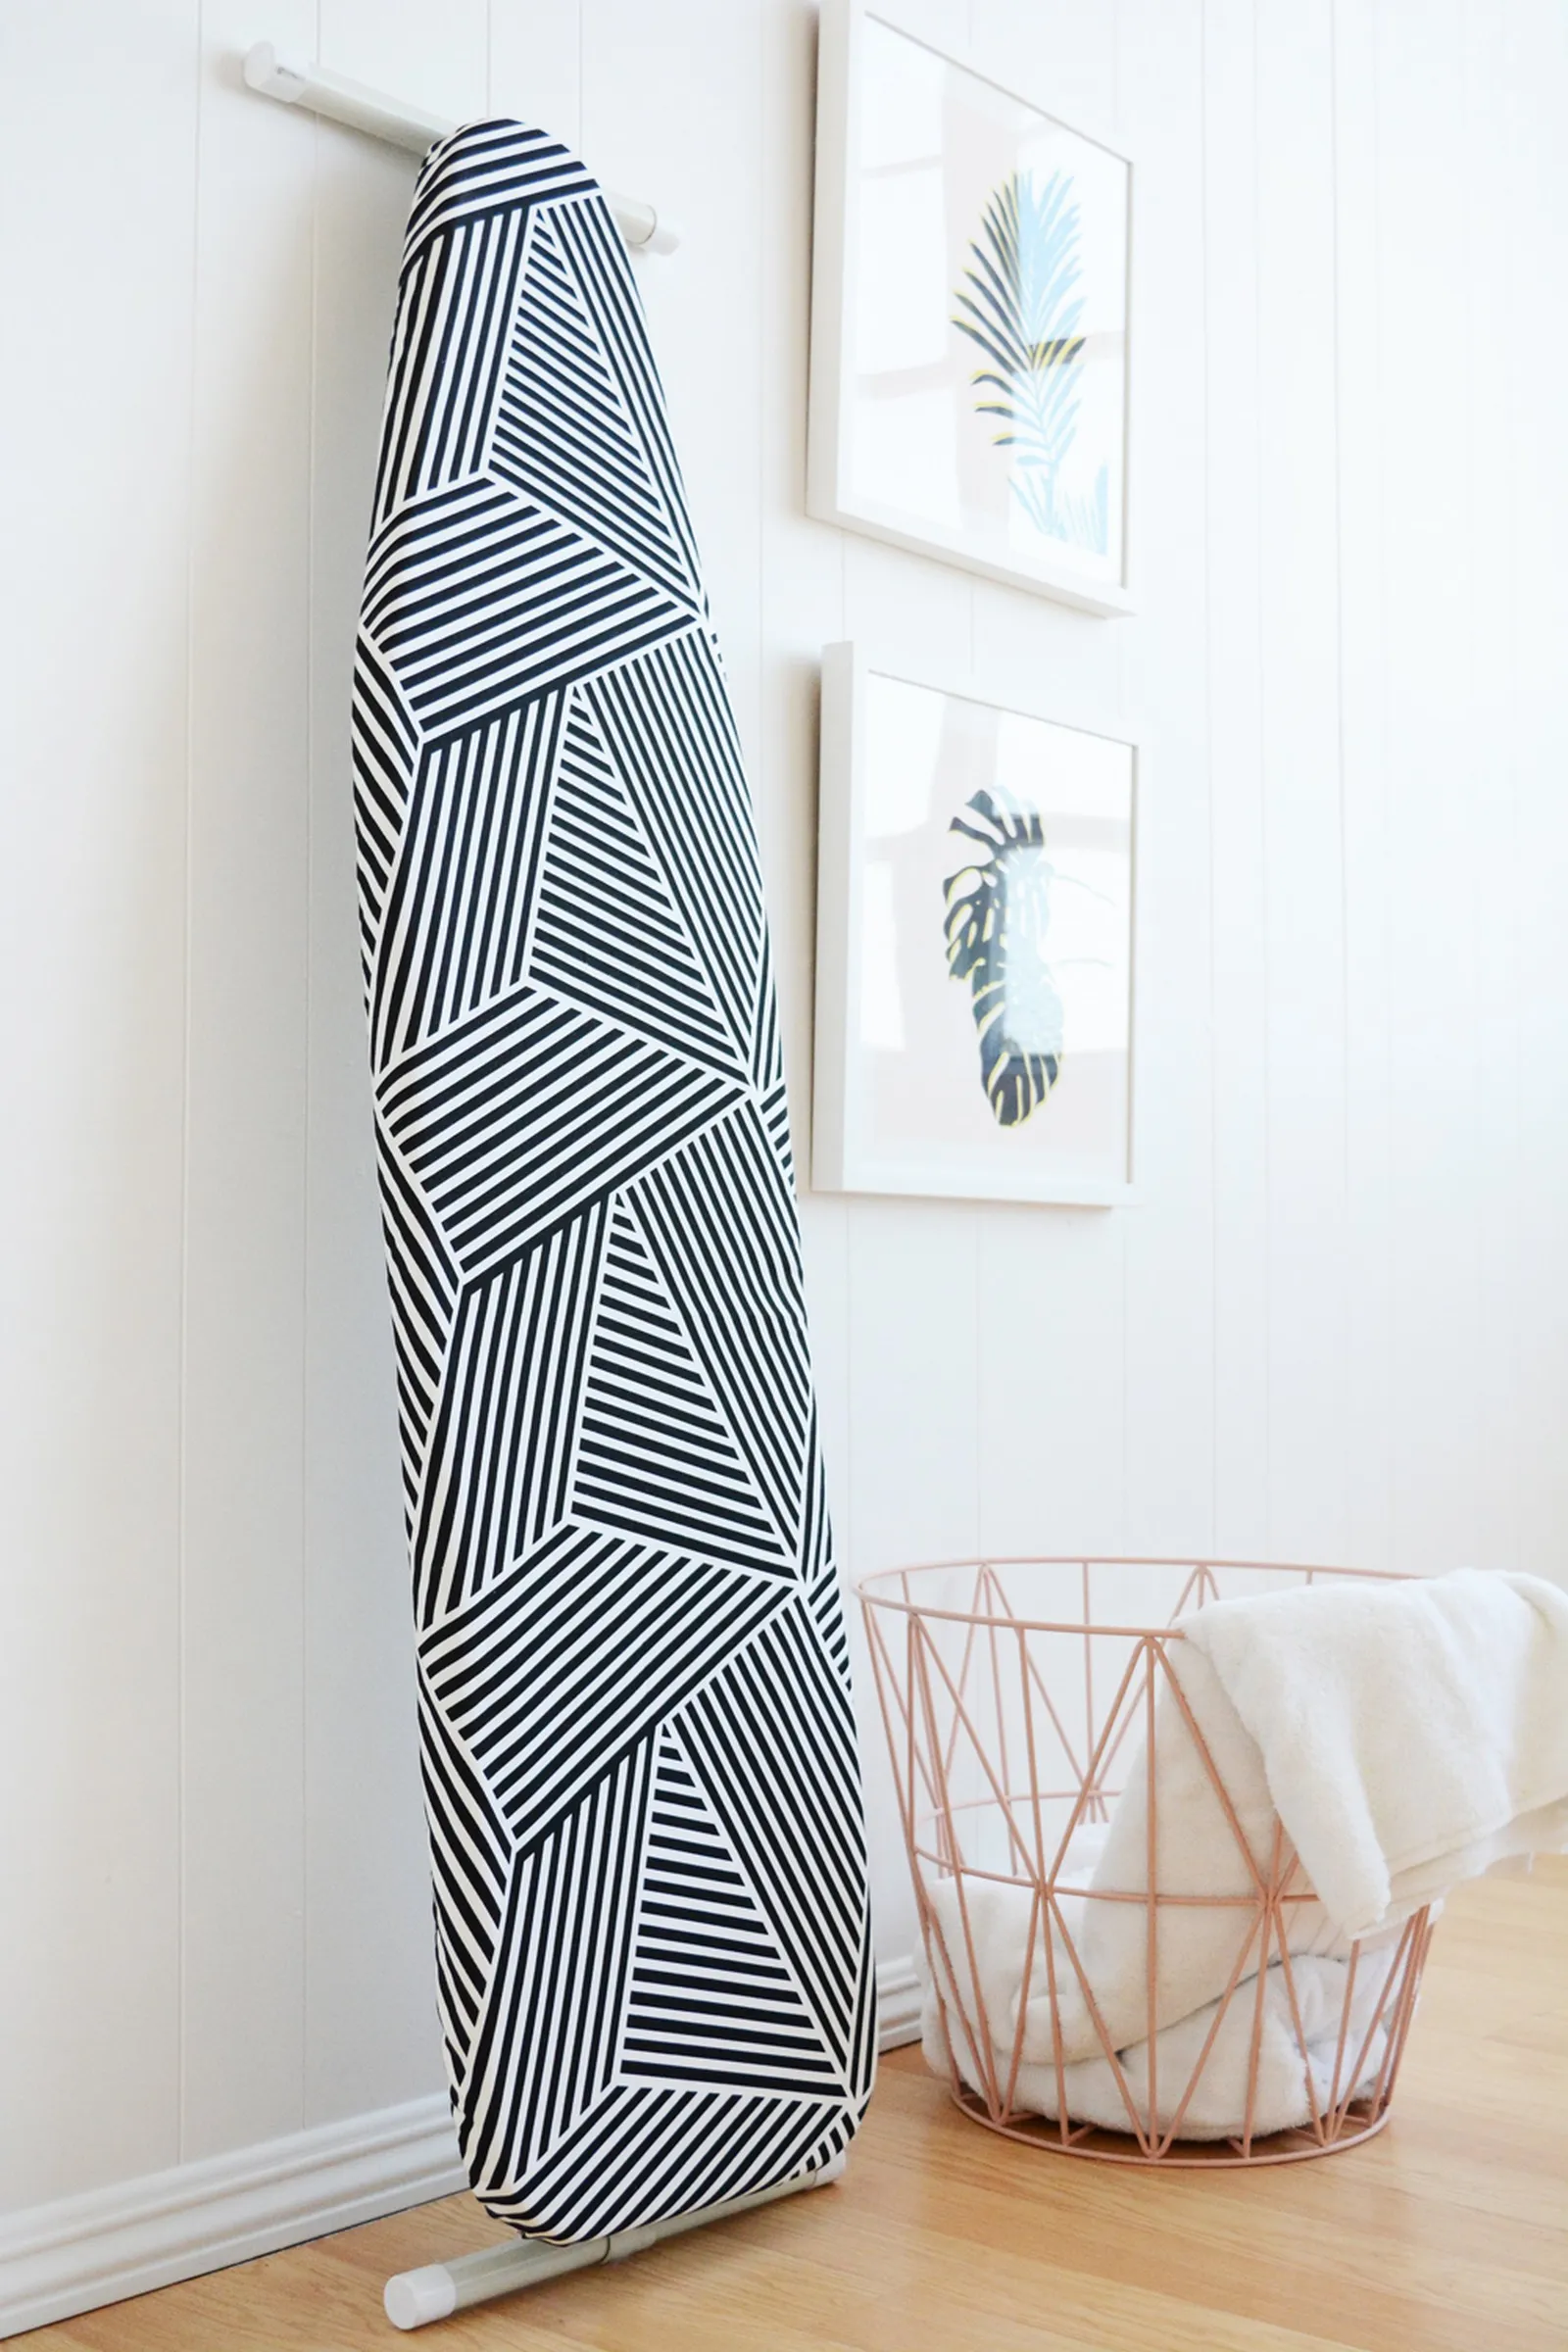
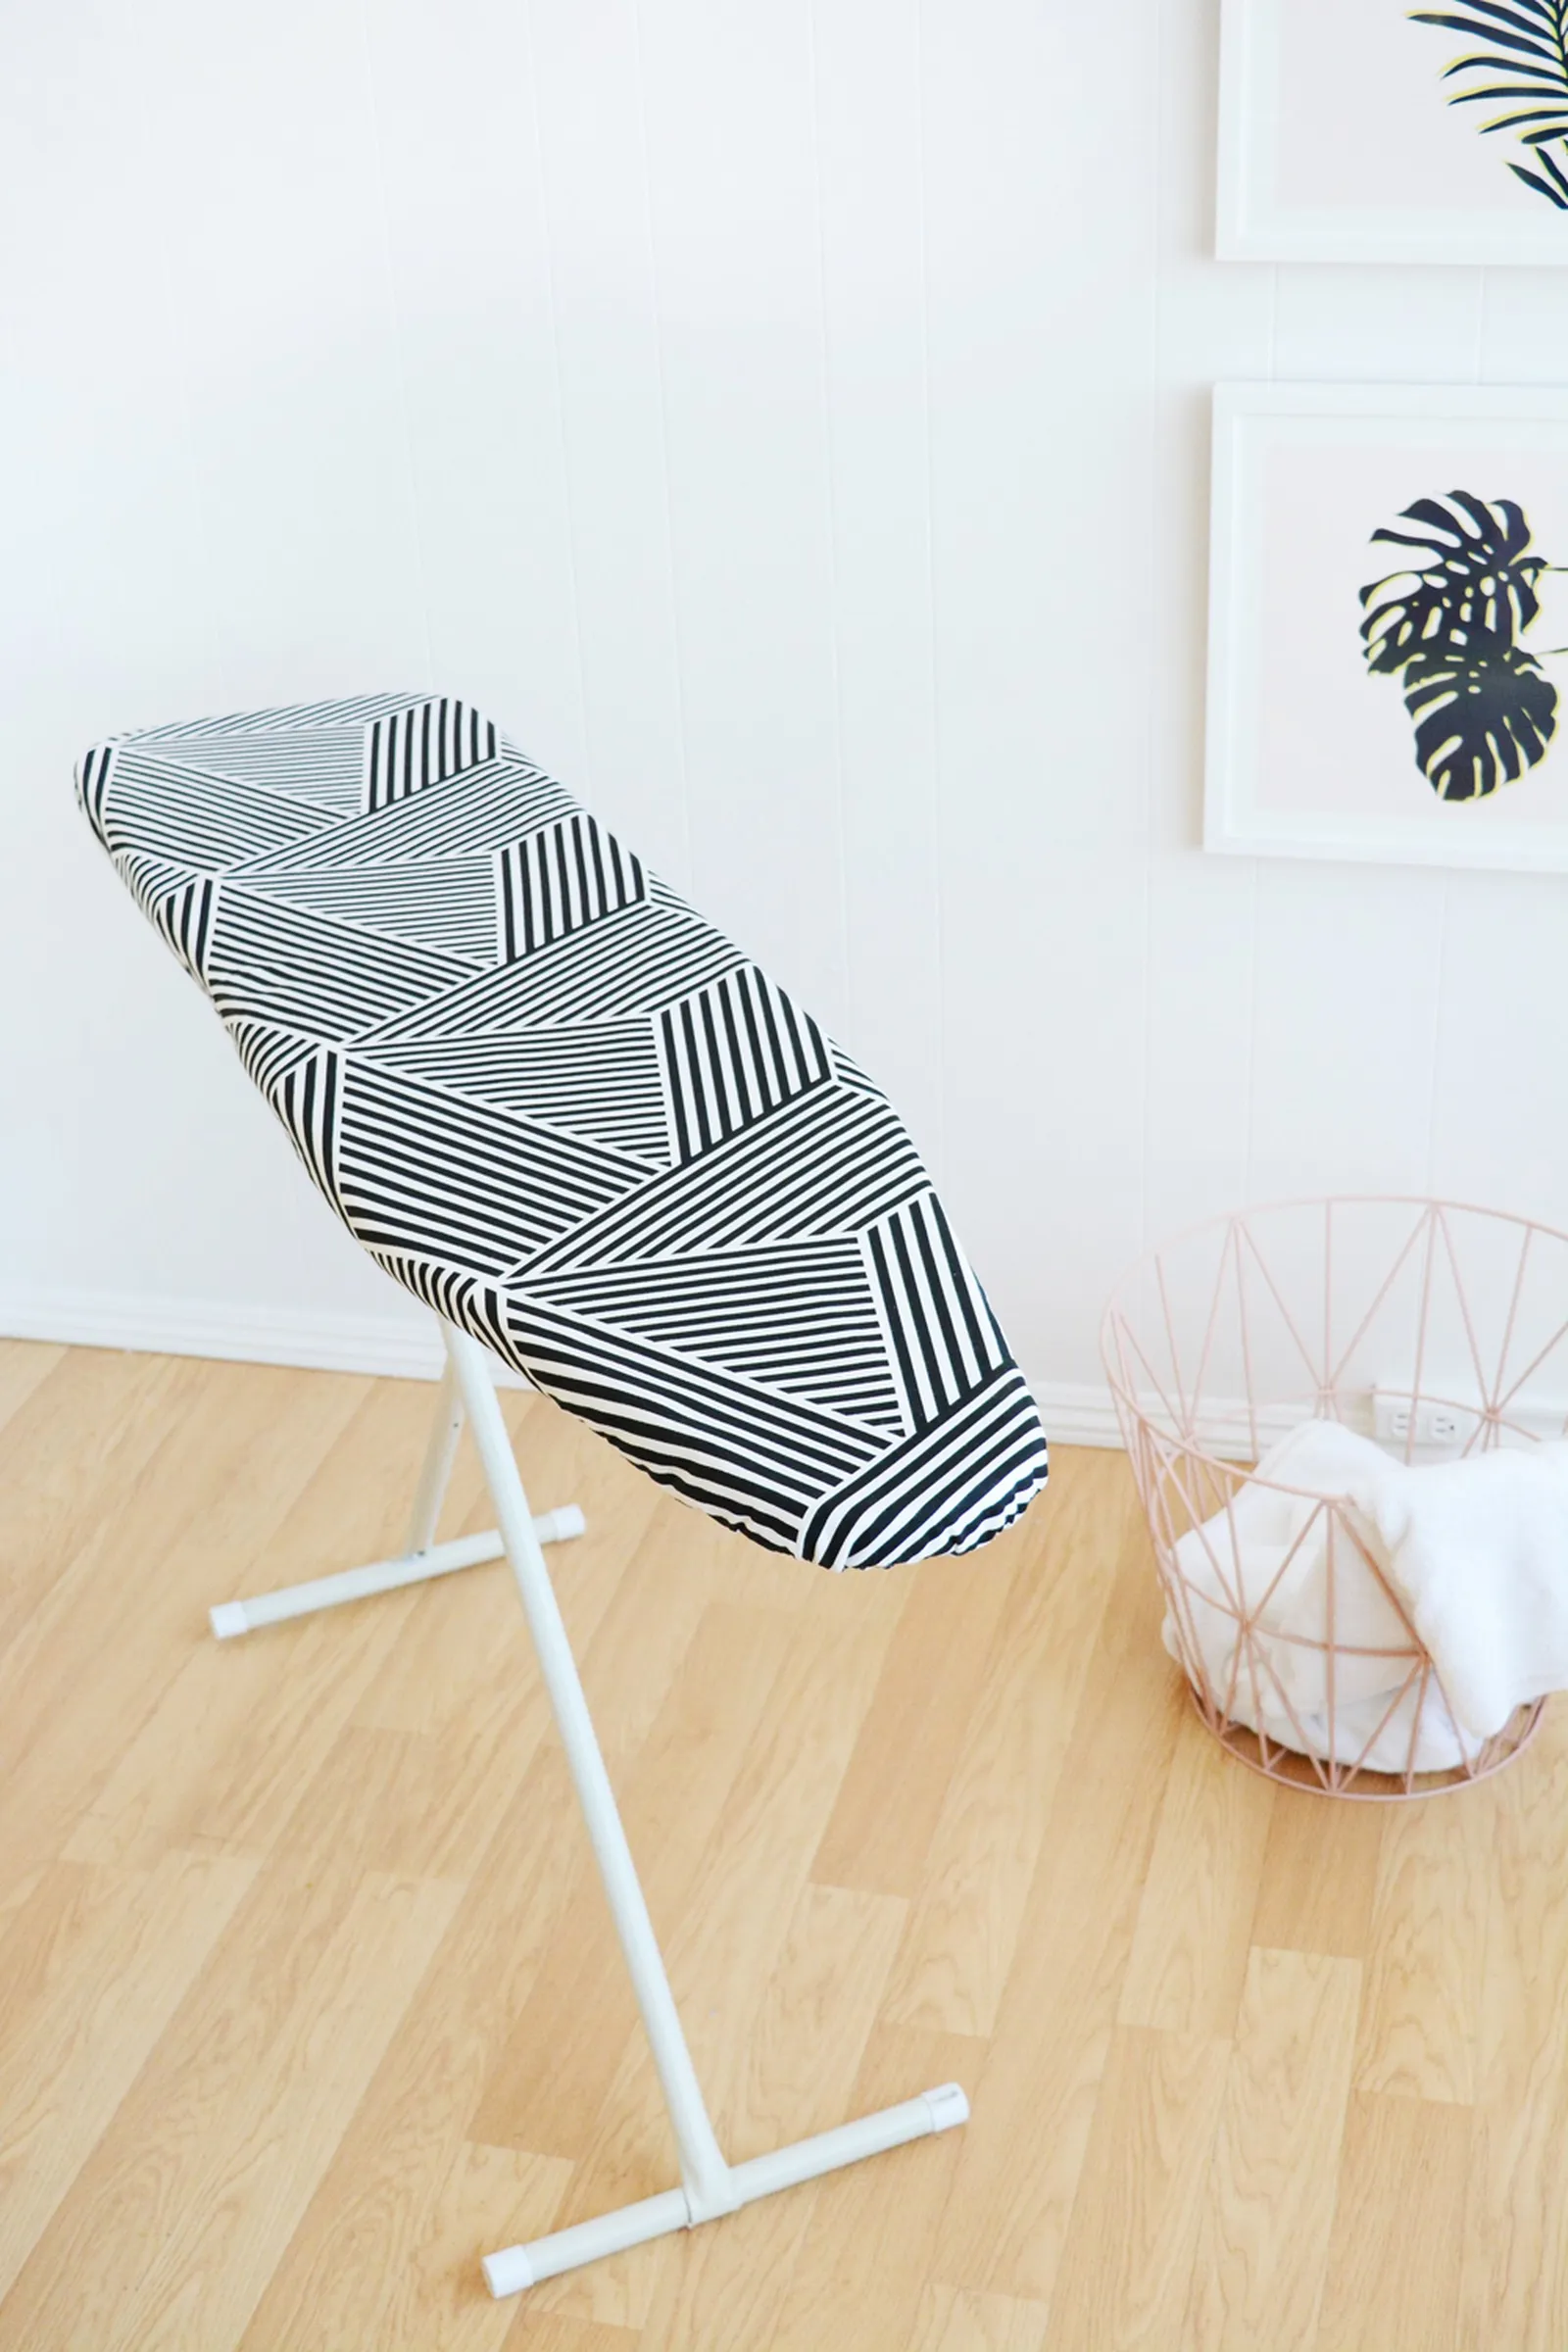
Tired of the same old floral or drab neutral ironing board covers? I recently gave my laundry room a refresh and wanted a cover that would complement the space. But all I could find in stores were boring options. So I decided to sew my own, which let me choose a fabric I actually love seeing in the room.
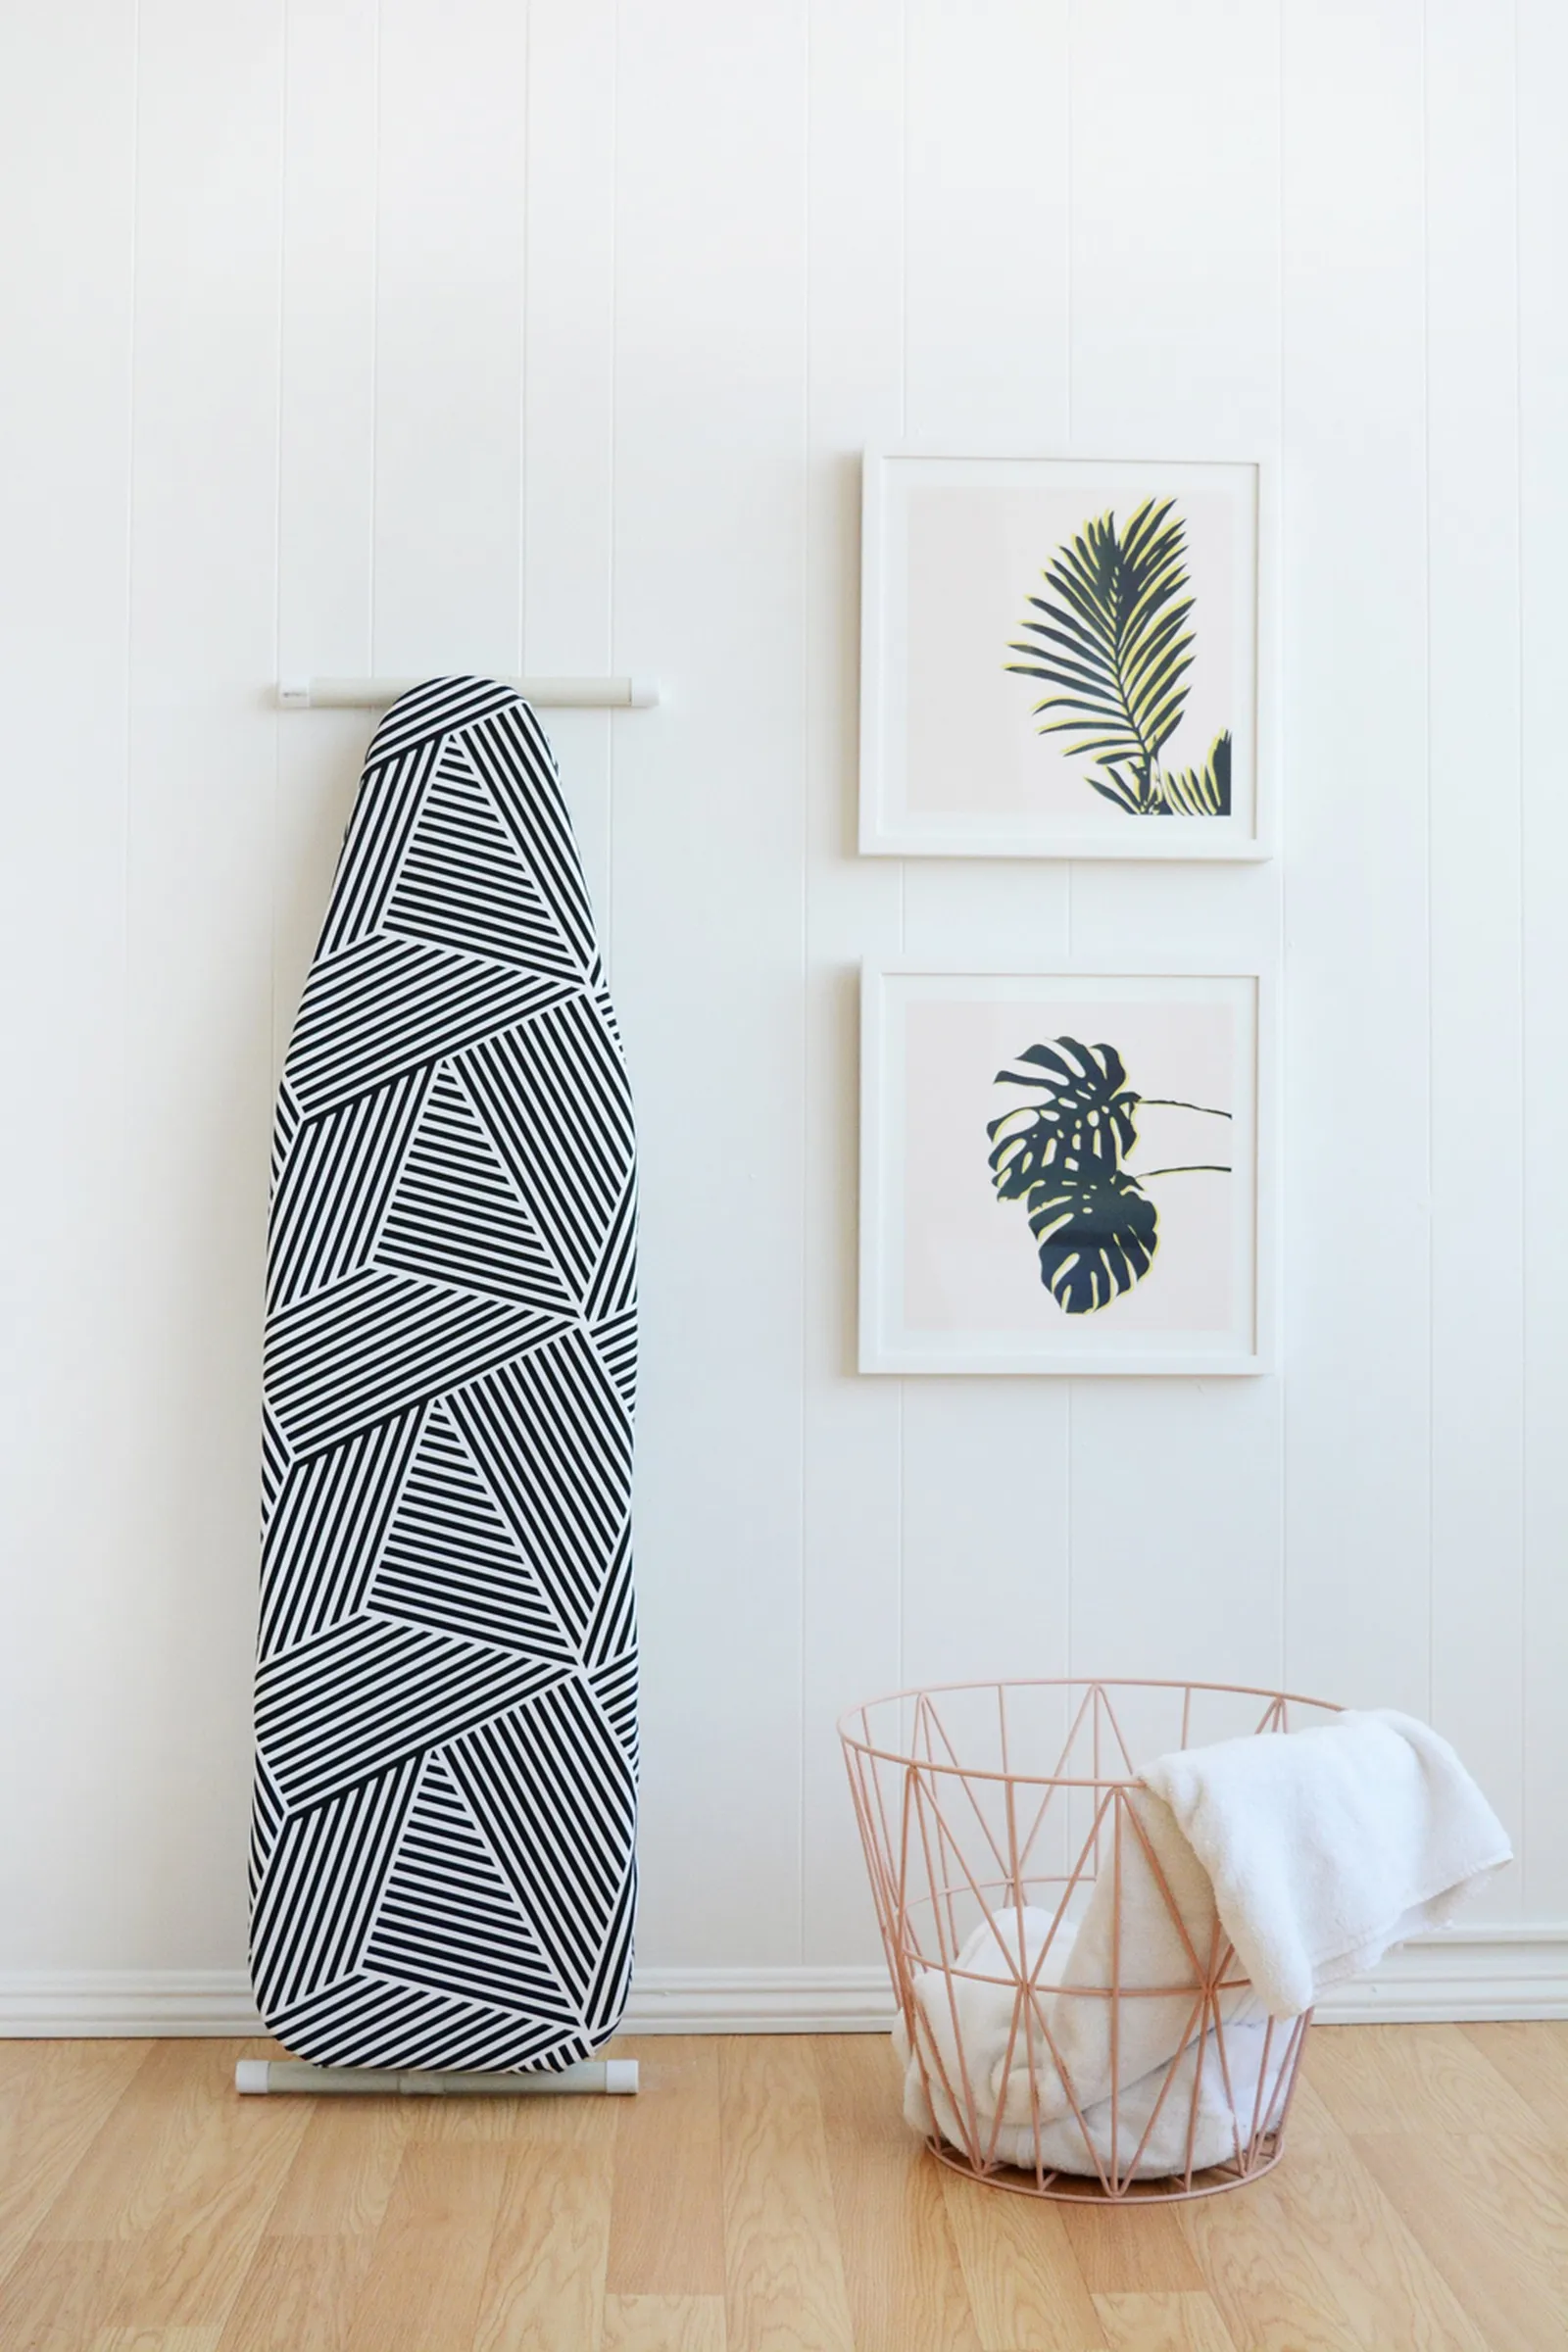
This is a fantastic beginner sewing project. If you can sew a straight line and have never used a pattern, this is a great place to start.
For my cover, I picked a bold black-and-white graphic print.
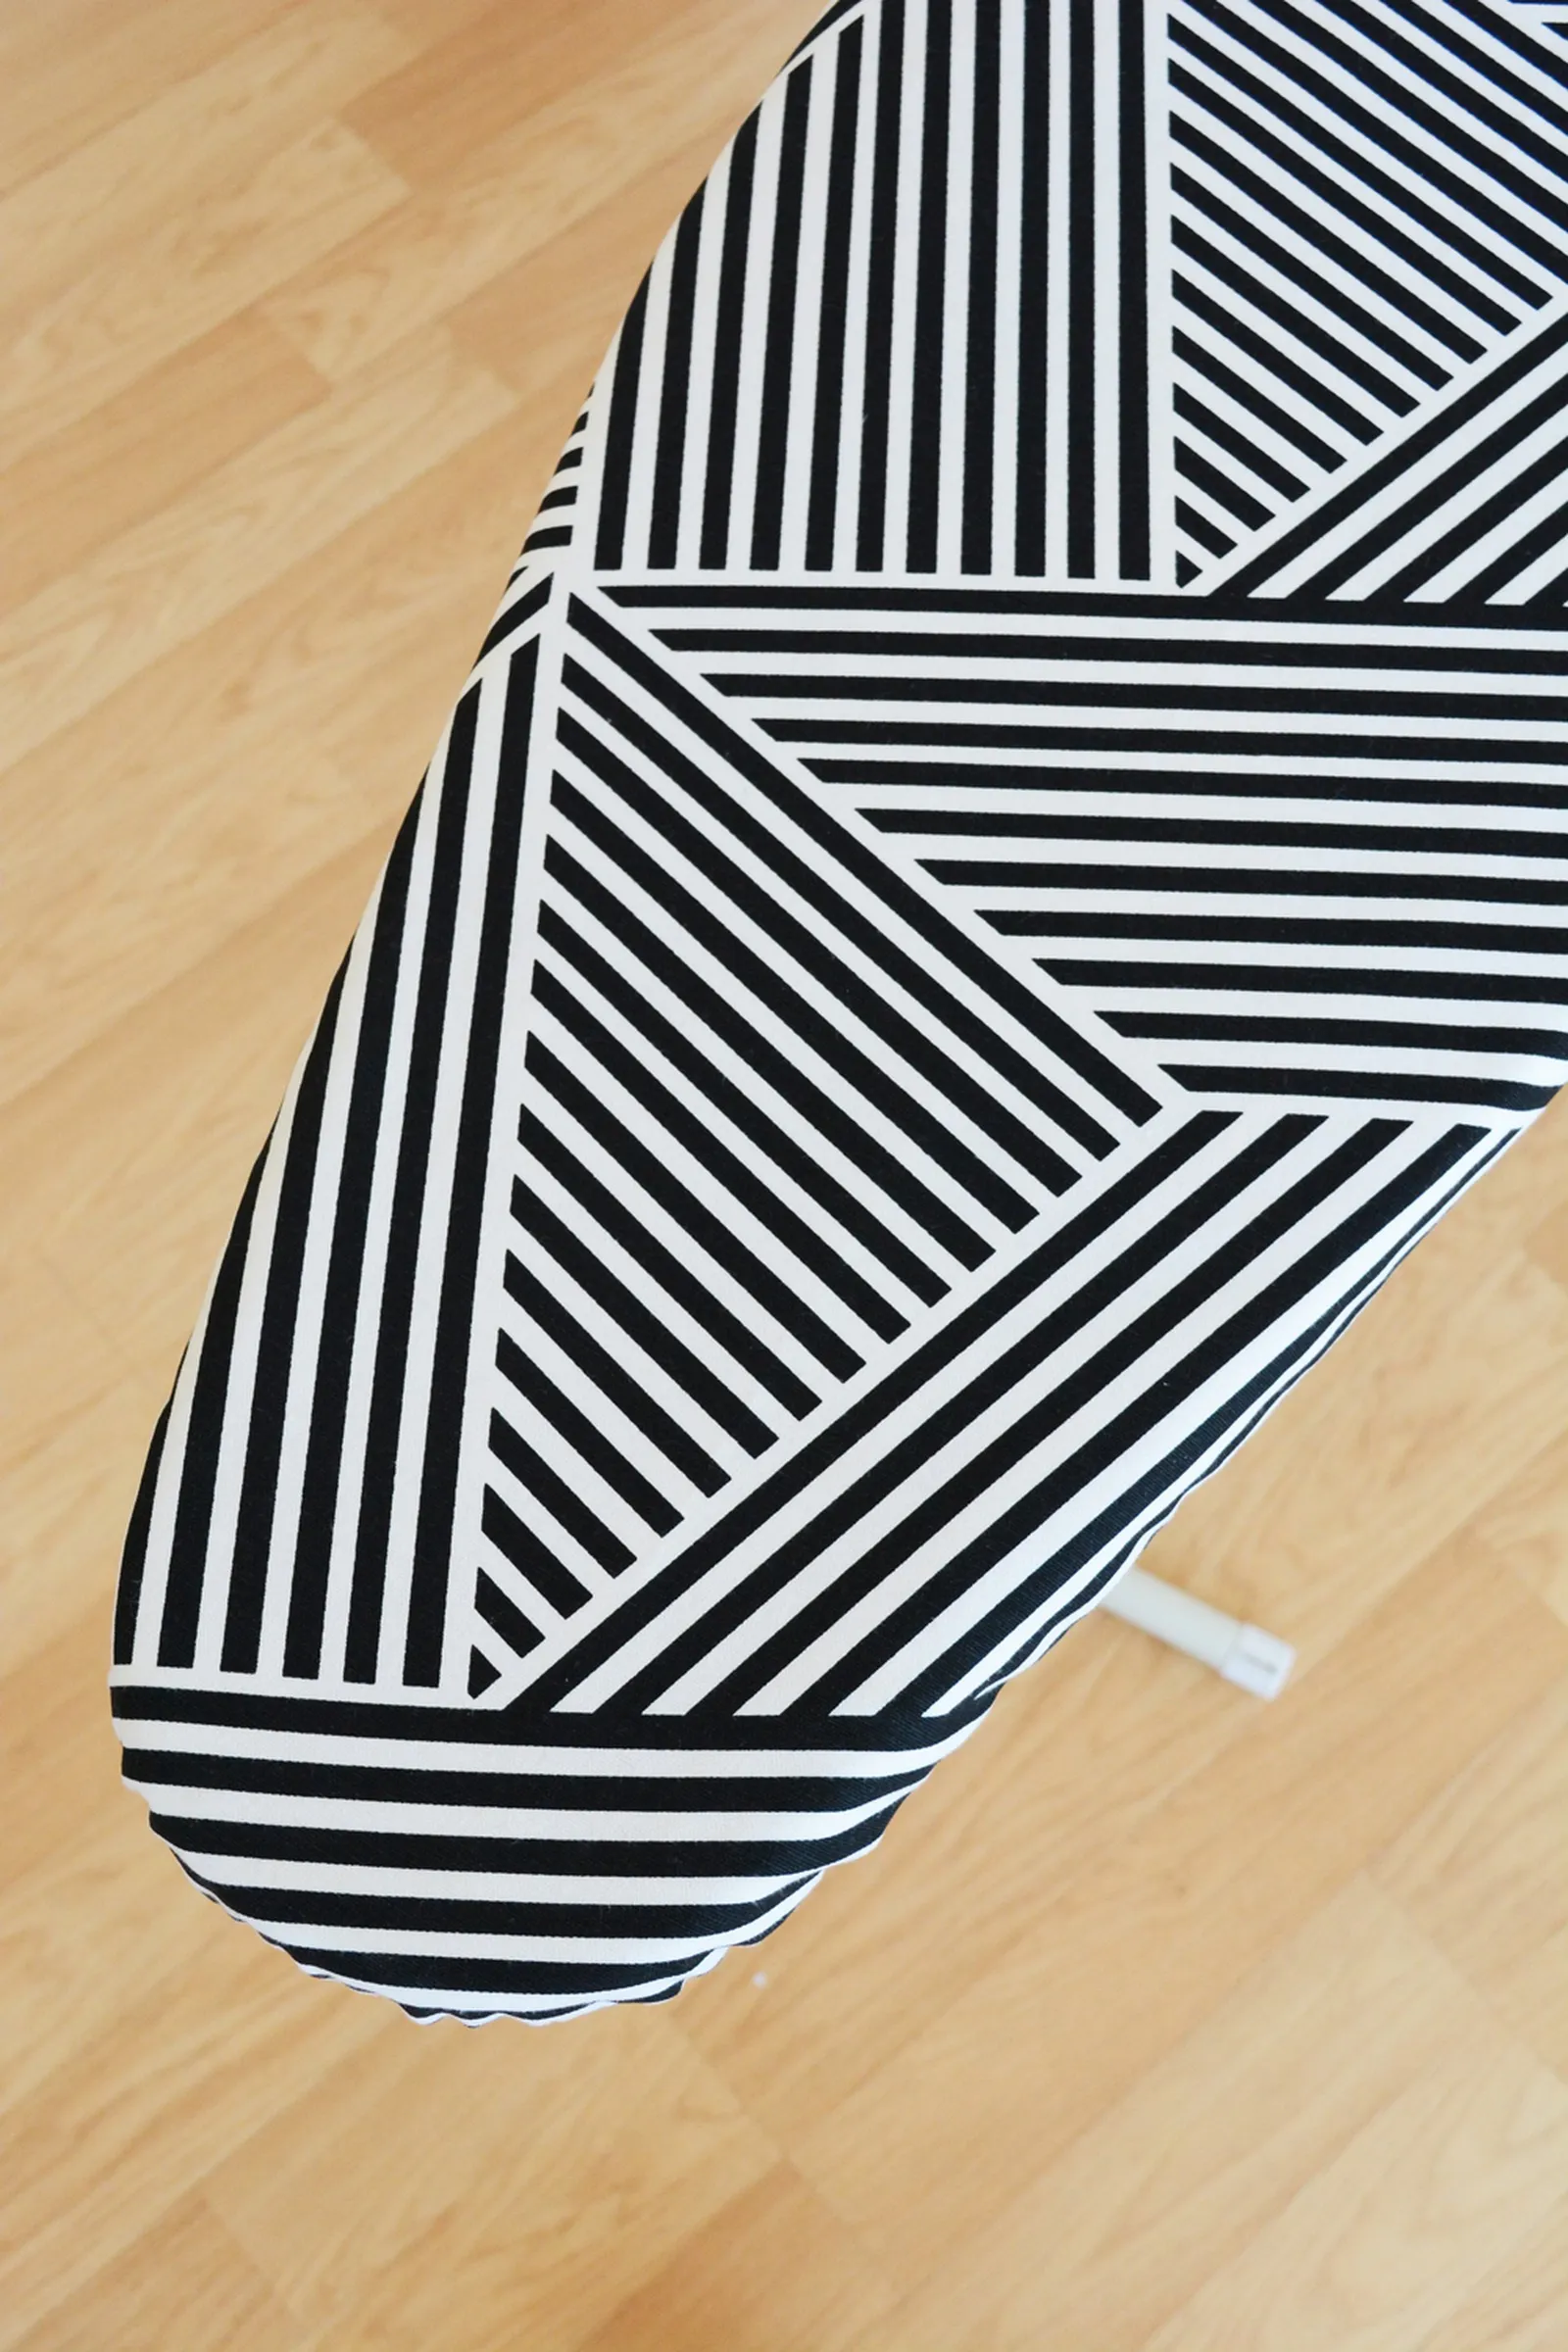
This pattern works for any size ironing board. You'll need your board to cut the cover pieces.
Step 1
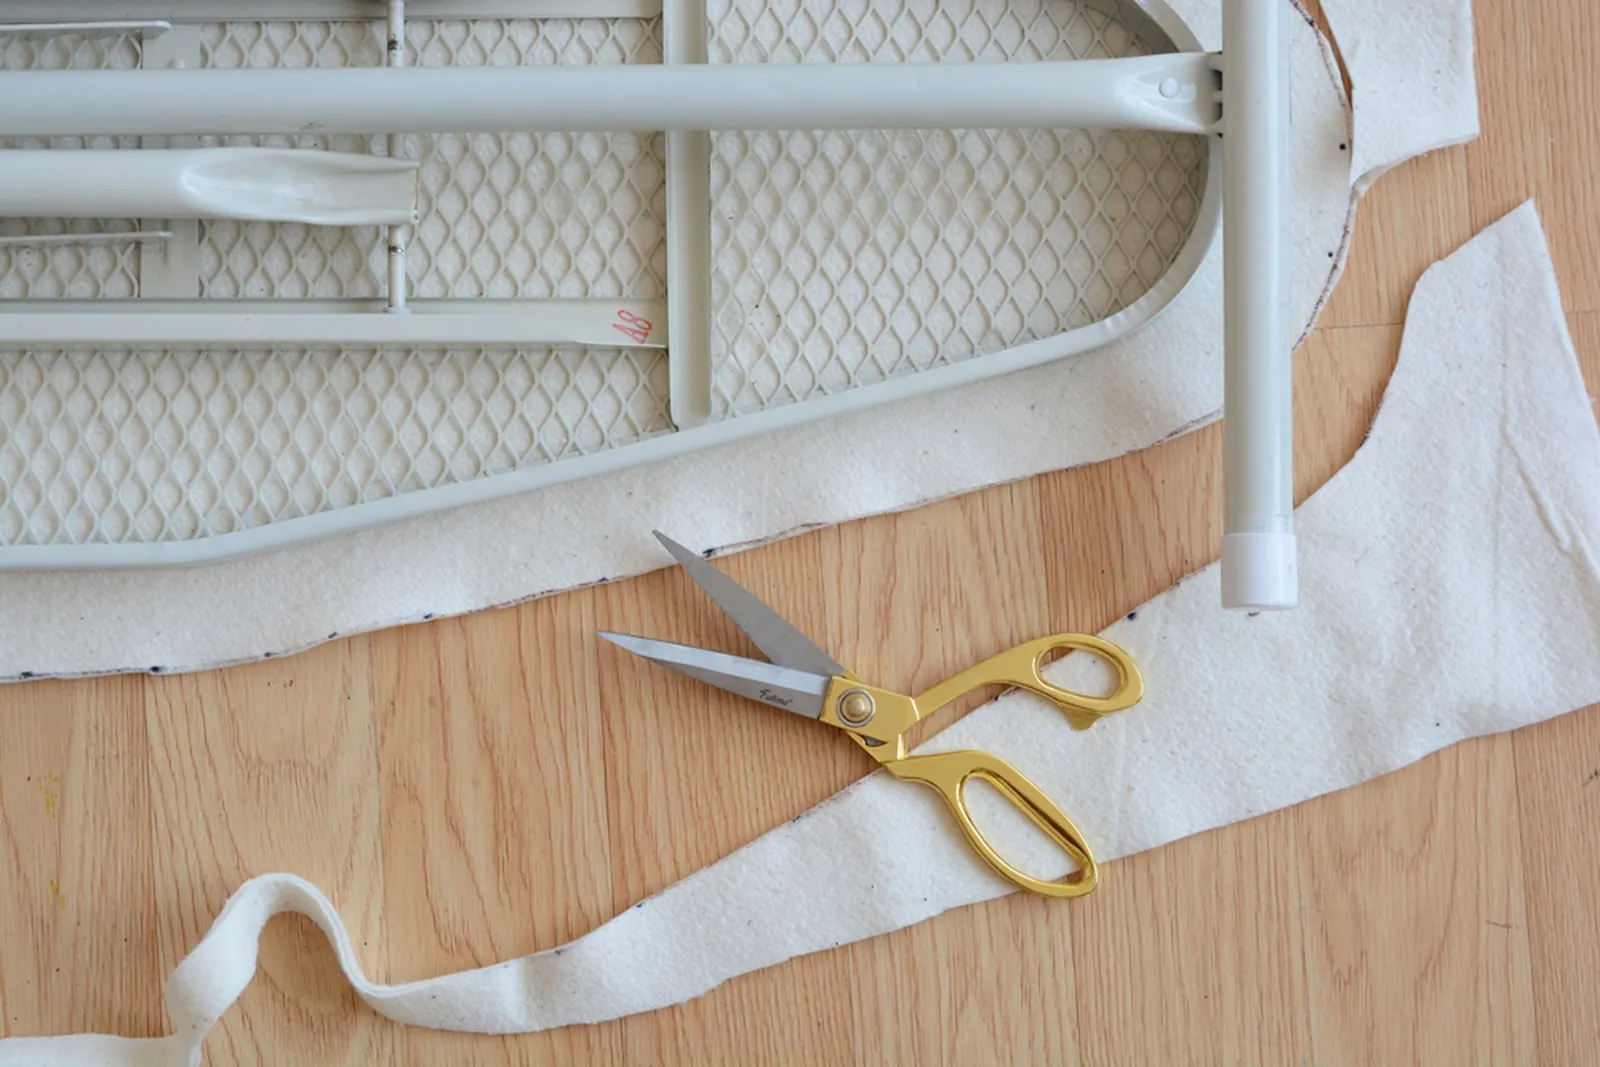
Spread the cotton batting on the floor. Place the ironing board on top and center it, leaving at least 2 inches of batting around the entire board.
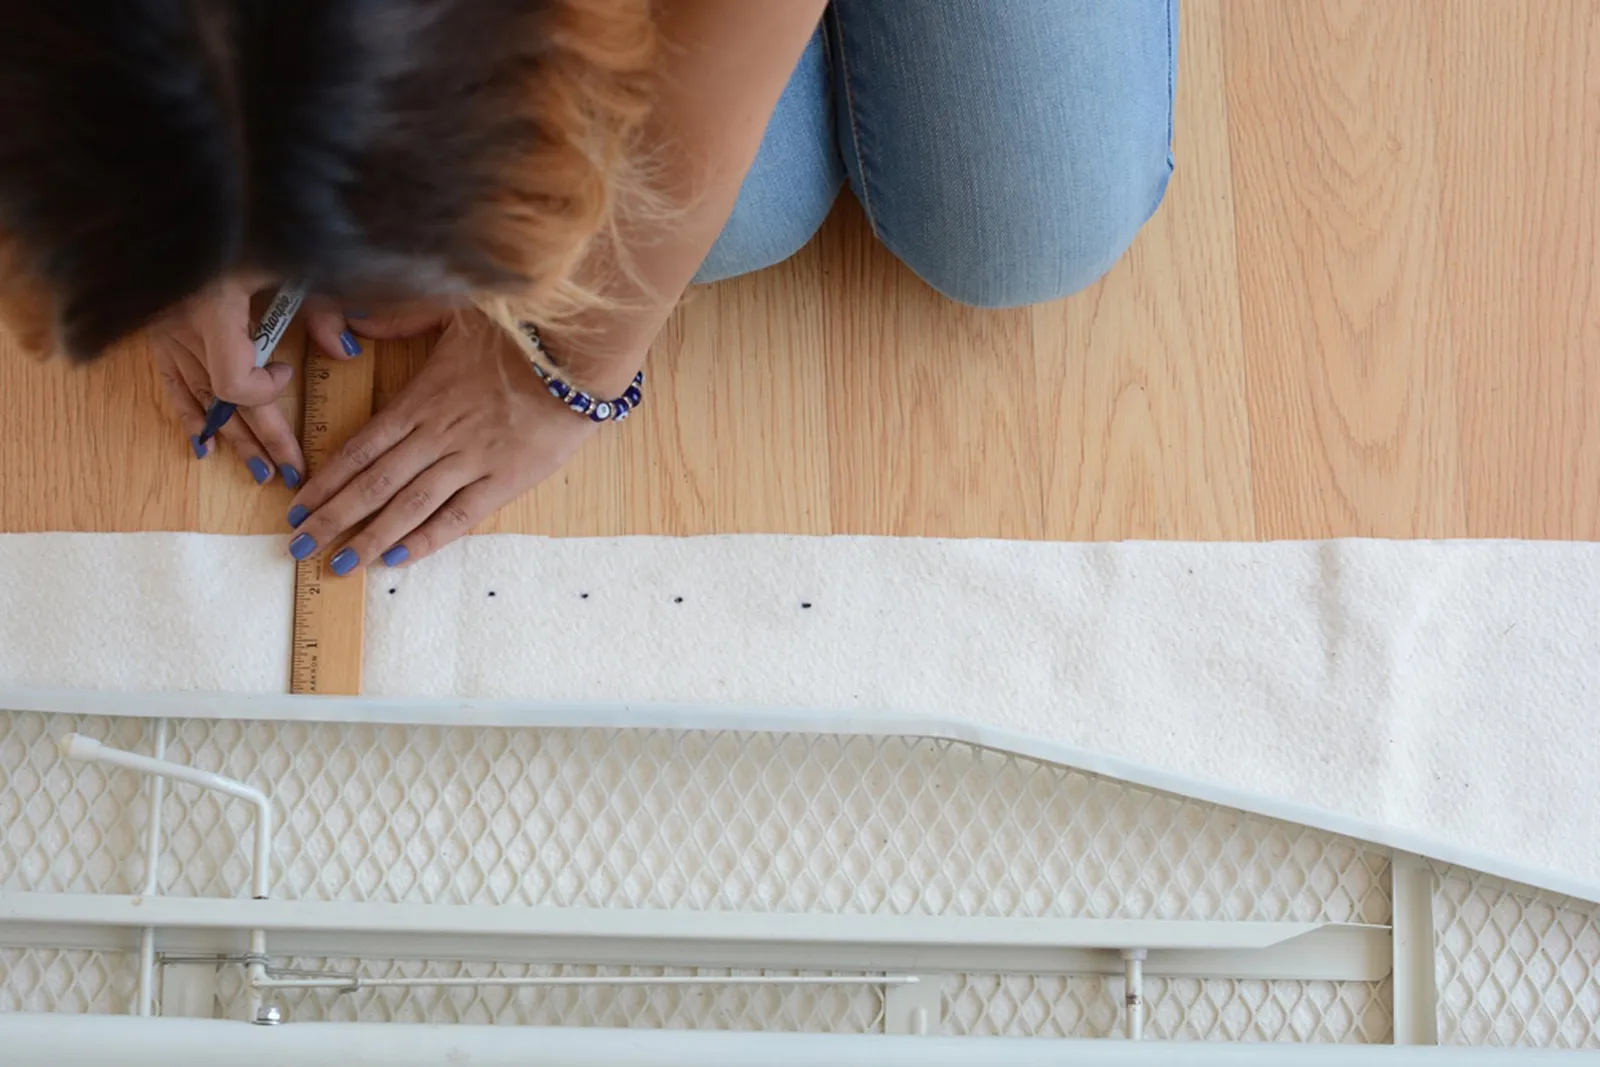
Step 2
Using a ruler and marker, make a dot 2 inches out from the board every few inches around the perimeter.
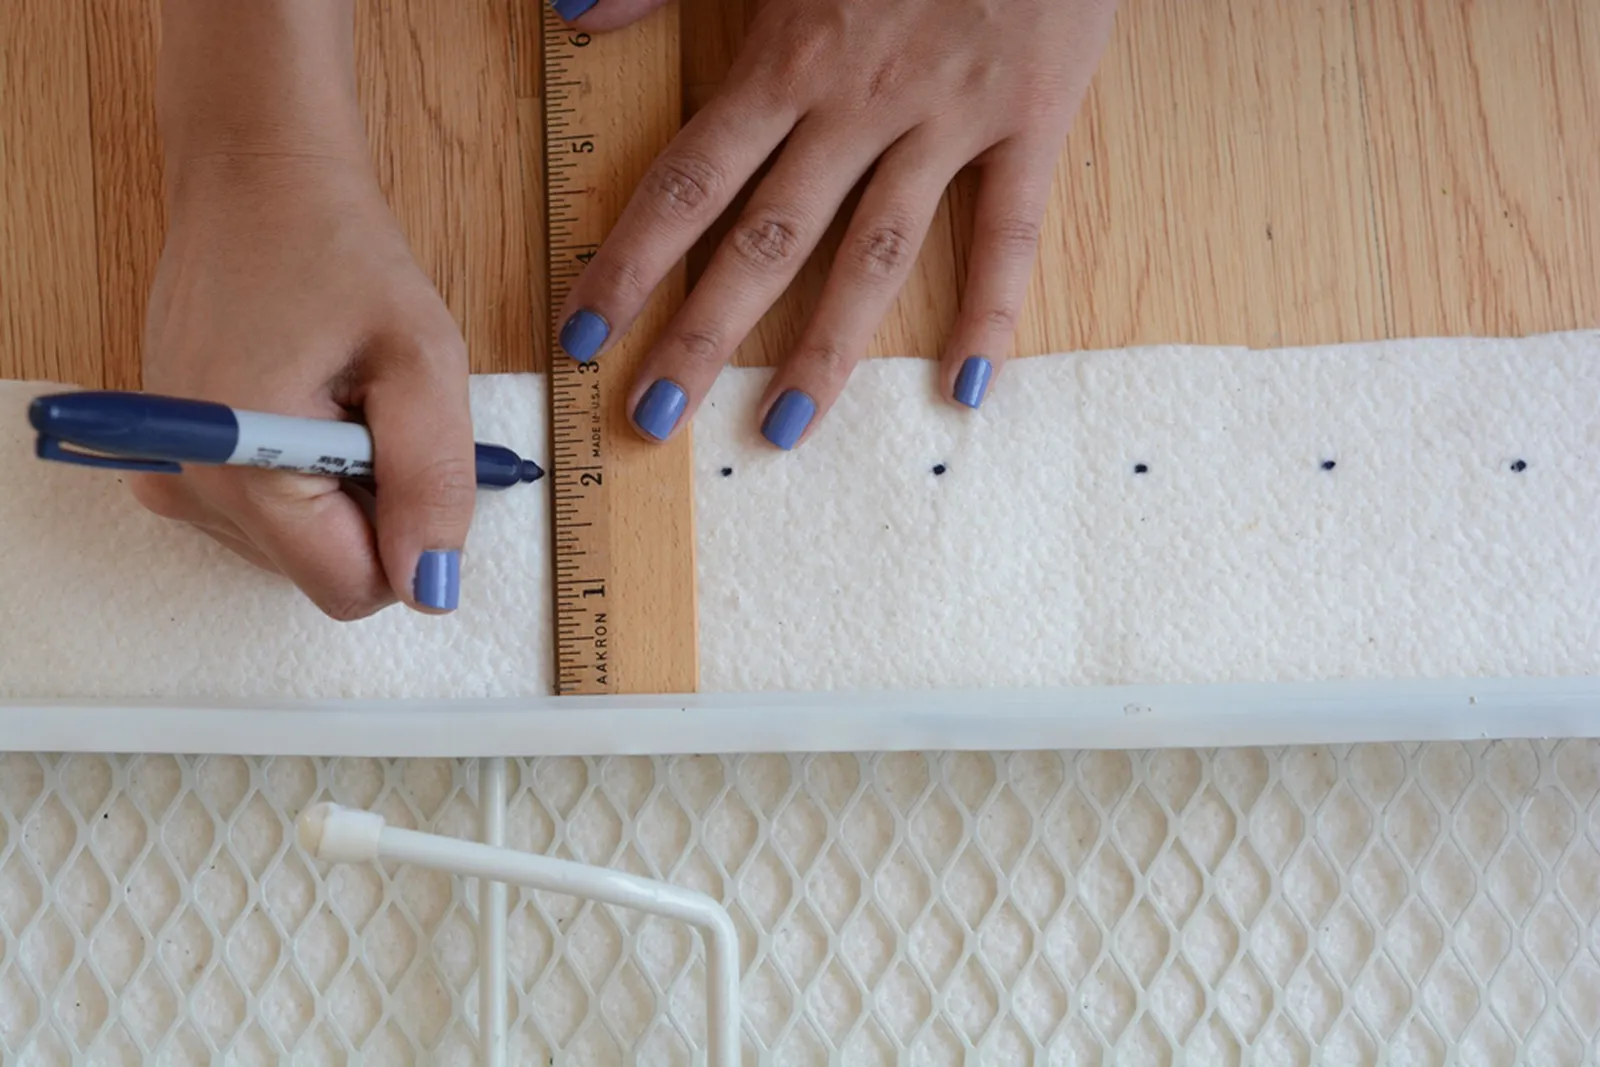
Step 3
Connect the dots.
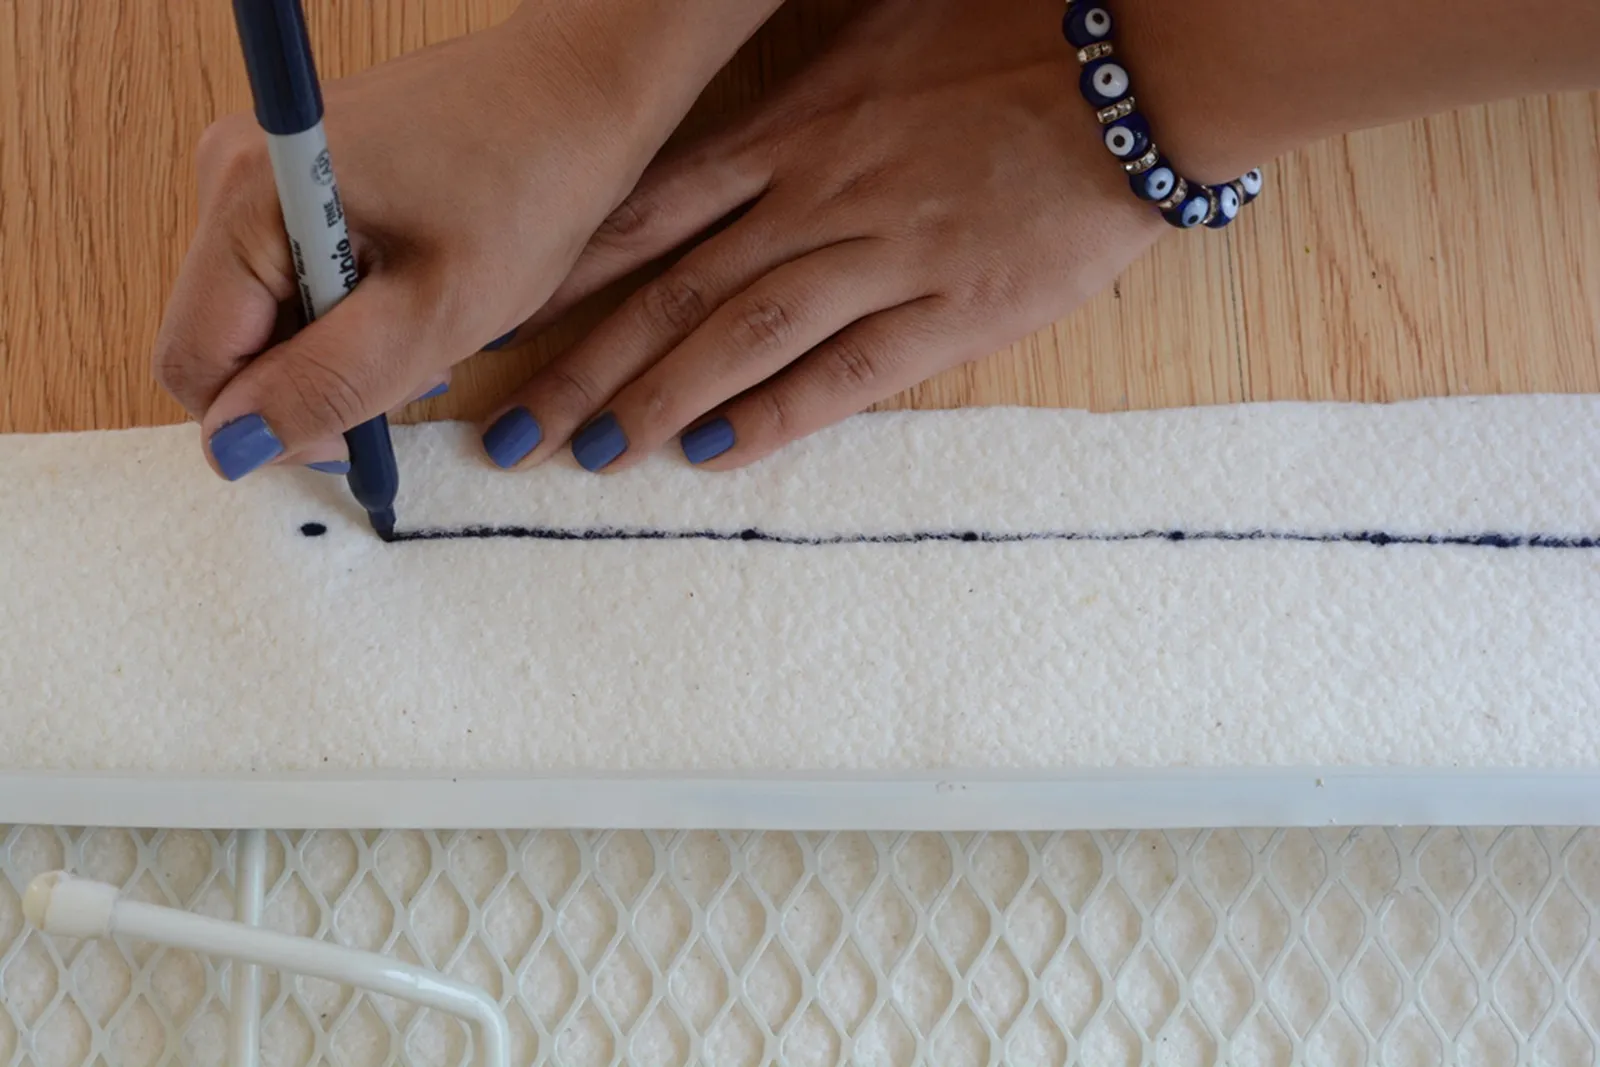
Step 4
Cut out the batting.
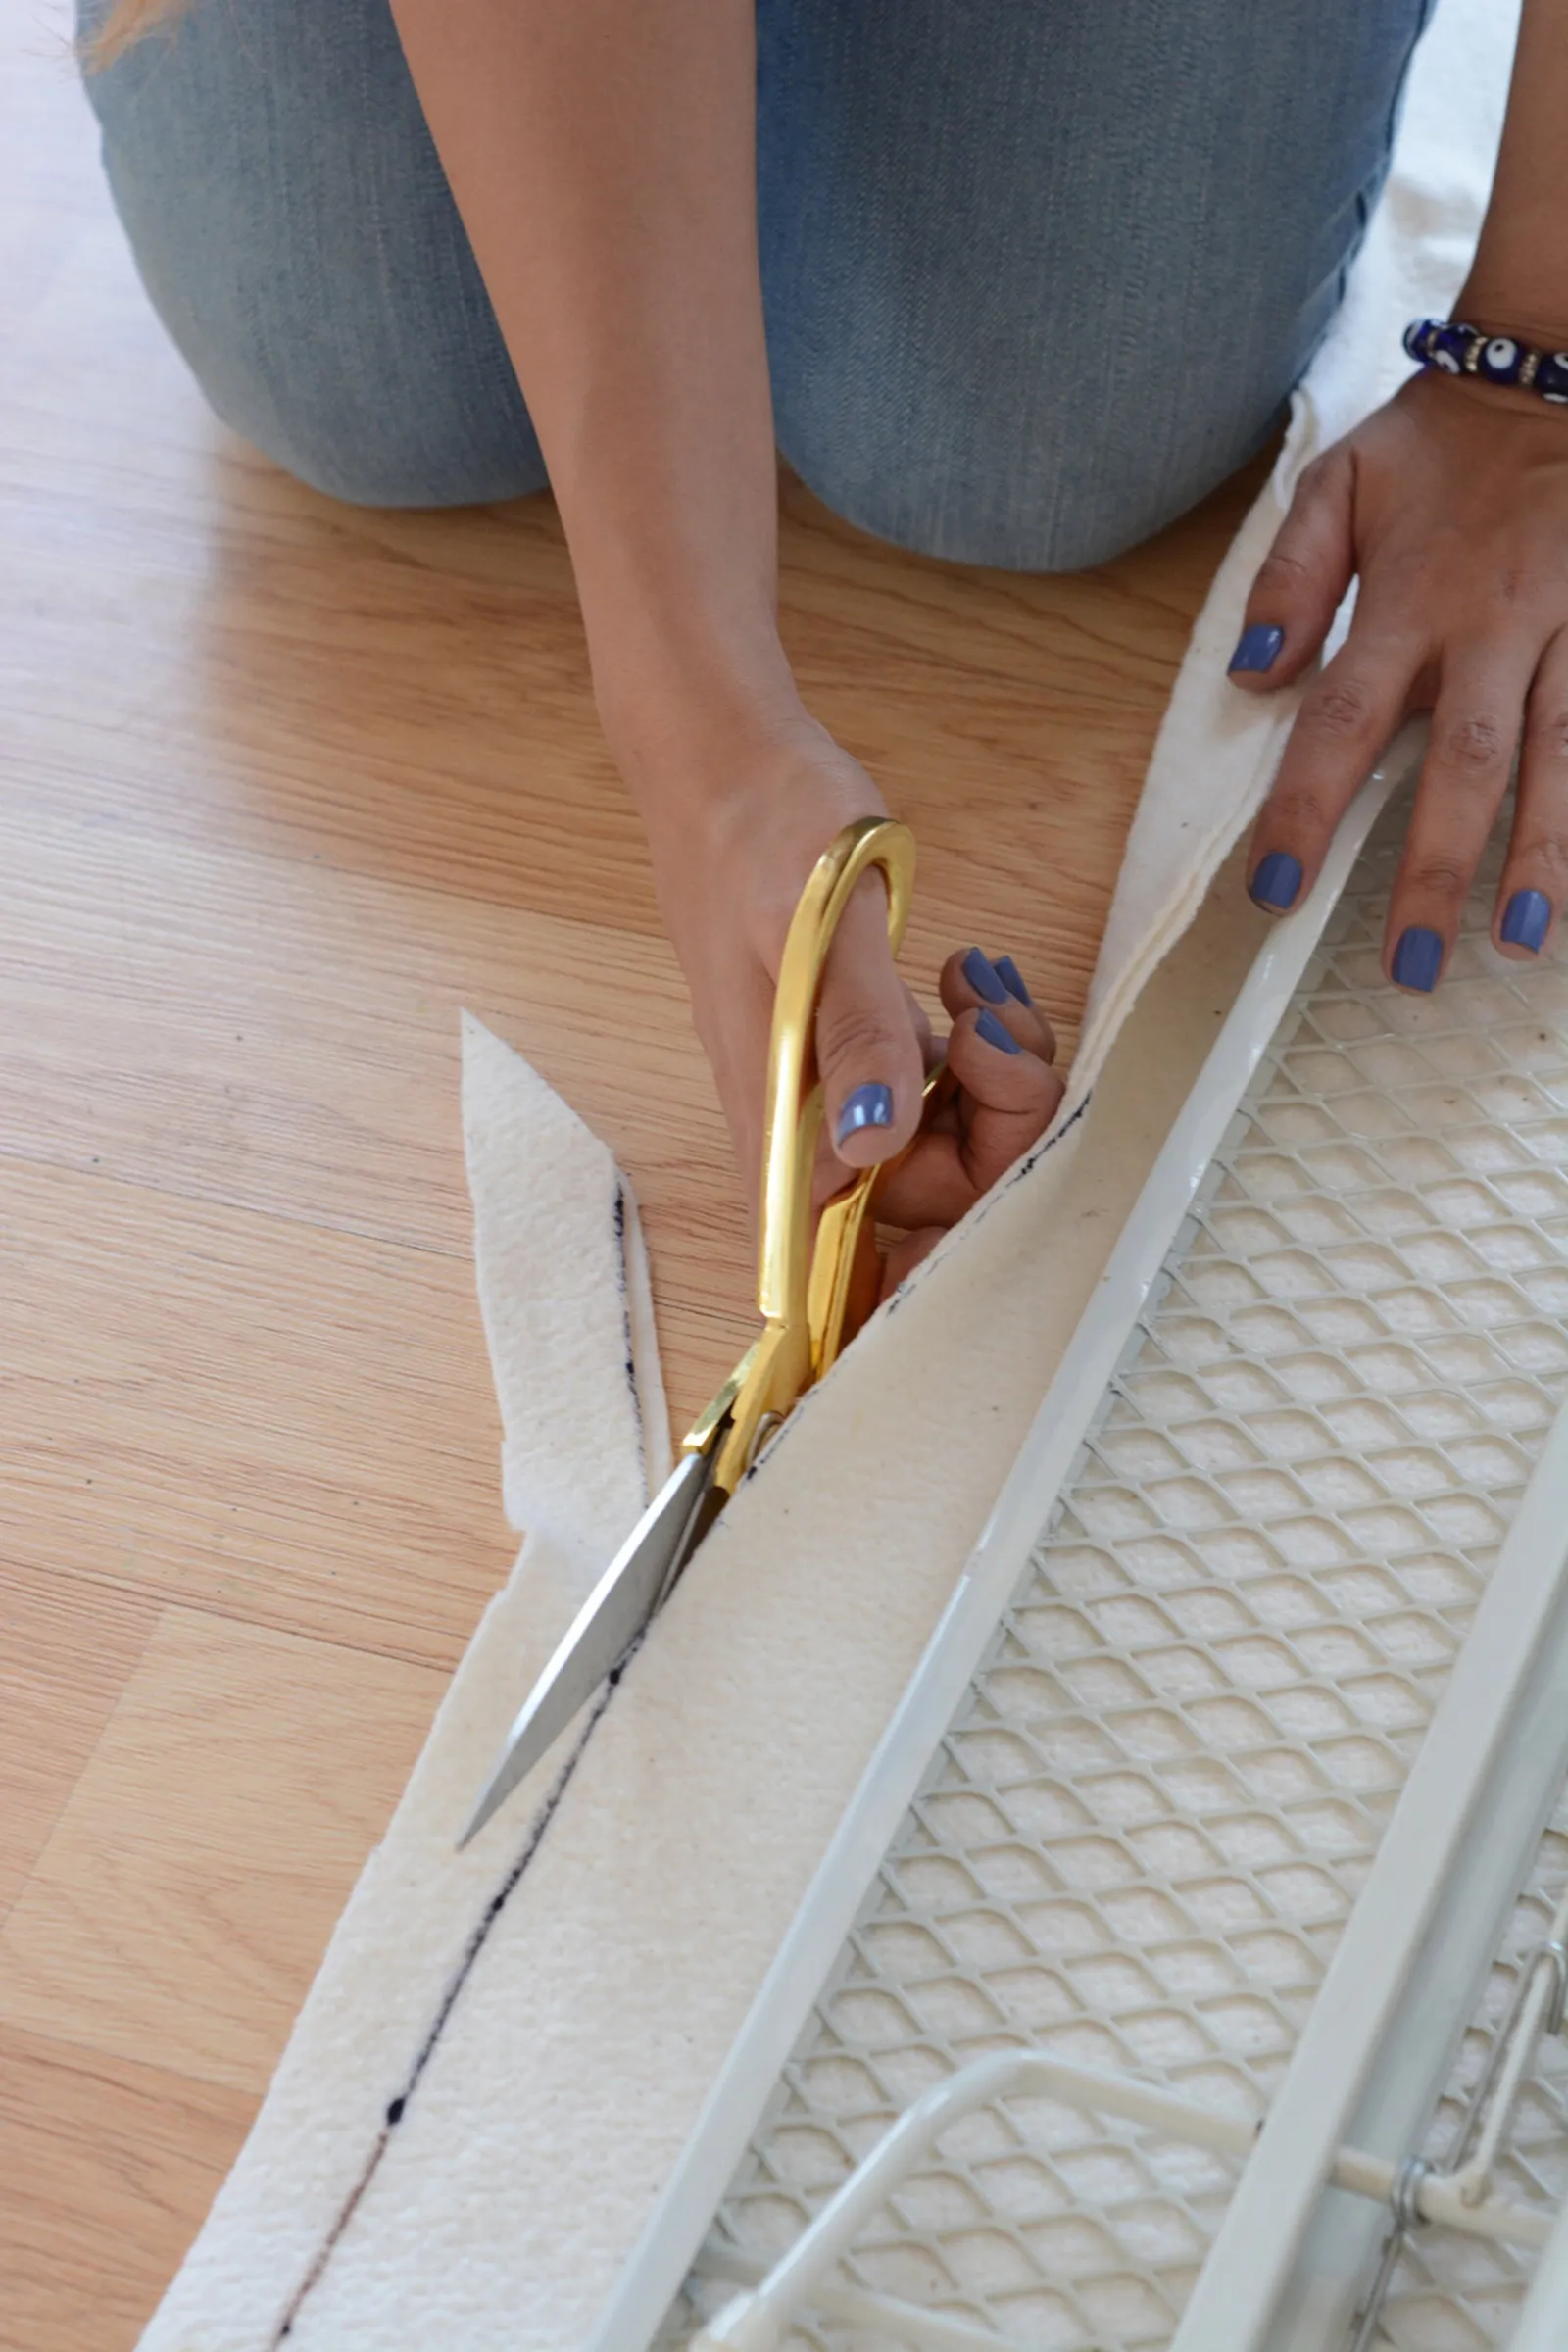
Step 5
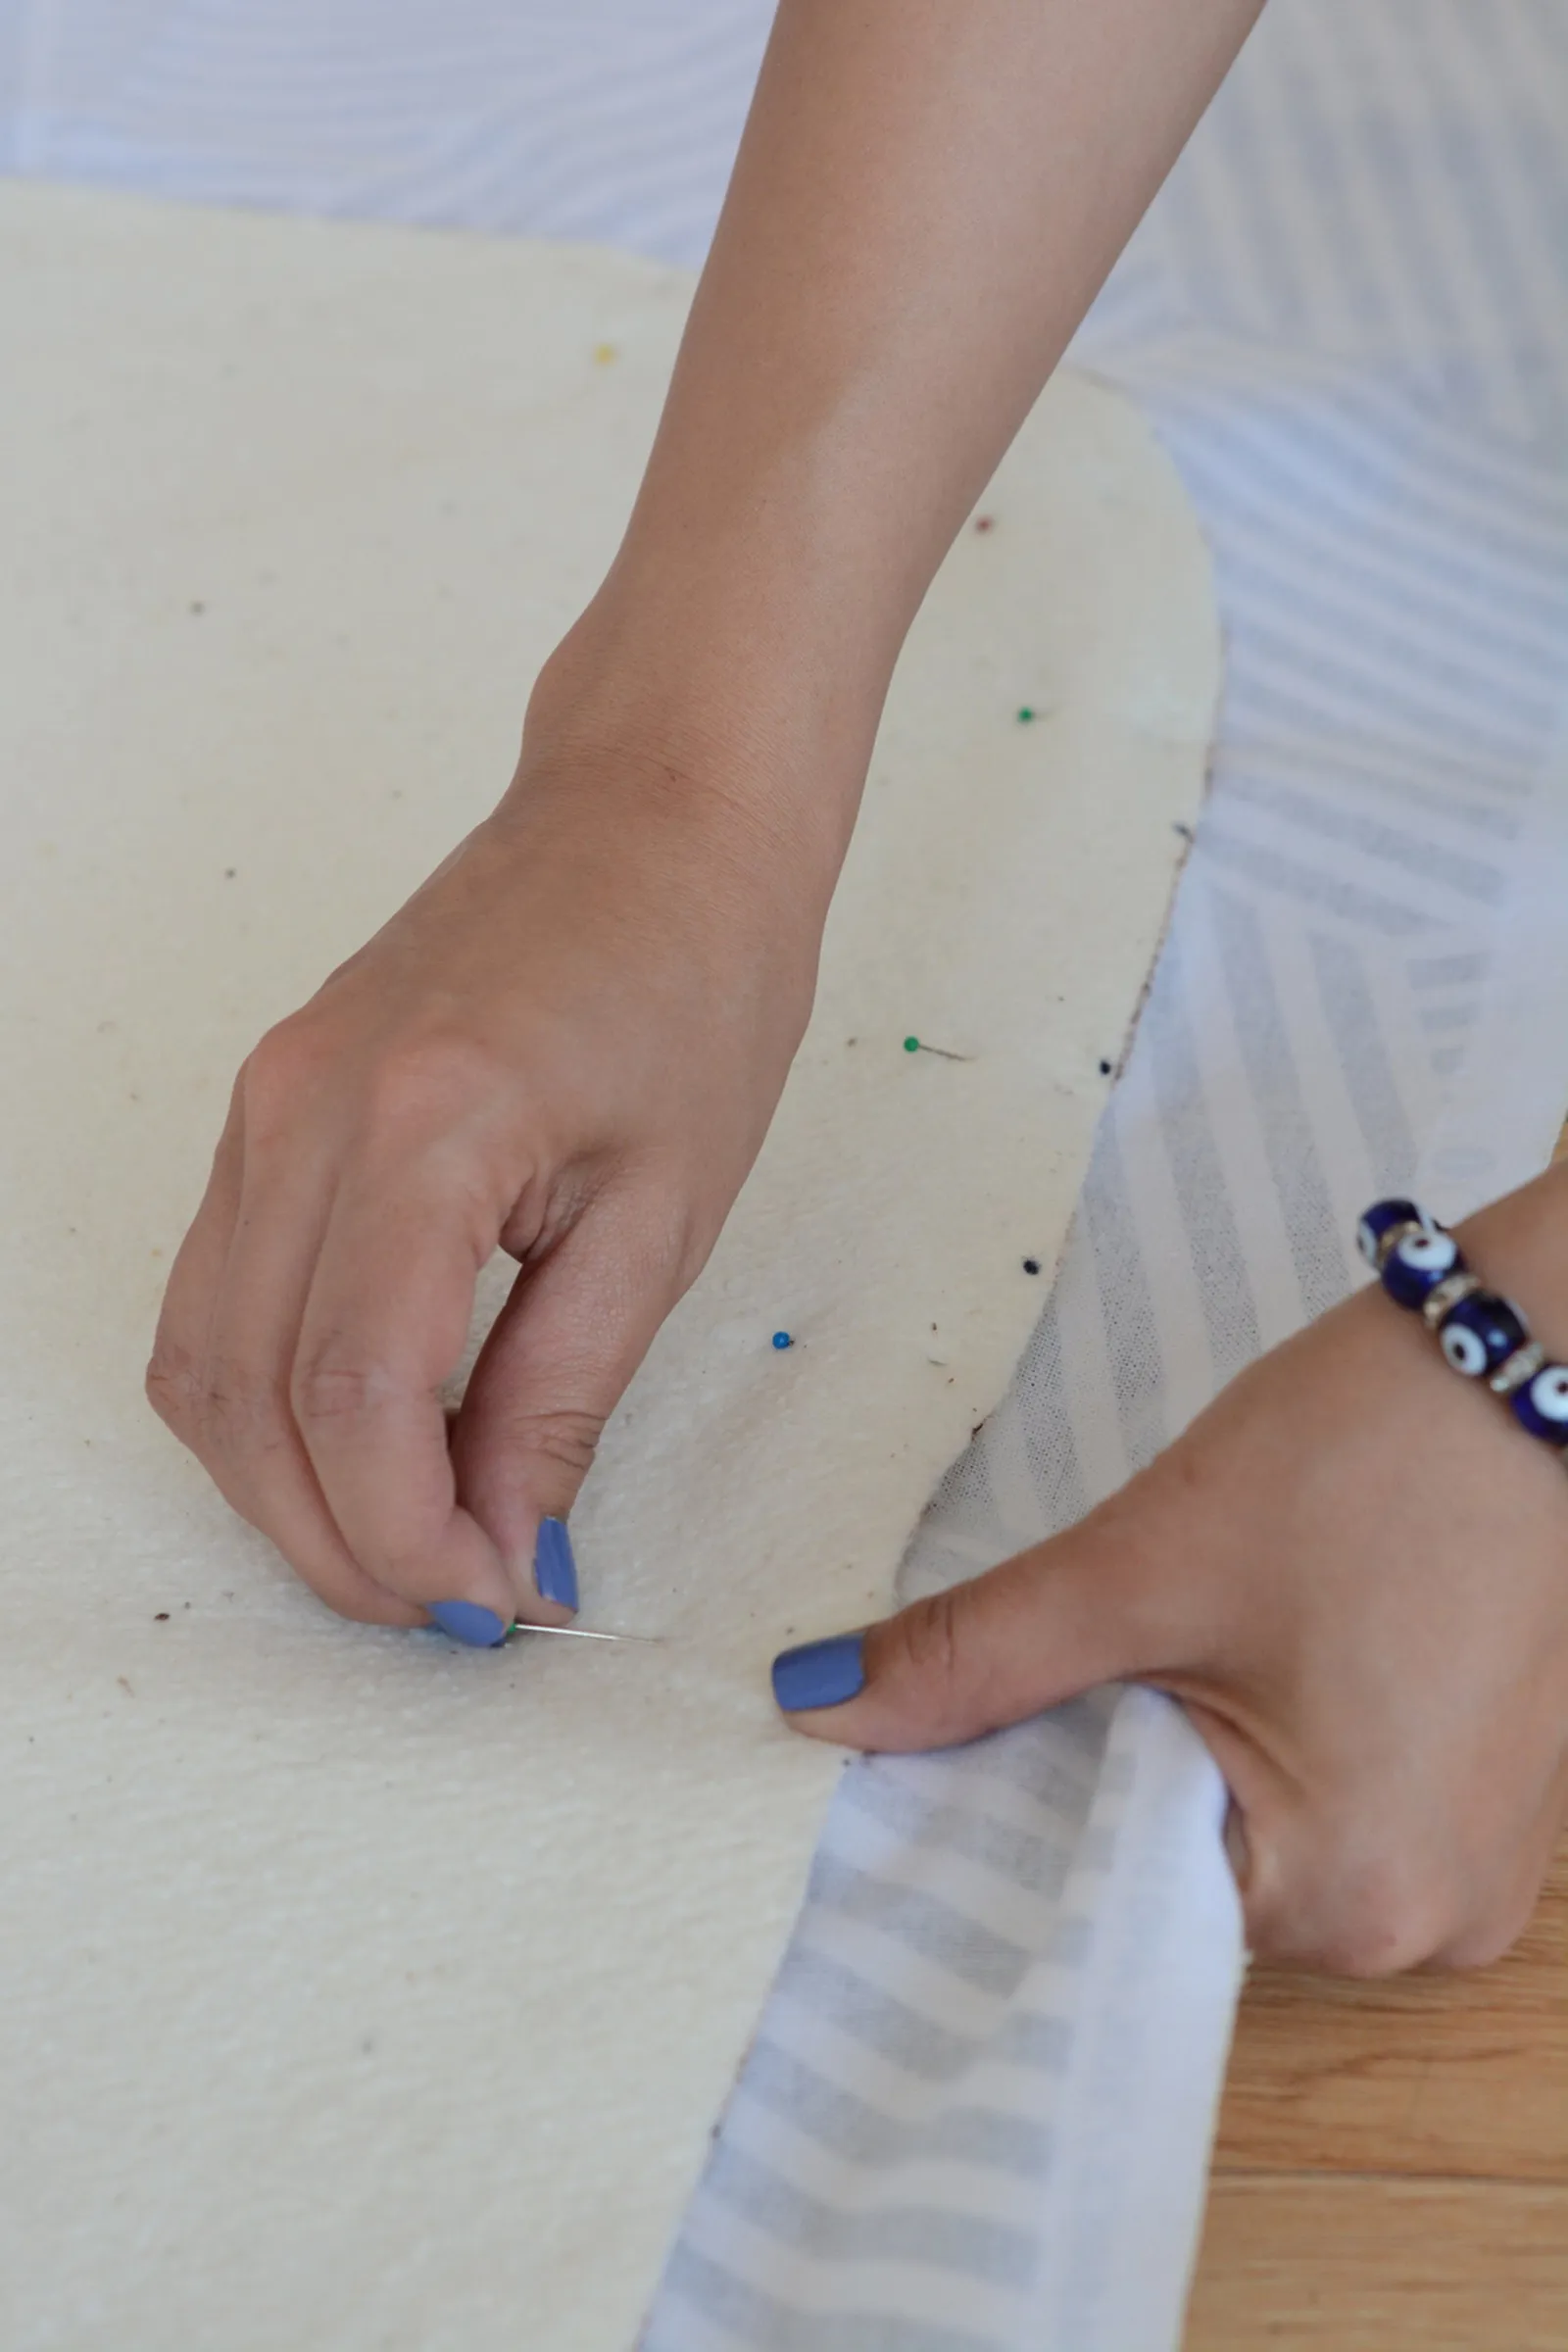
Lay the fabric right side down and place the cut batting on top, leaving 2 inches of fabric around the batting. Pin the batting to the fabric.
Step 6
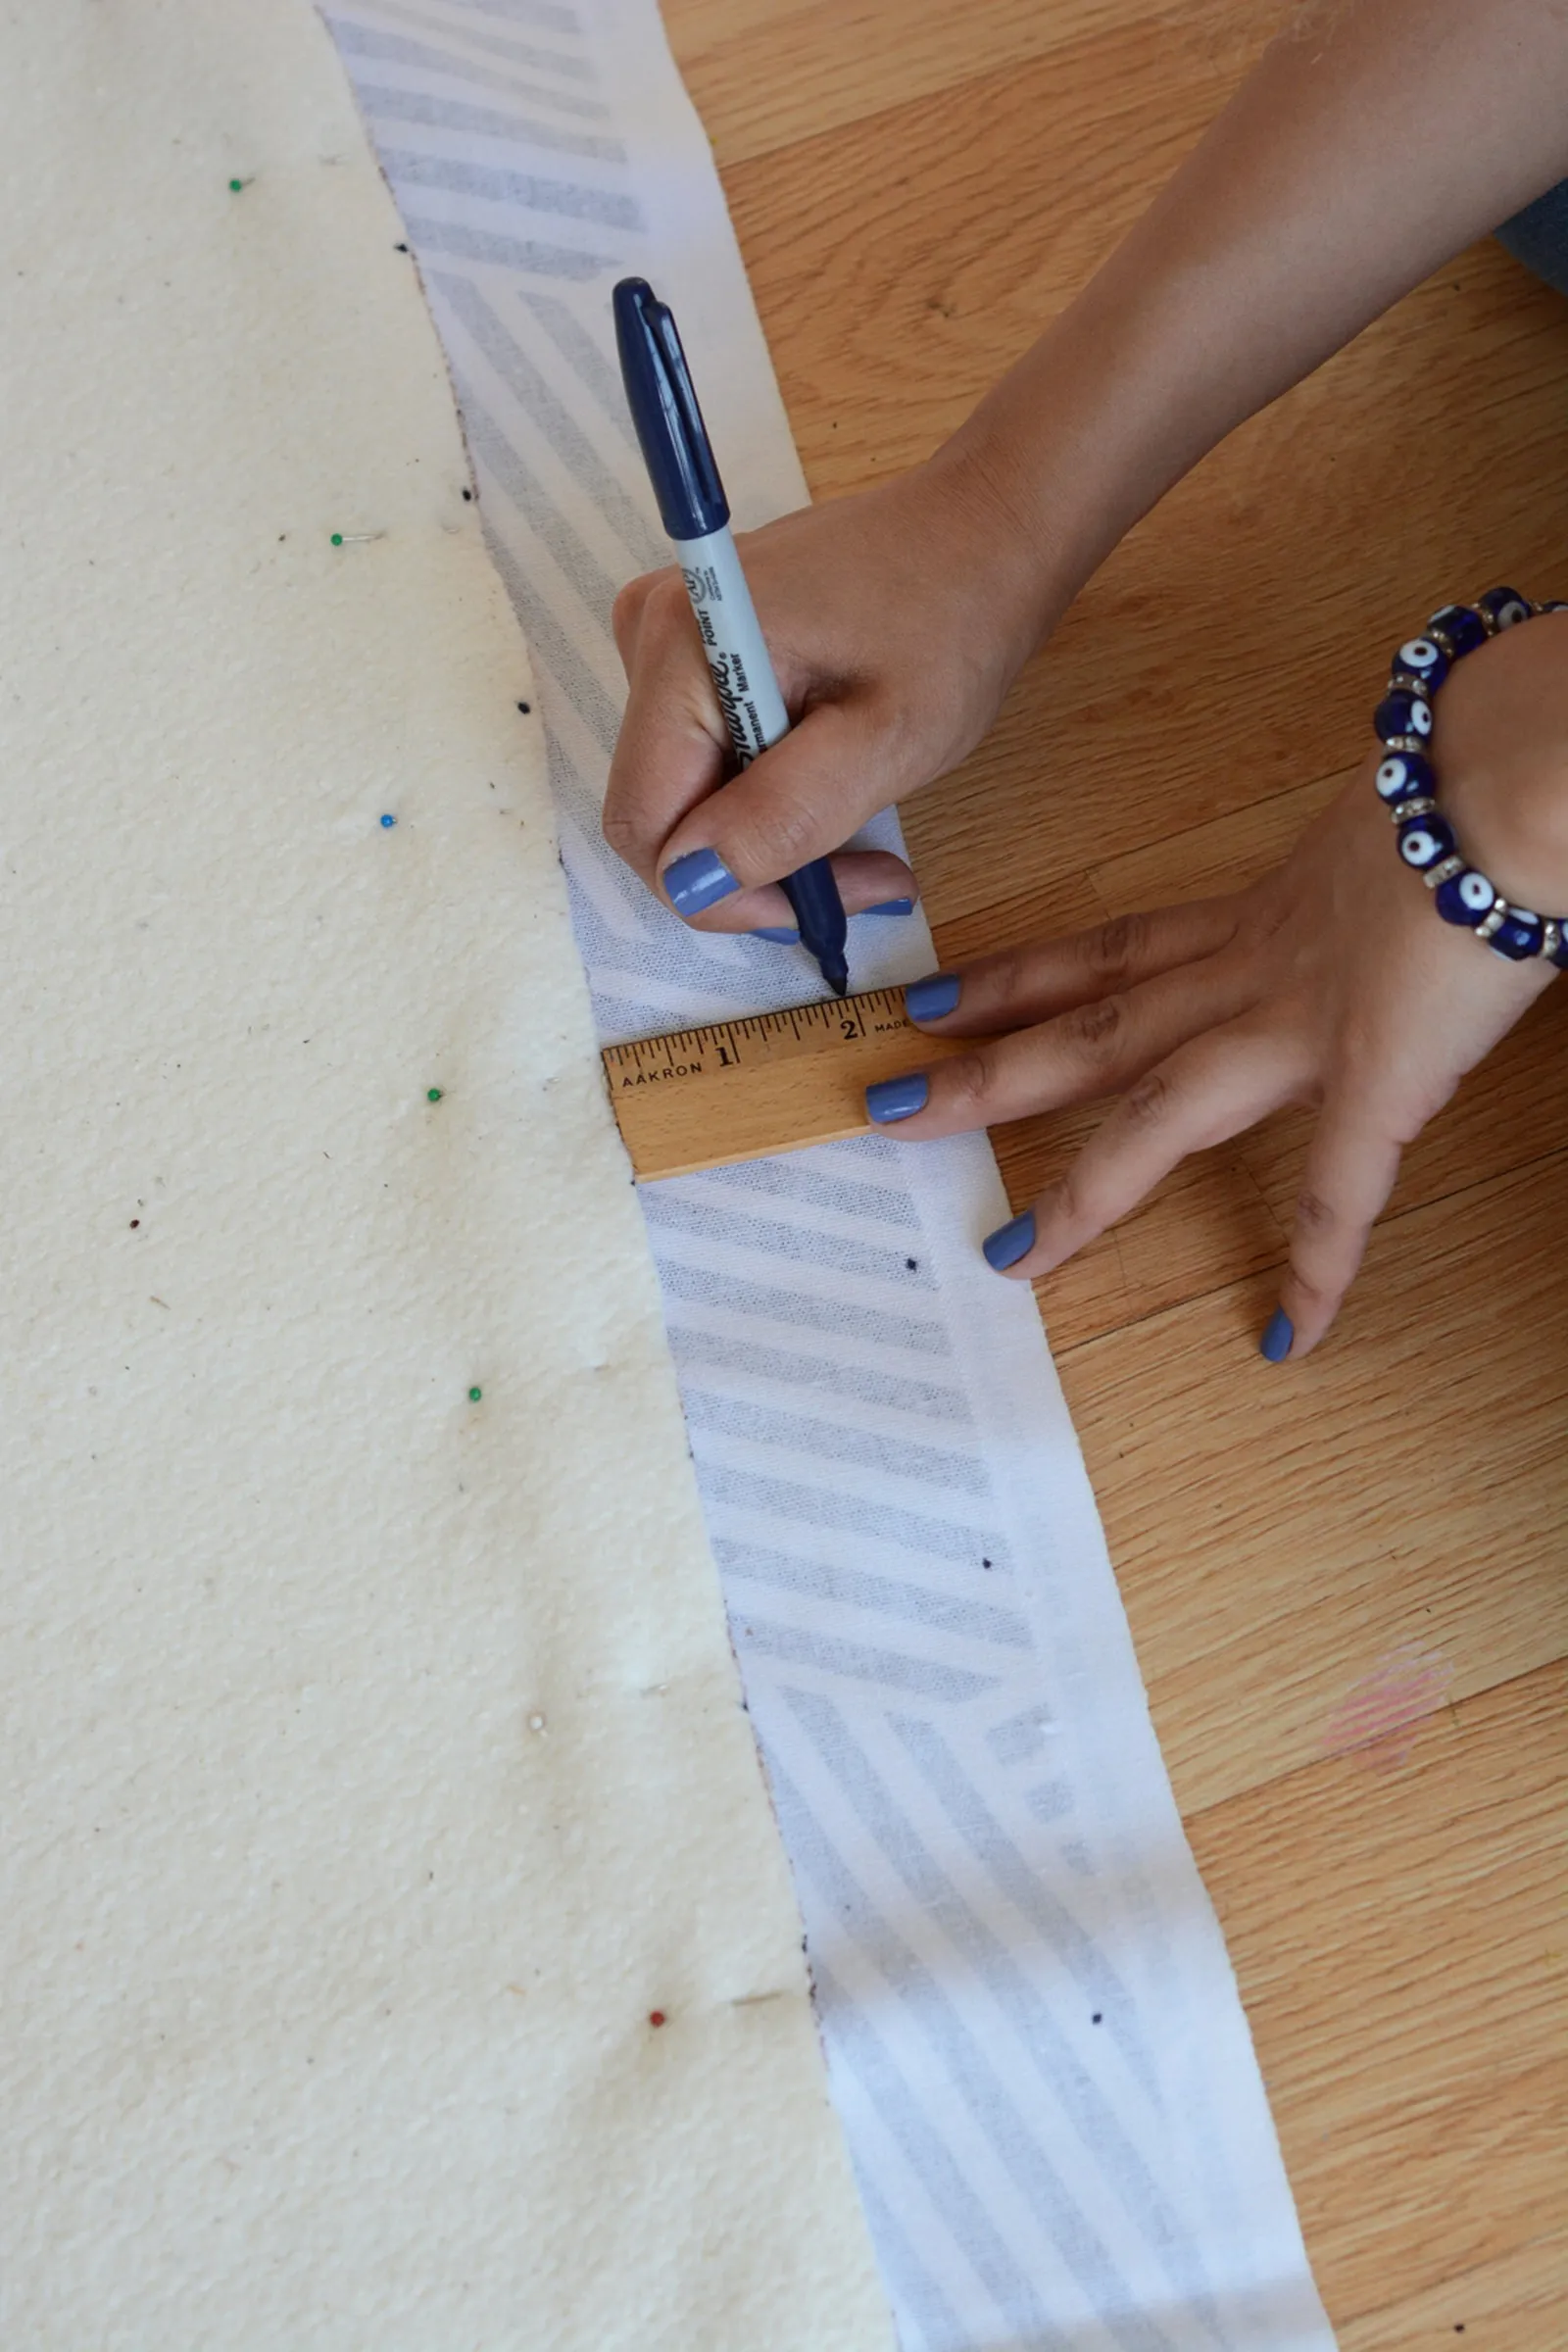
Mark every 2 inches around the fabric, just as you did for the batting.
Step 7
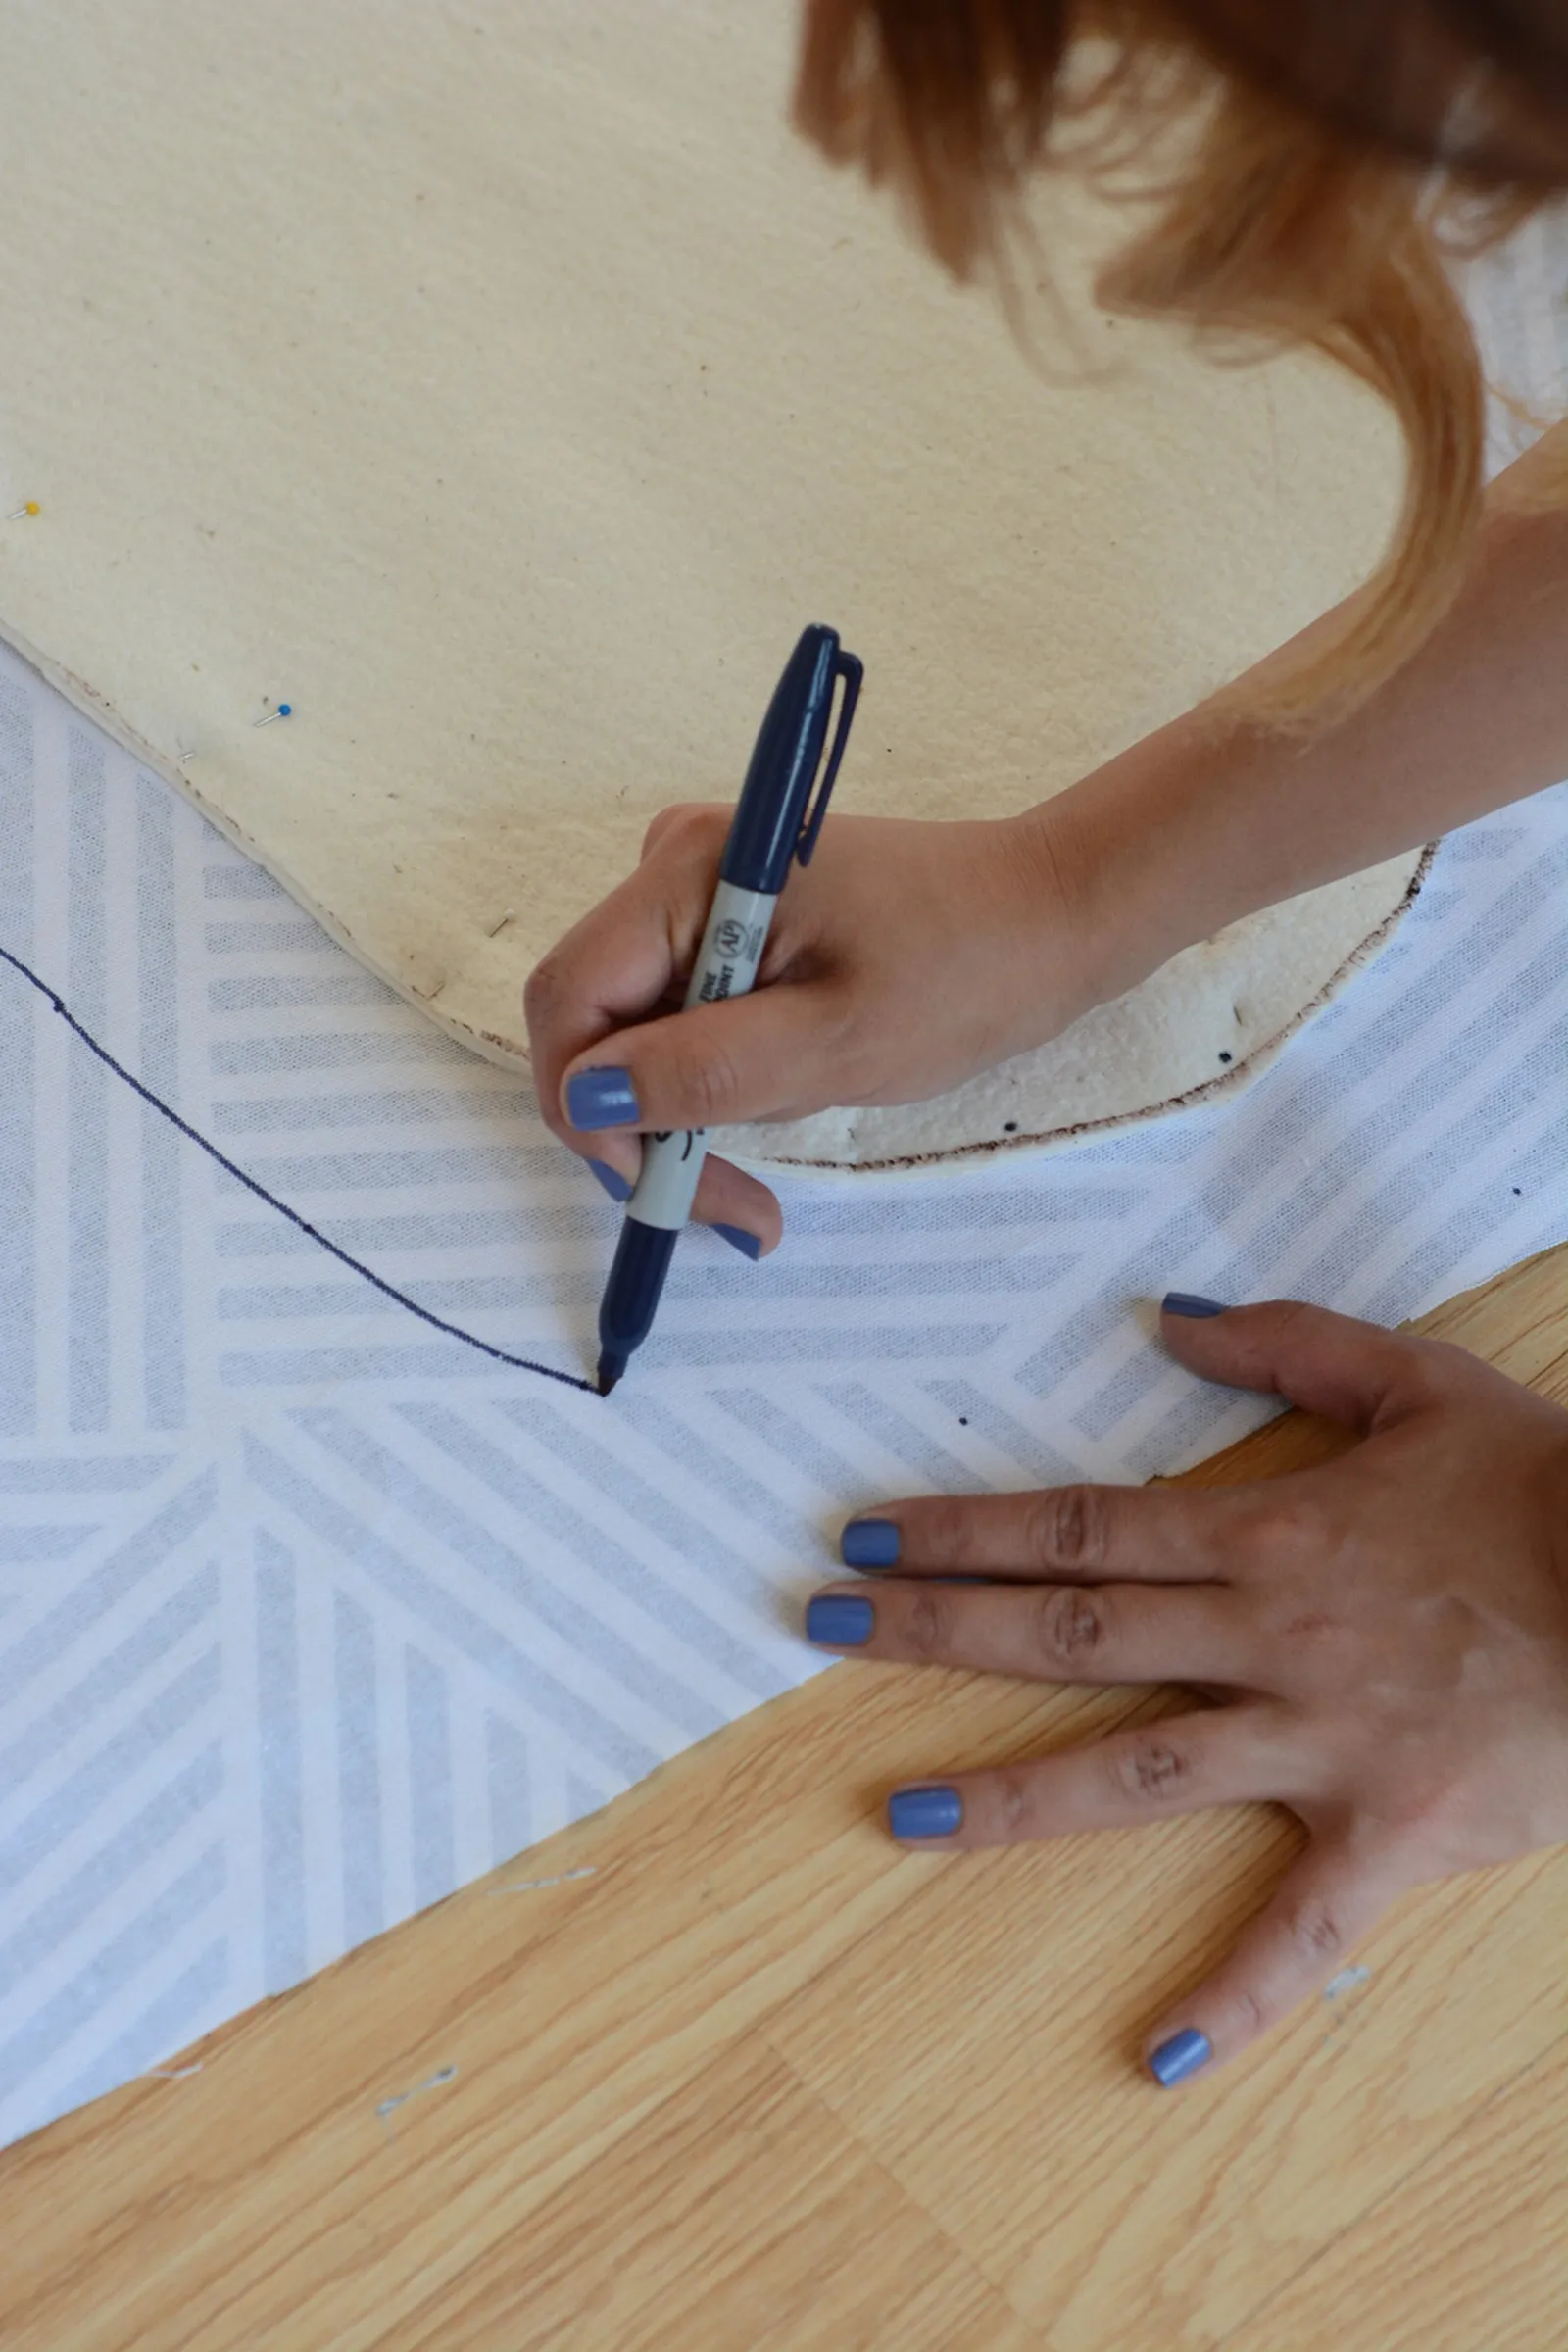
Connect the dots again.
Step 8
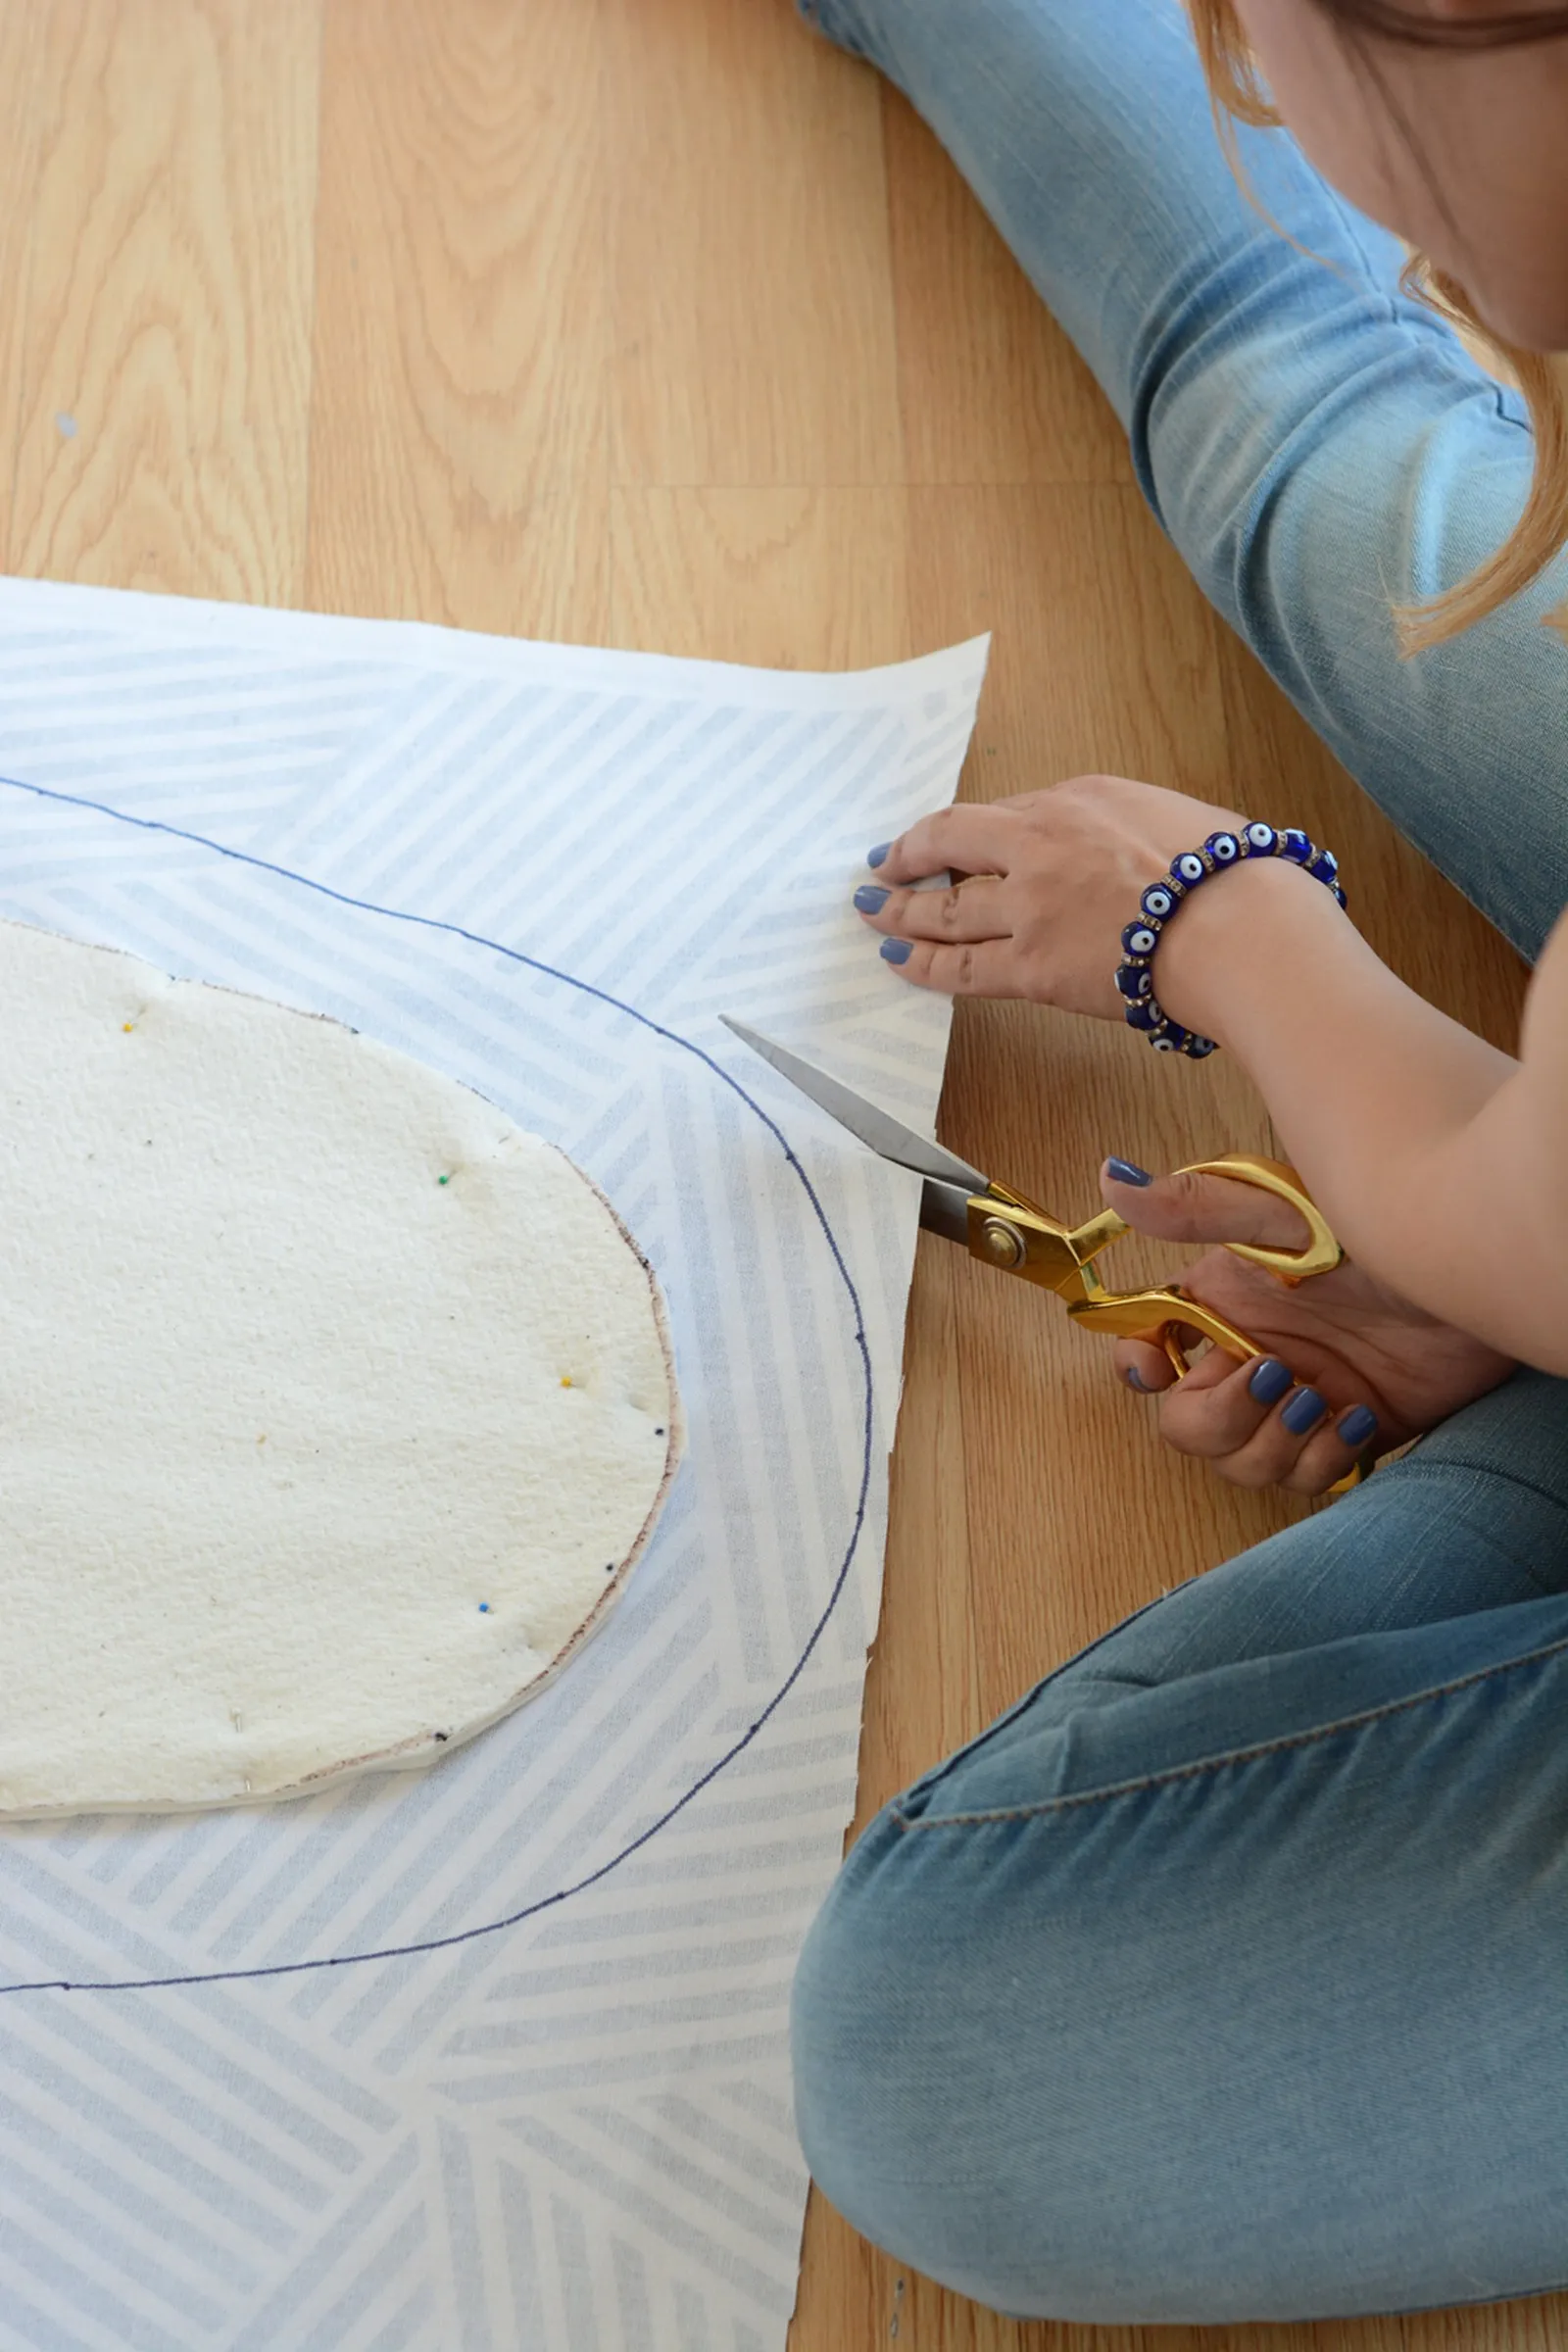
Cut out the fabric.
Step 9
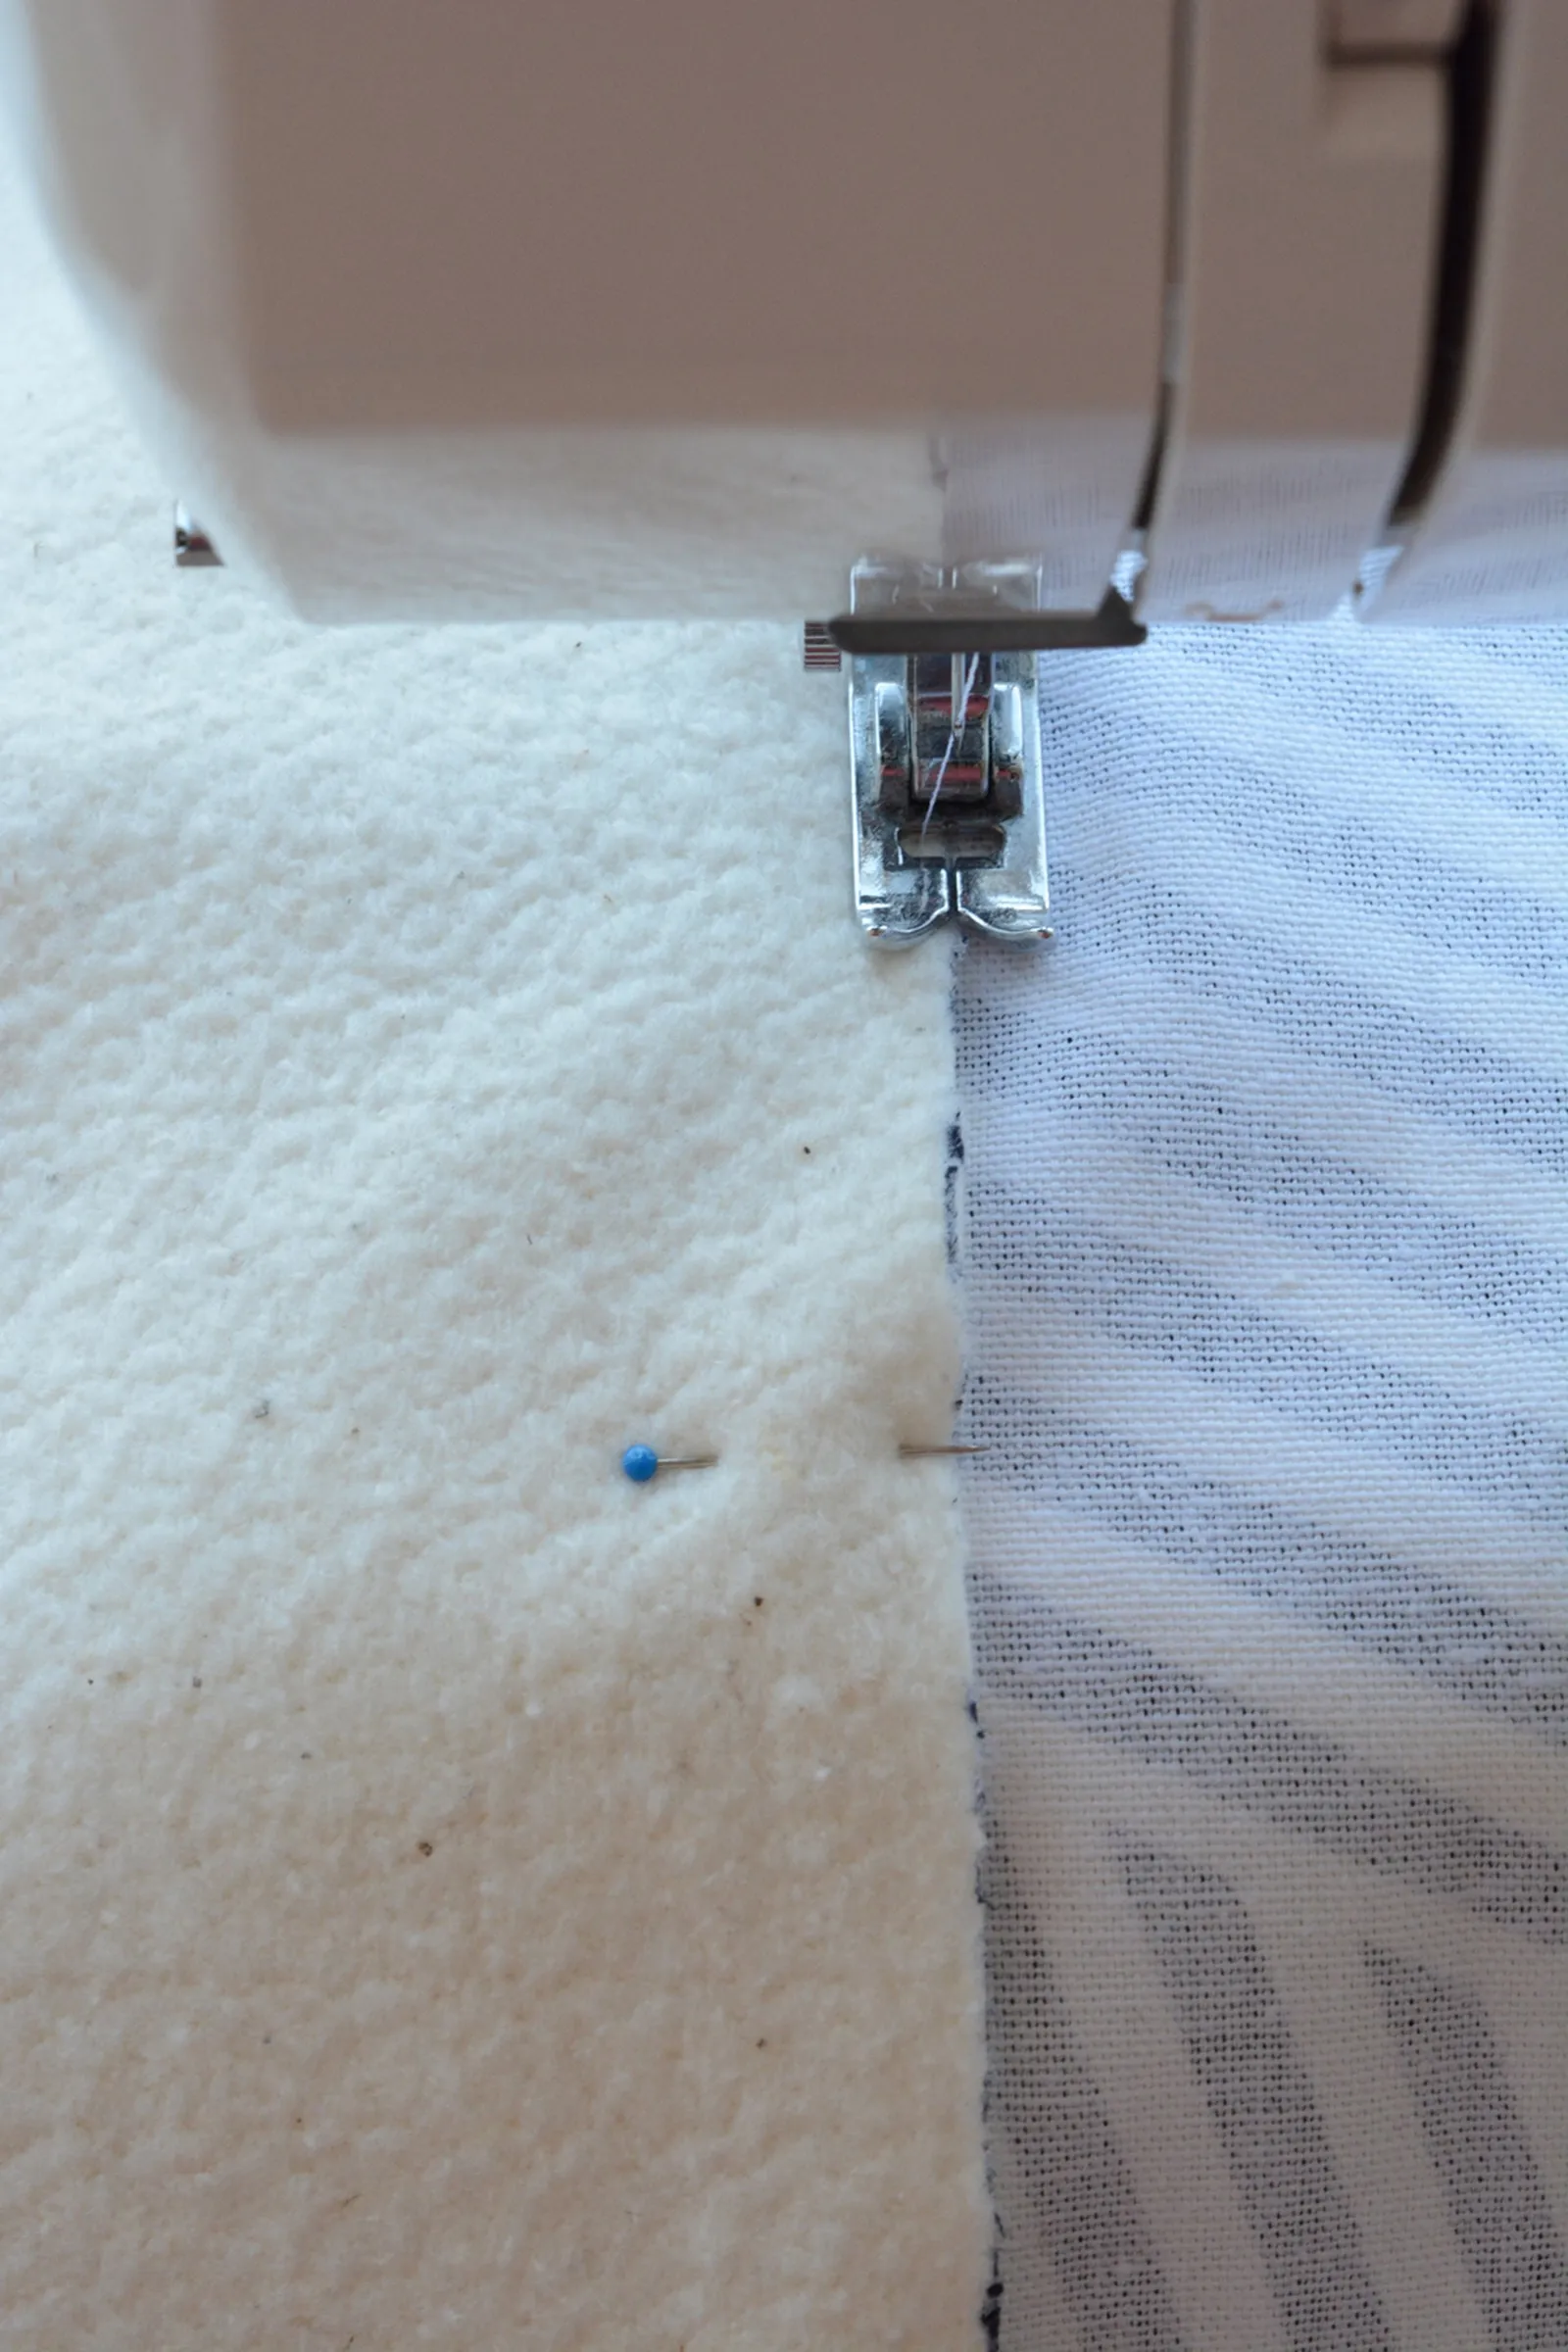
With the batting still pinned to the fabric, zigzag stitch around the batting edge. Remove the pins.
Step 10
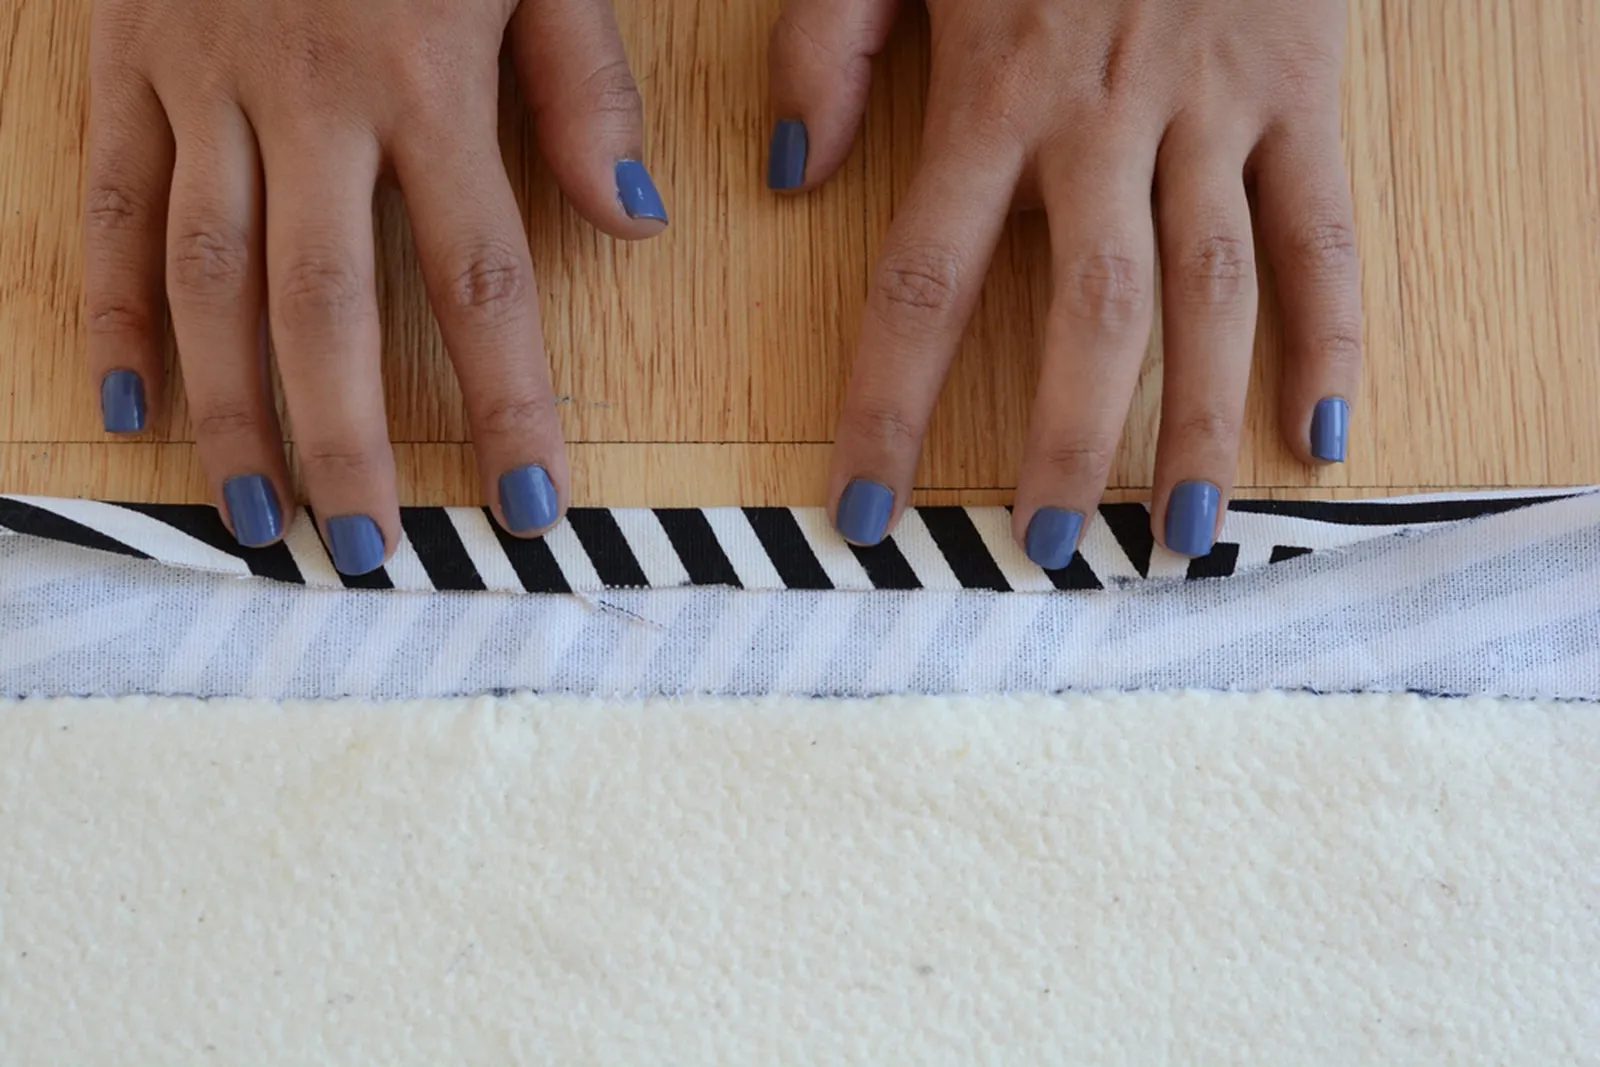
Place the fabric right side down again. Fold the edge over 1 inch.
Step 11
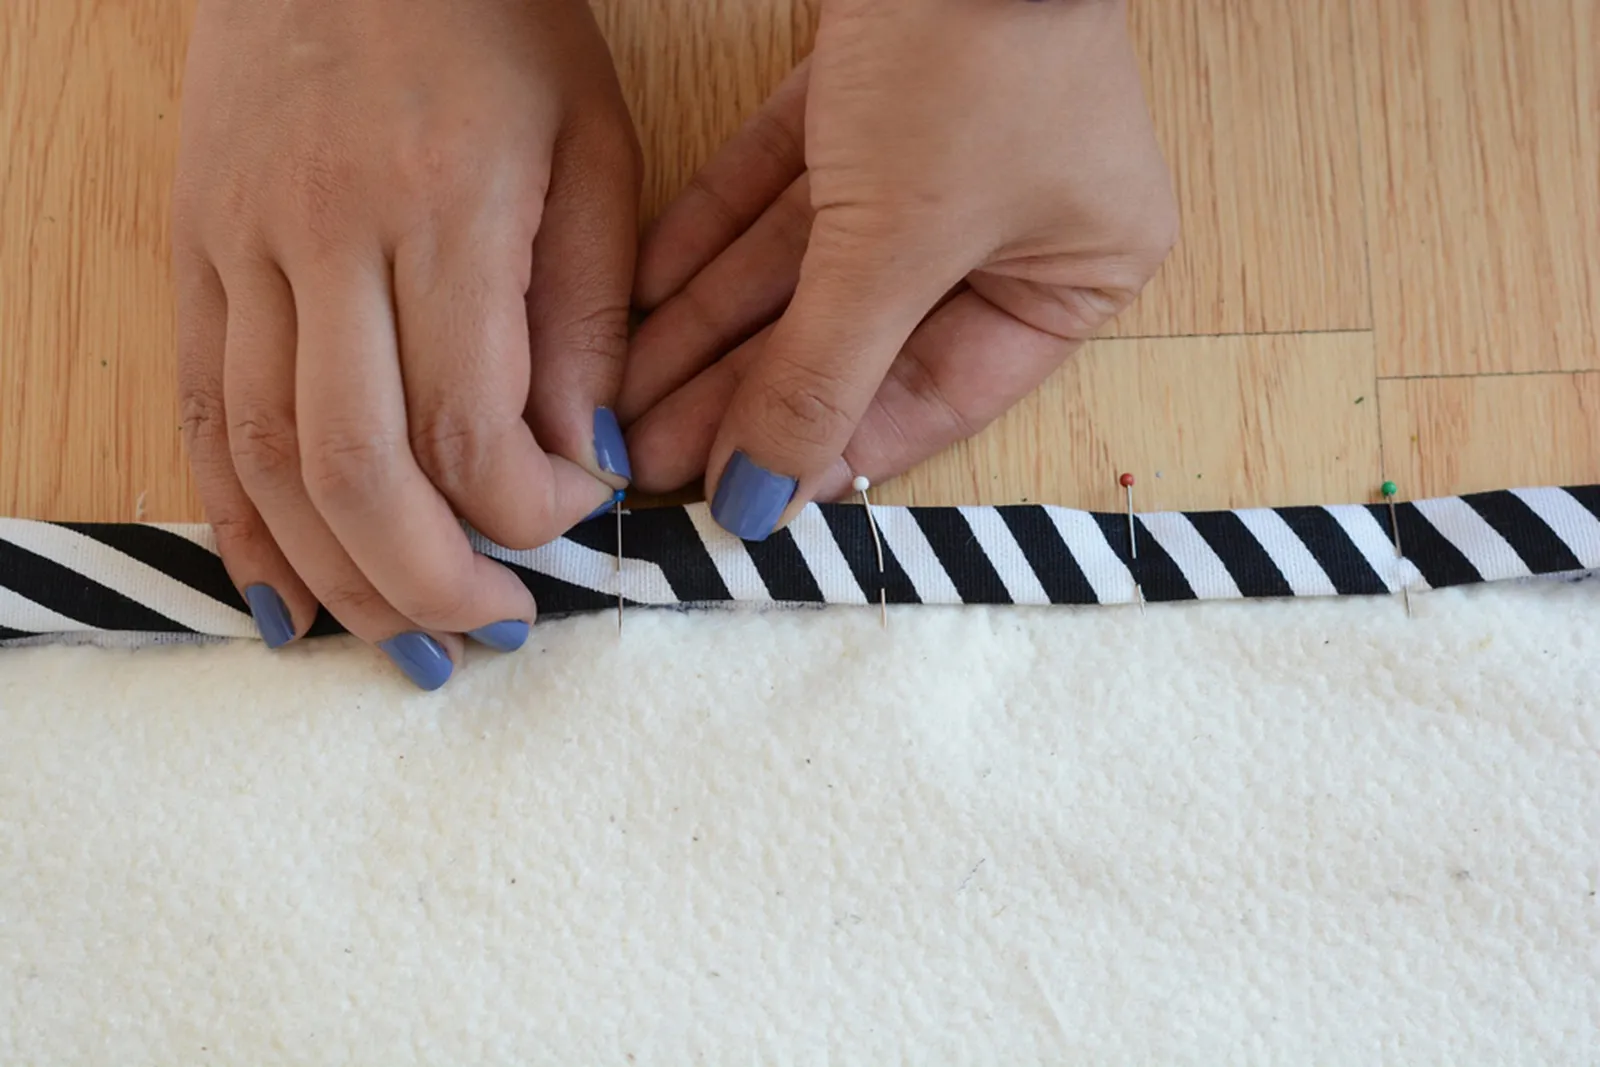
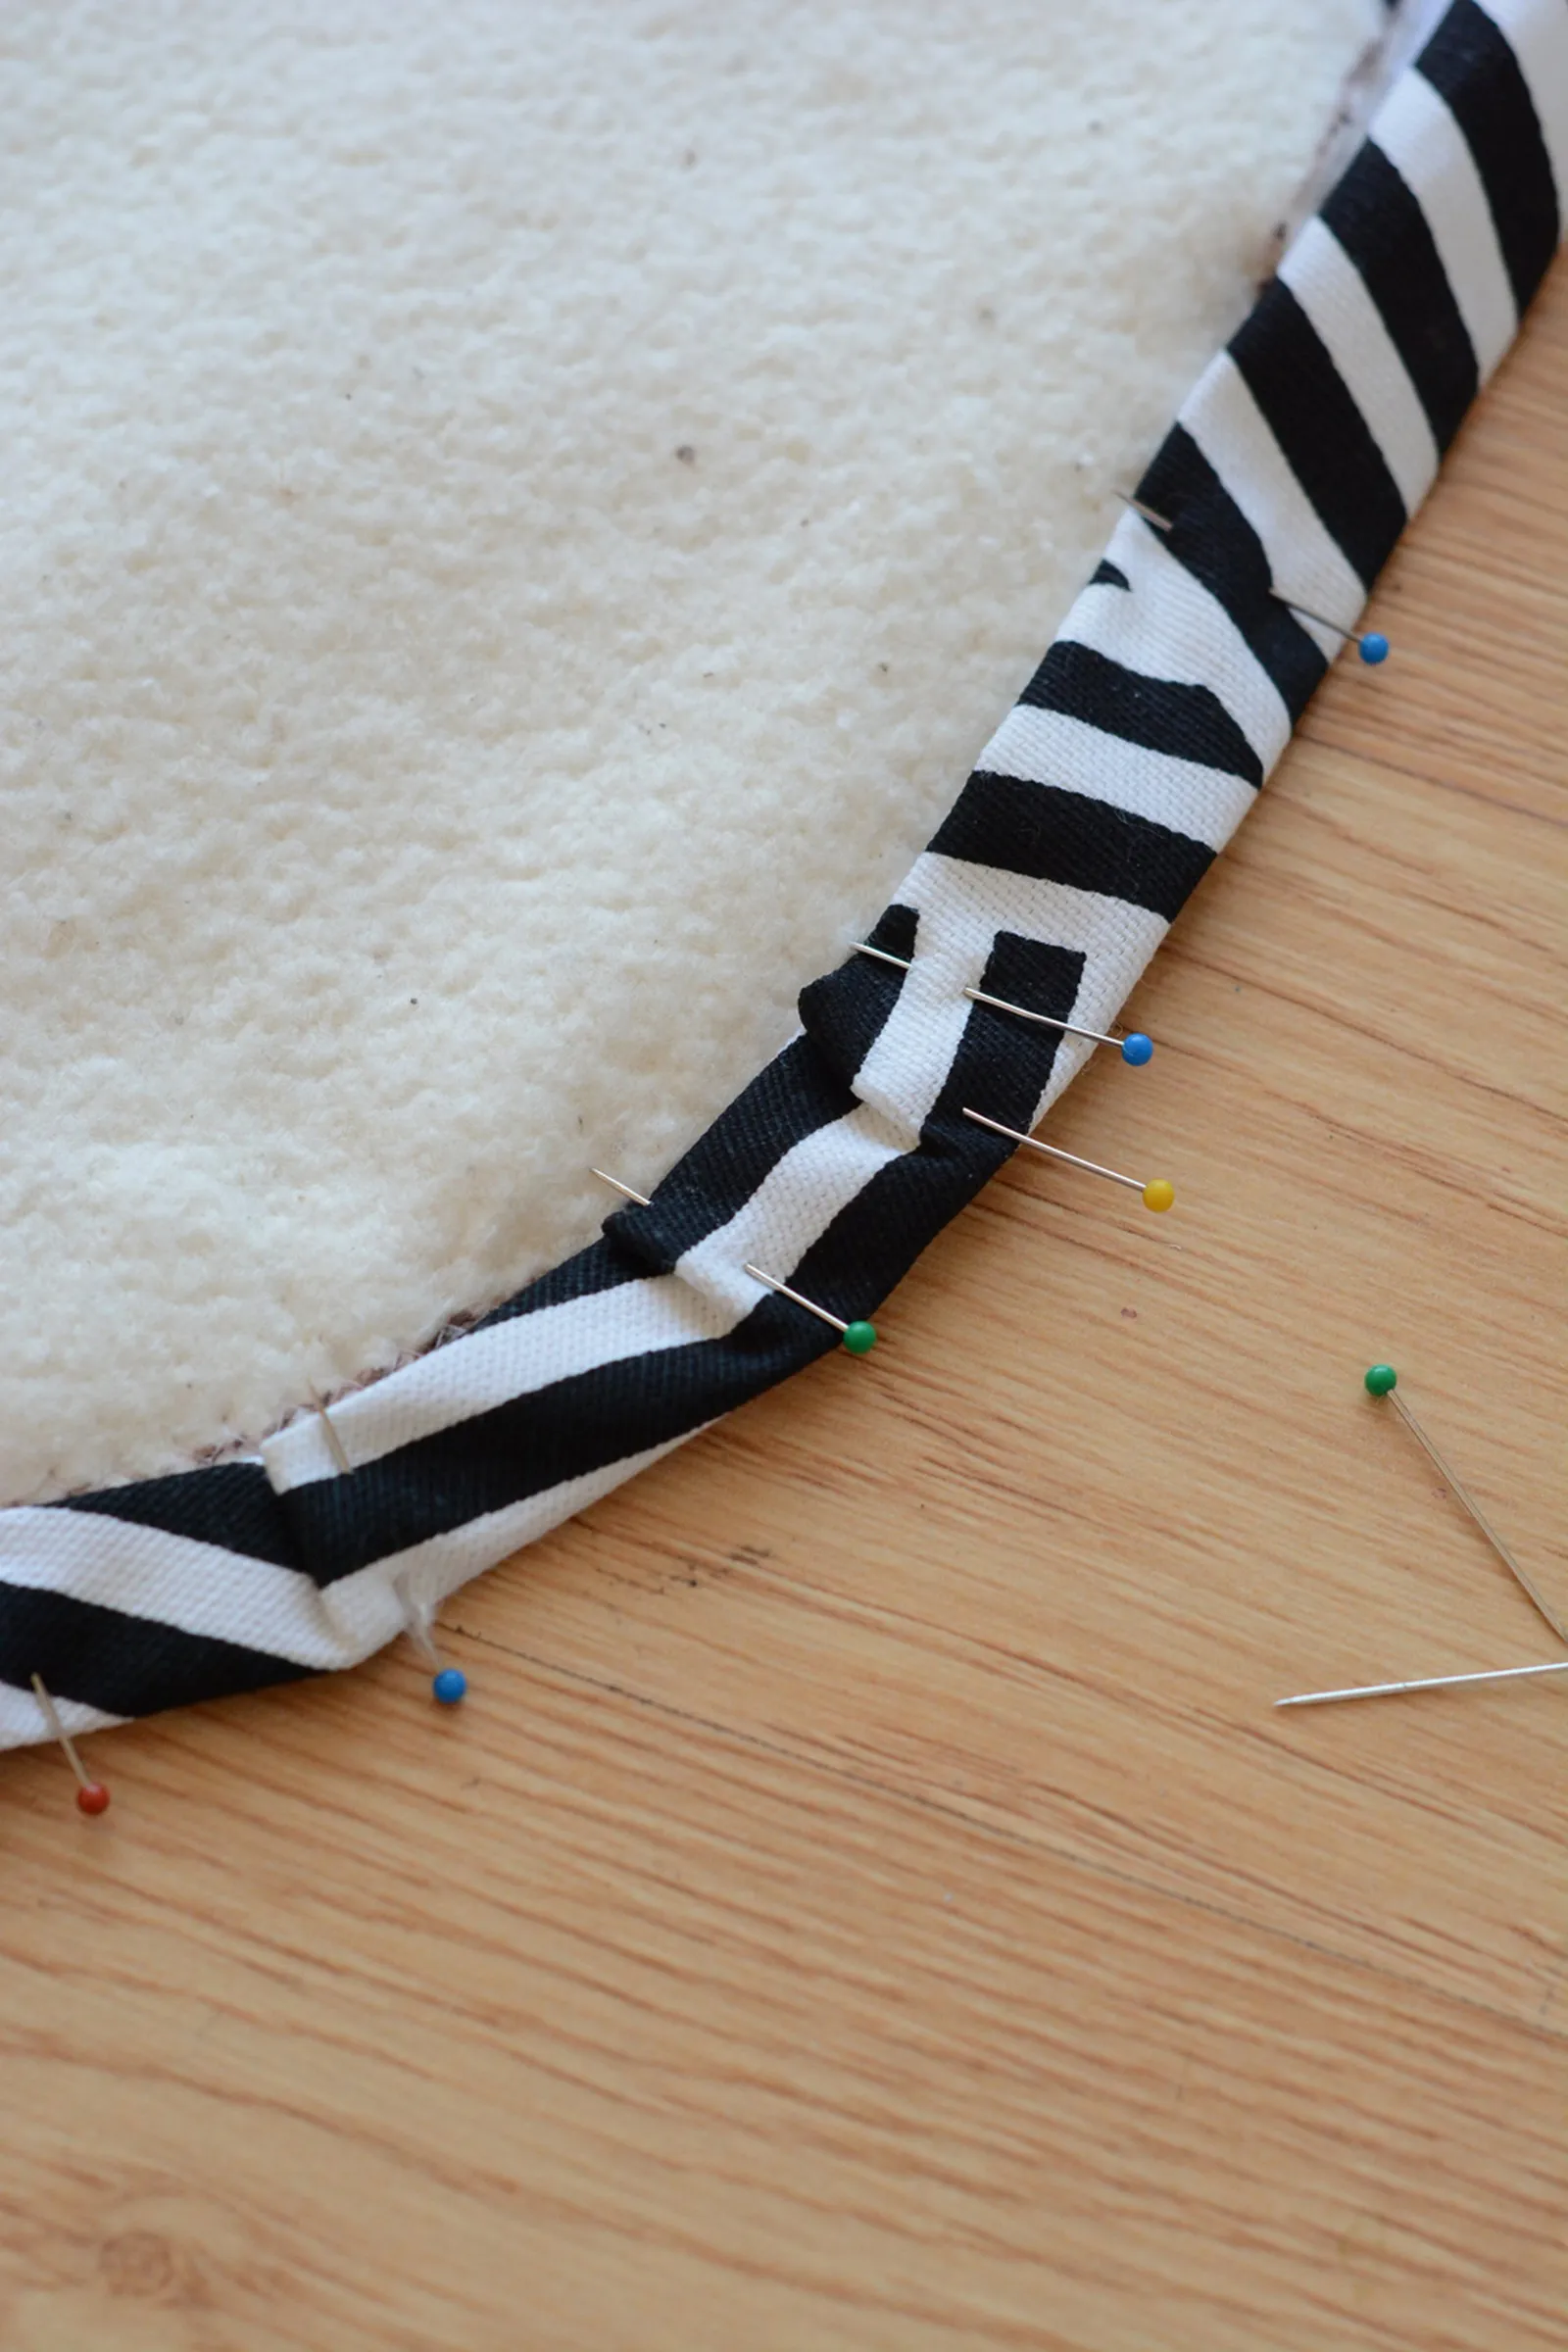
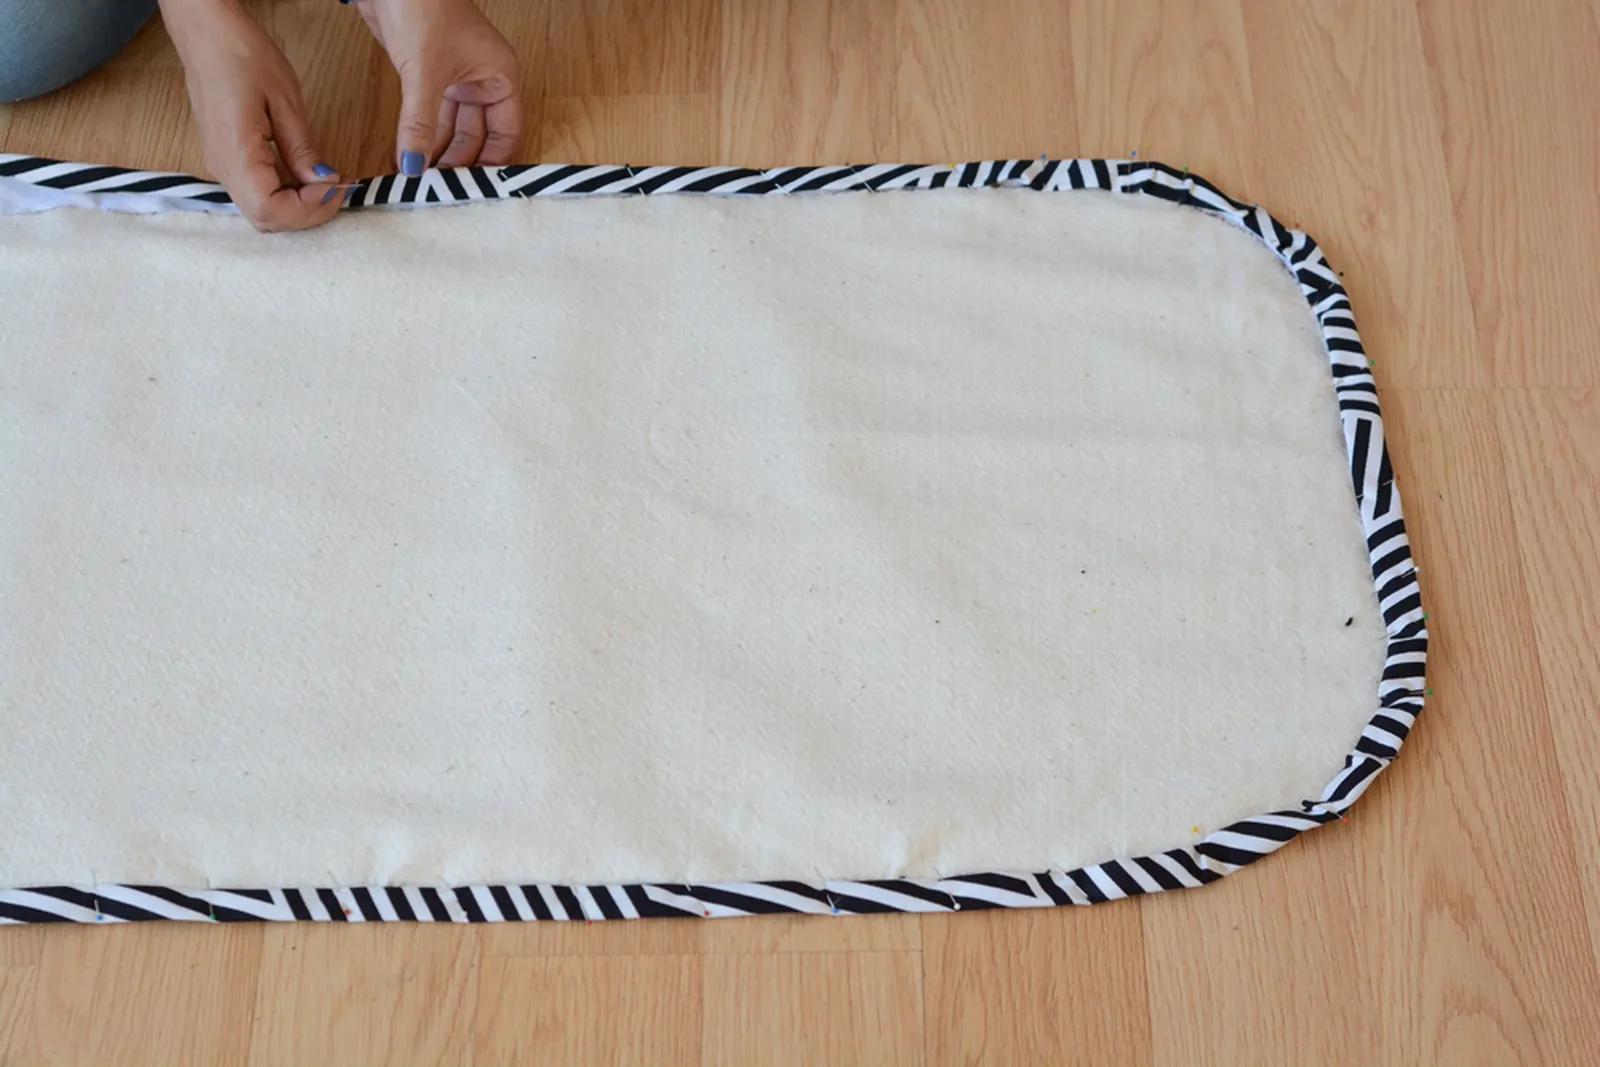
Fold it over another inch and pin. The folded edge should sit right against the batting. Pin around the entire cover.
Step 12
The corners take a little care. You'll need to make small tucks so the fabric curves around the corners. Pin the tucks flat.
Step 13
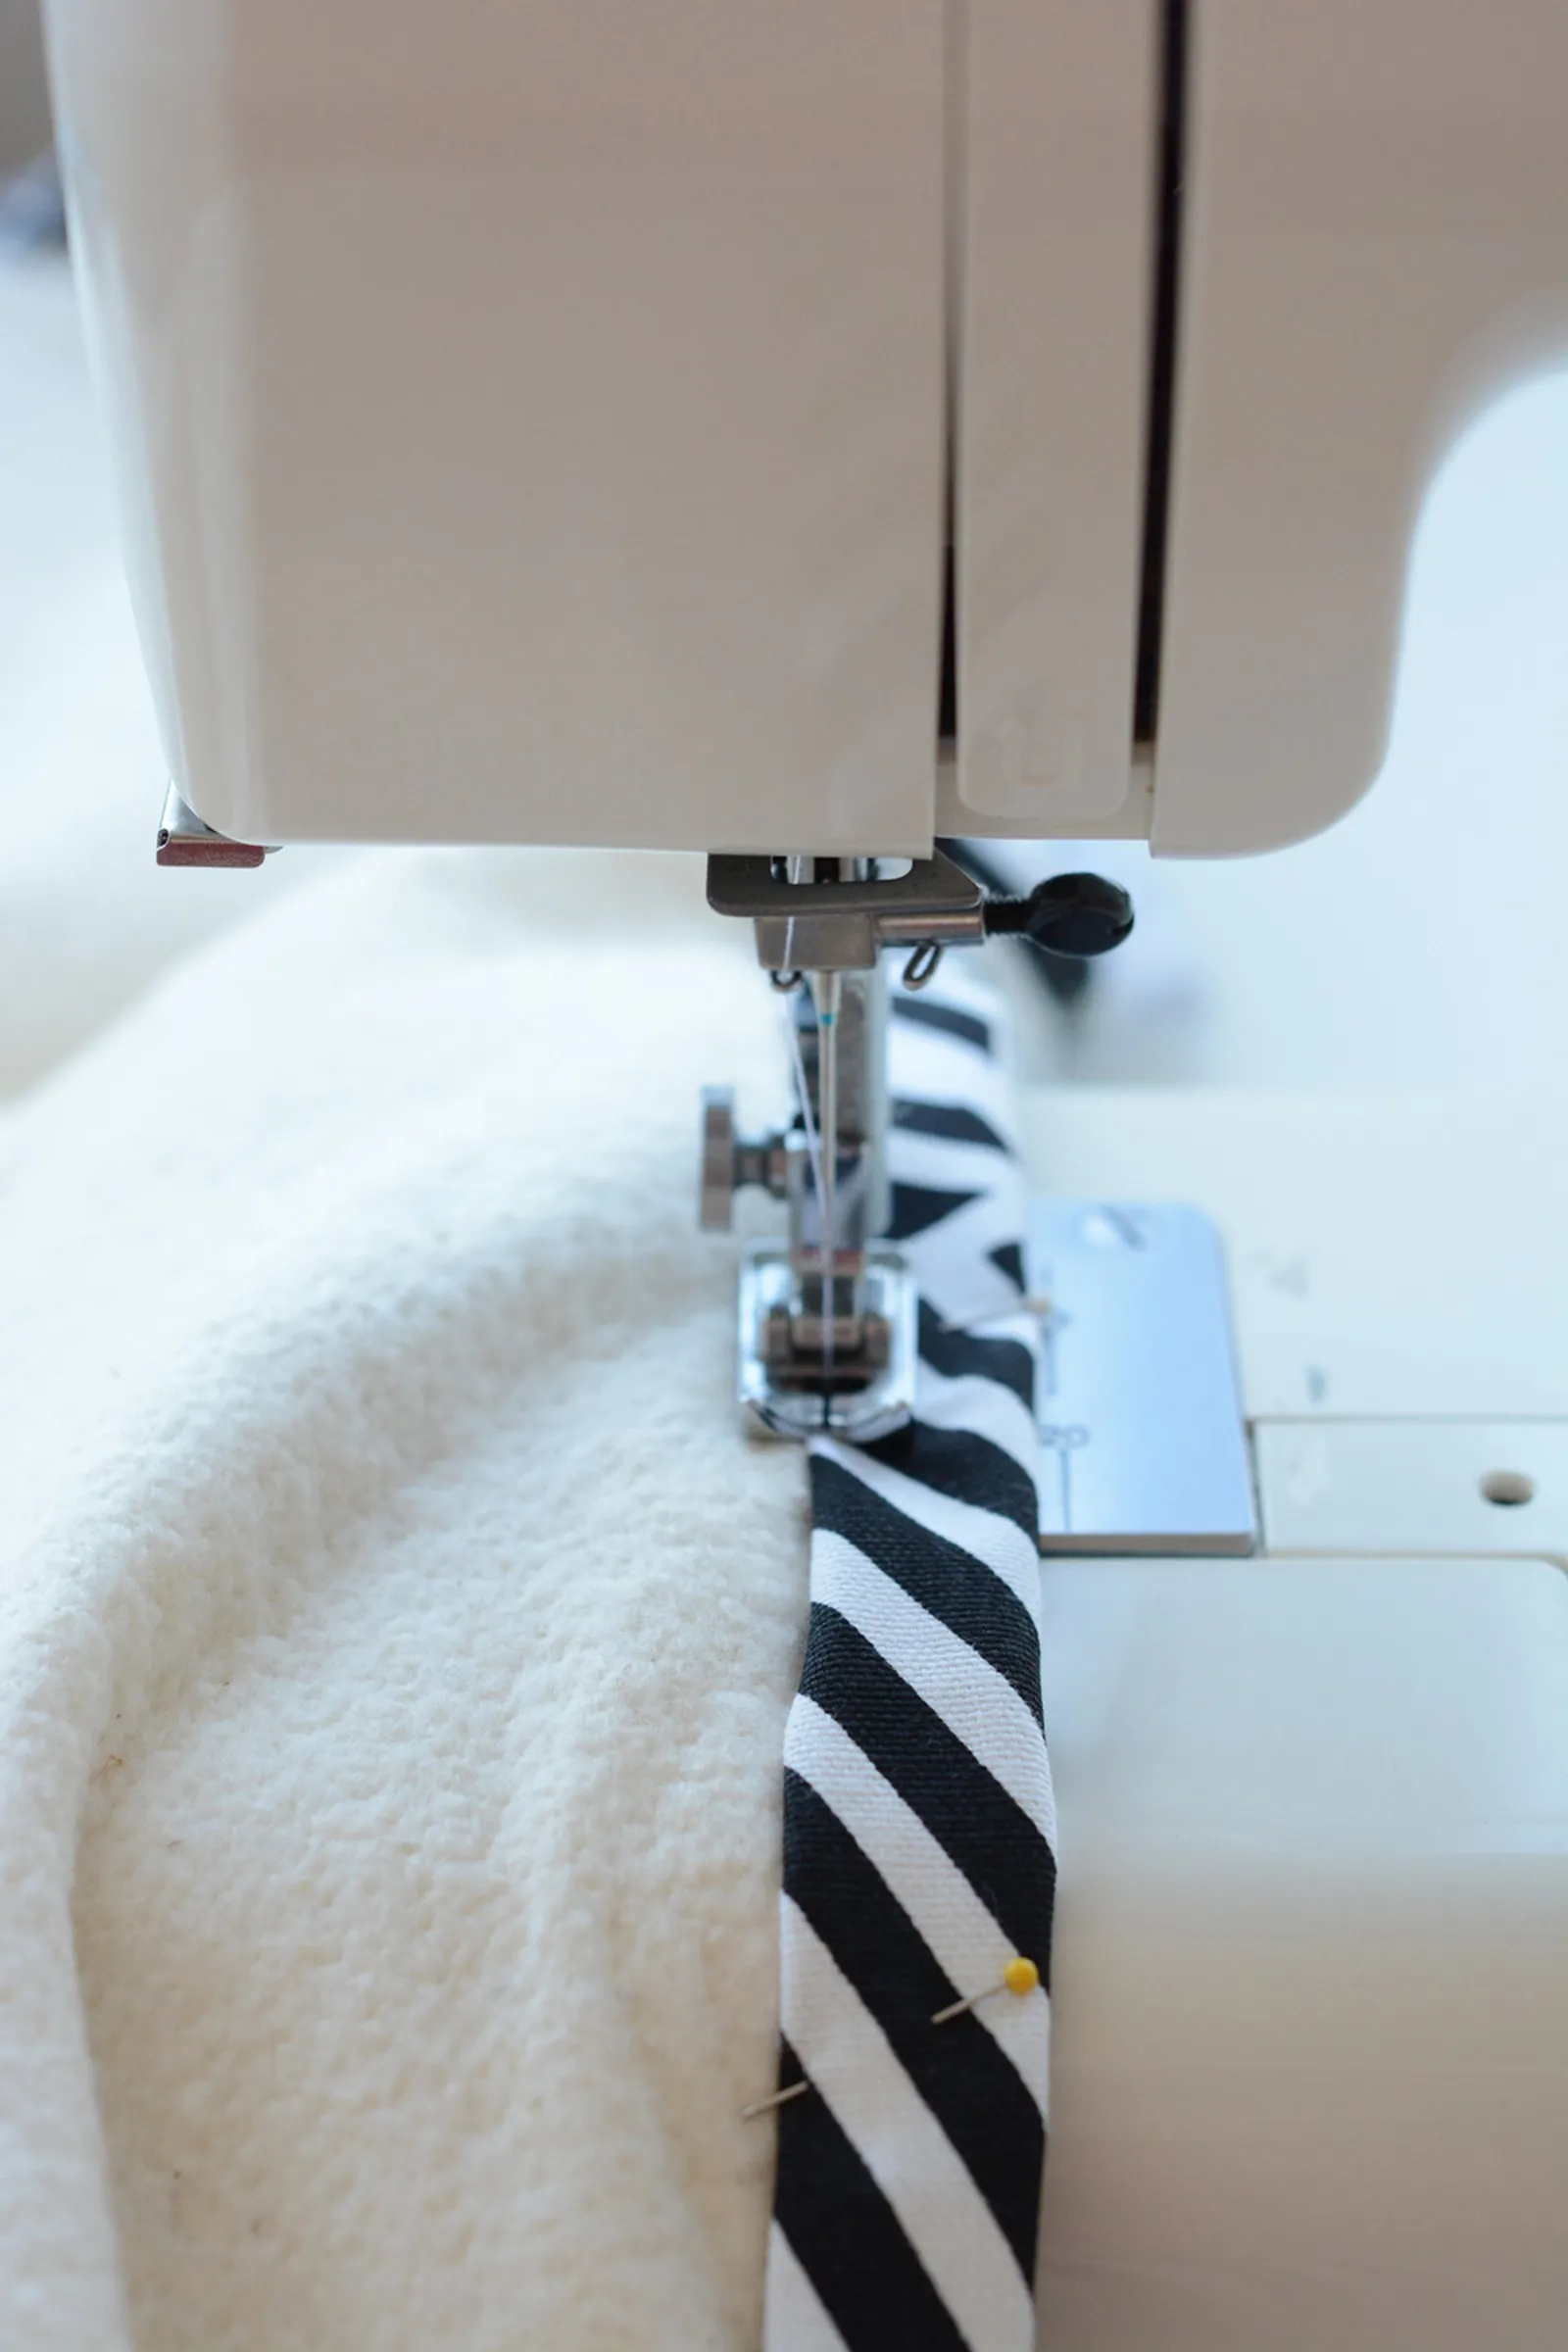
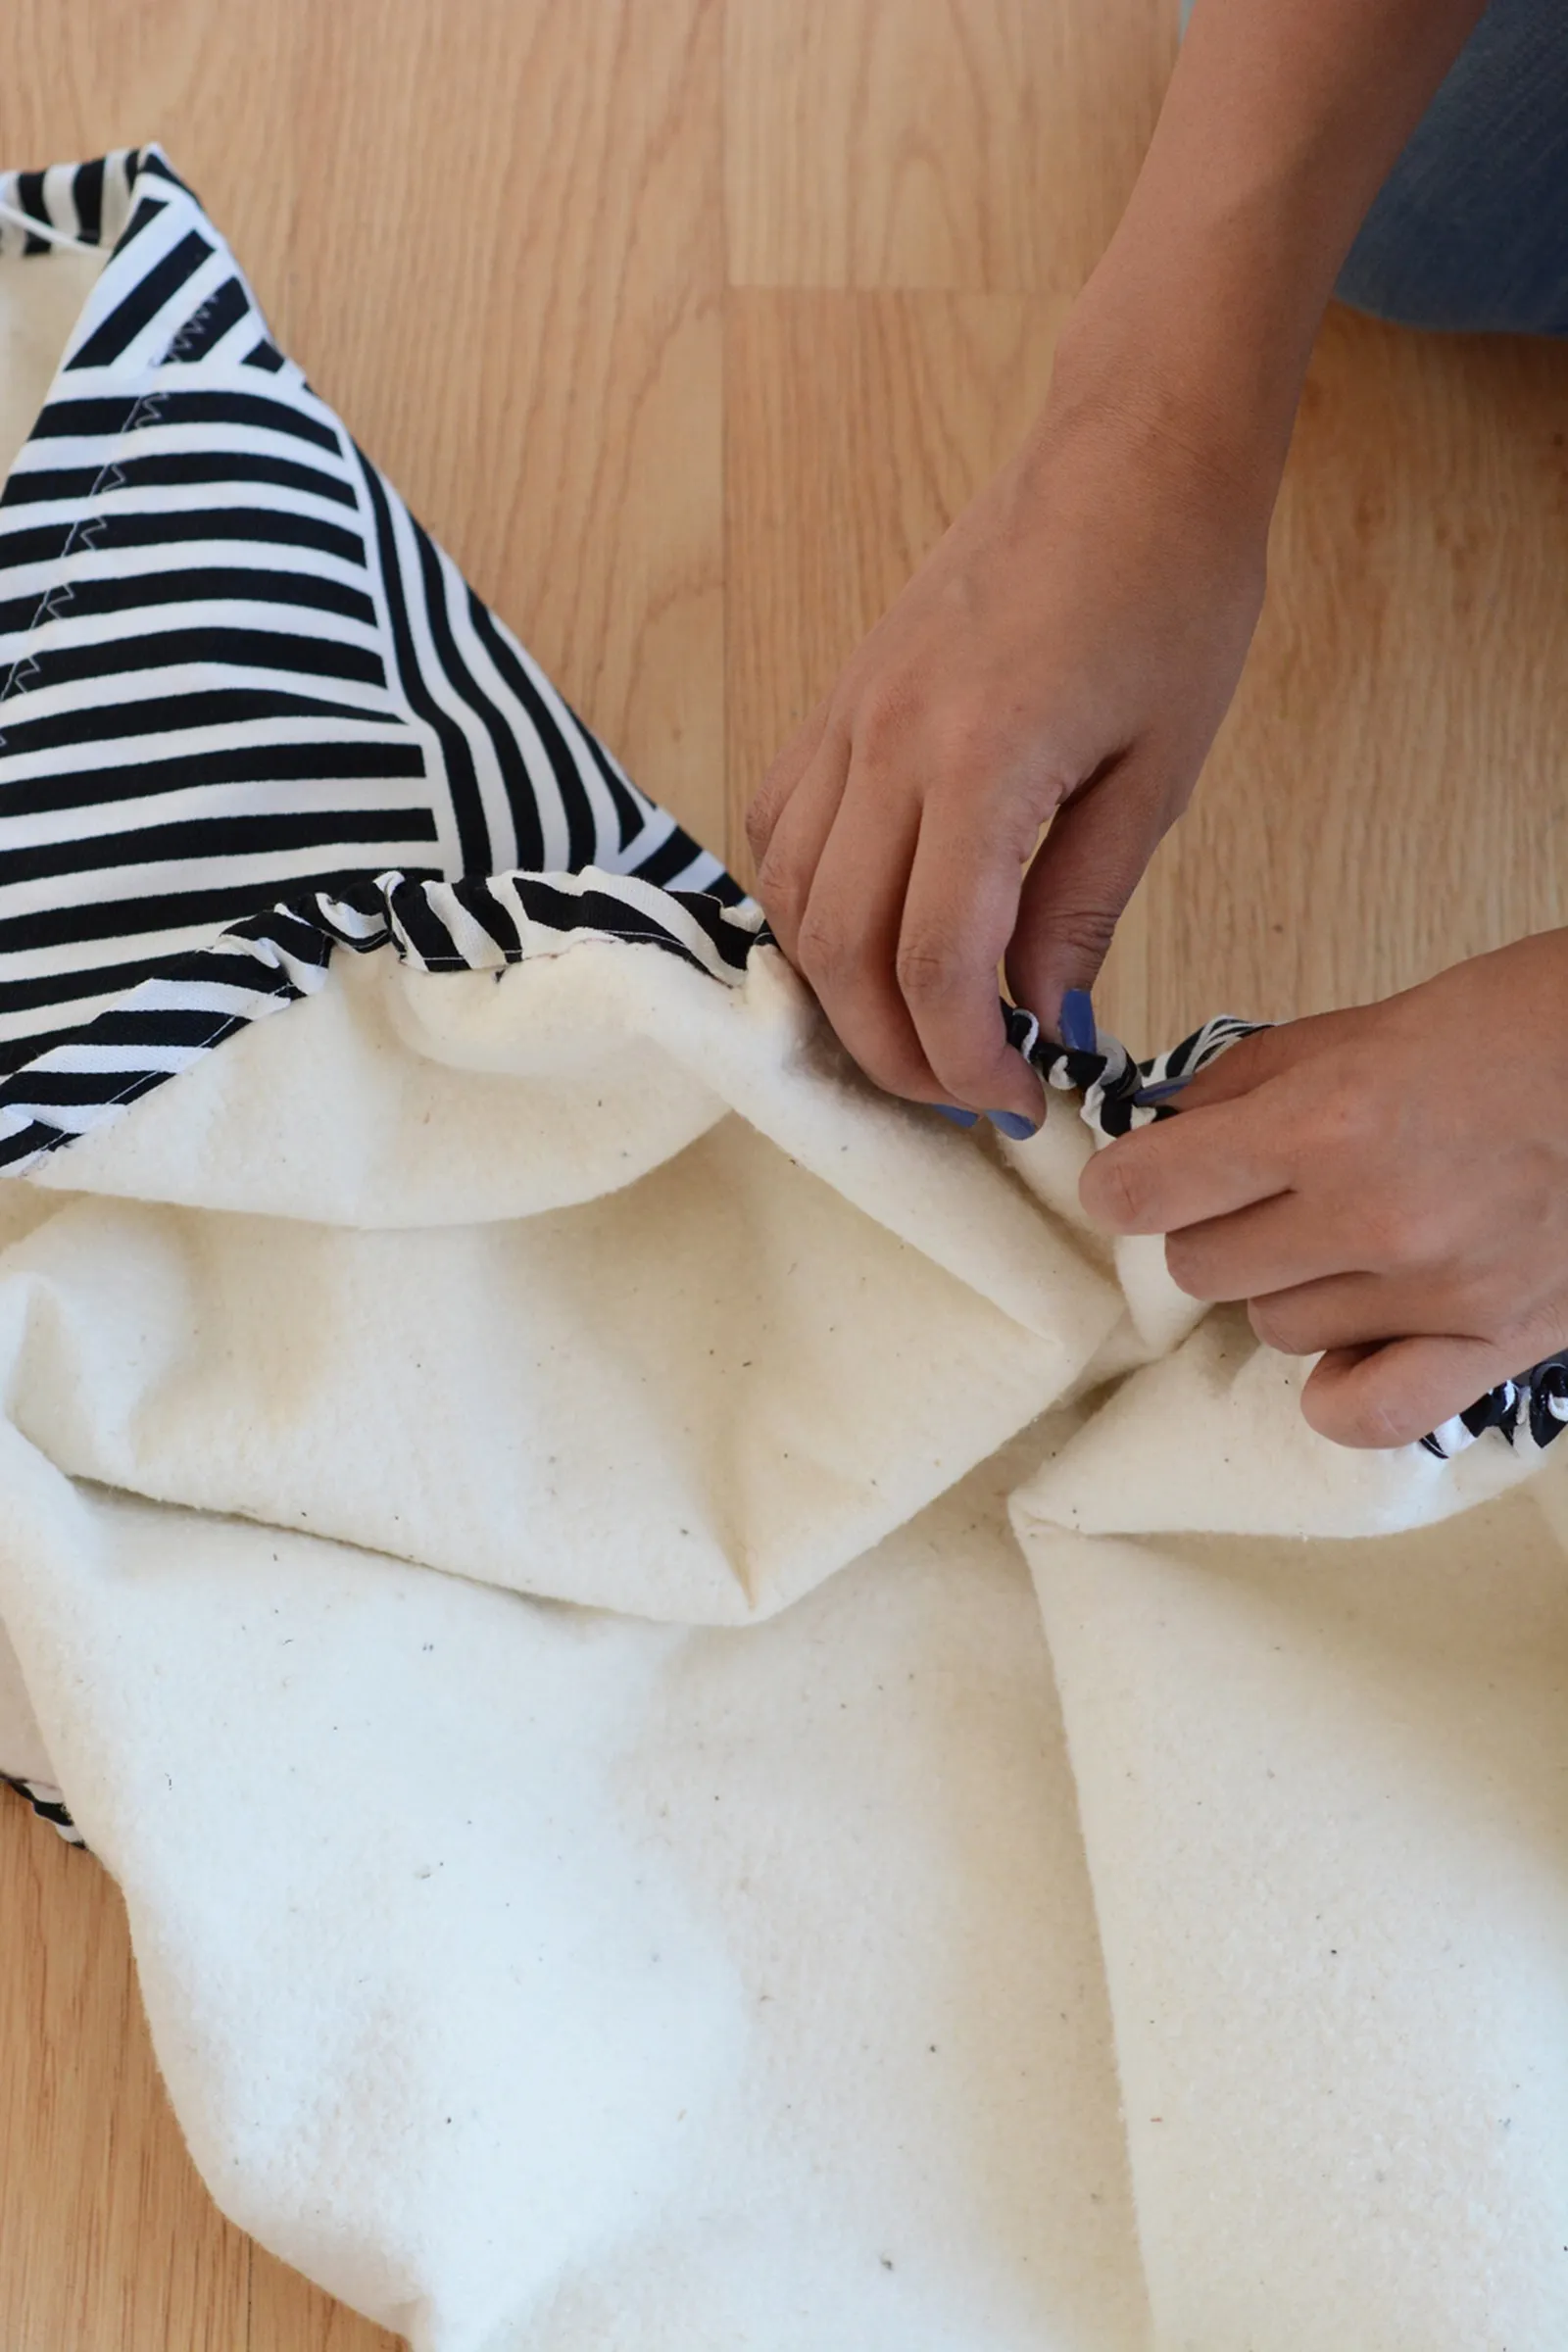
Sew around the tube you've created, stitching as close to the fold as possible. Leave a 3-inch opening at the end of the board. Backstitch on both sides of the opening for reinforcement.
Step 14
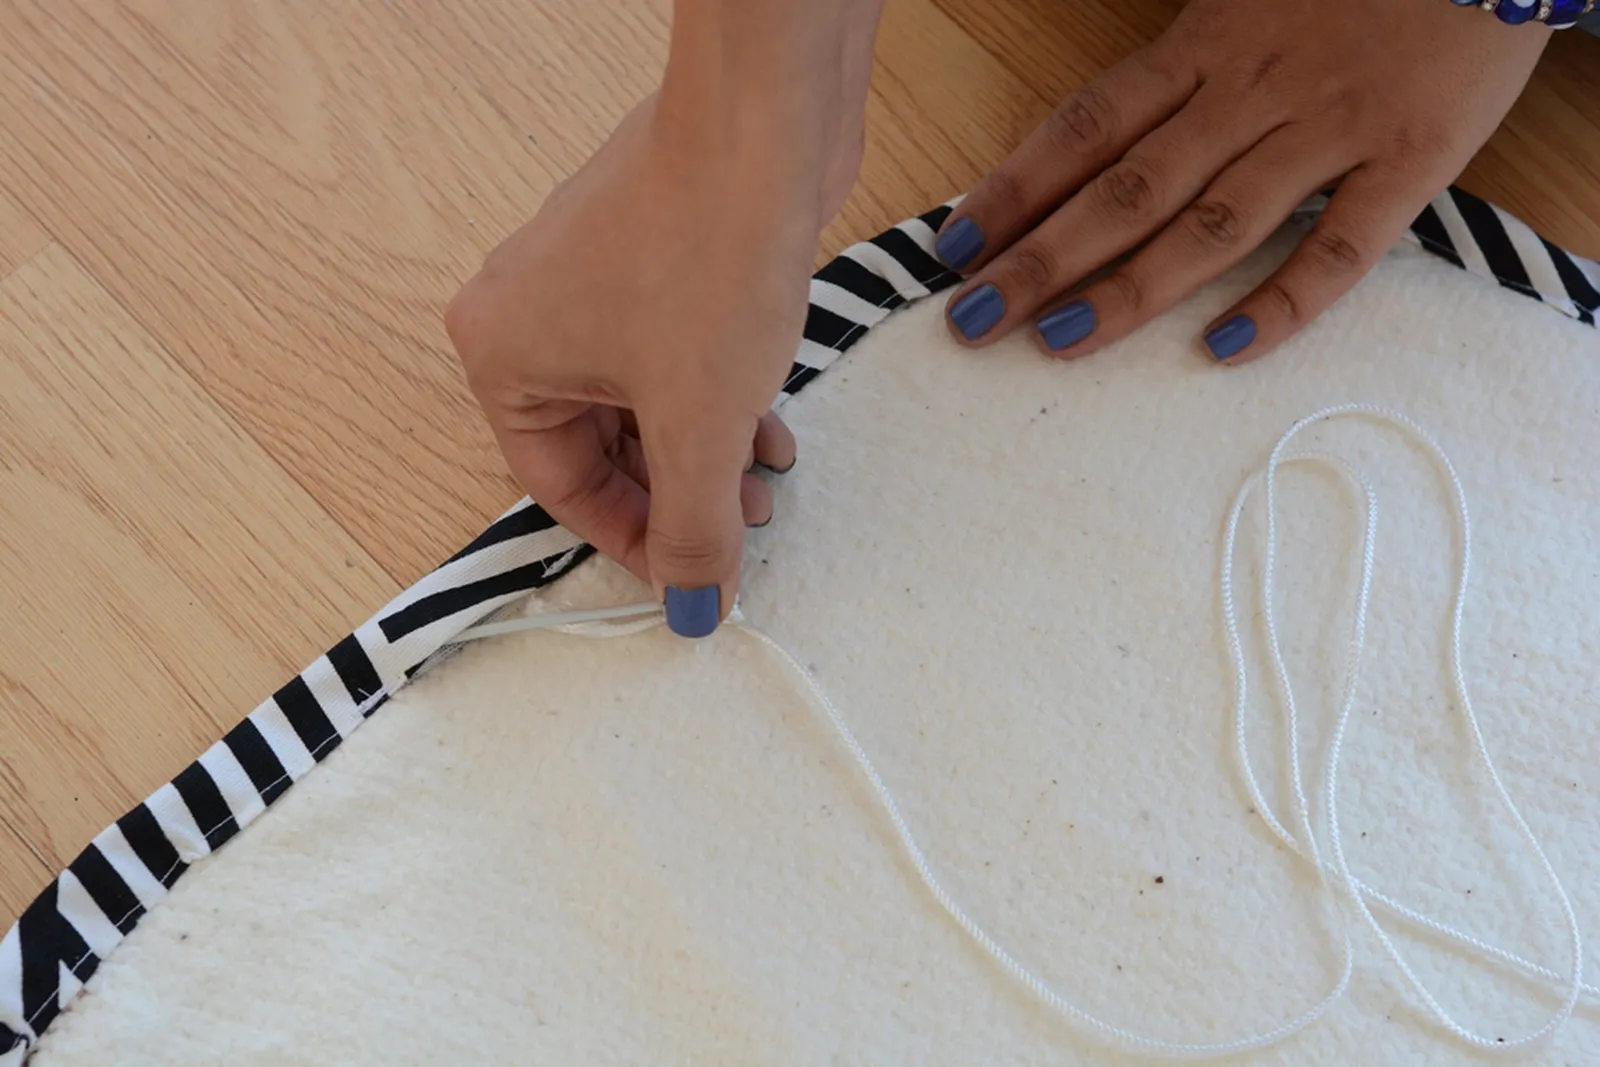
Thread the nylon cording through the casing using a bodkin (a large blunt needle that's very handy for this).
Step 15
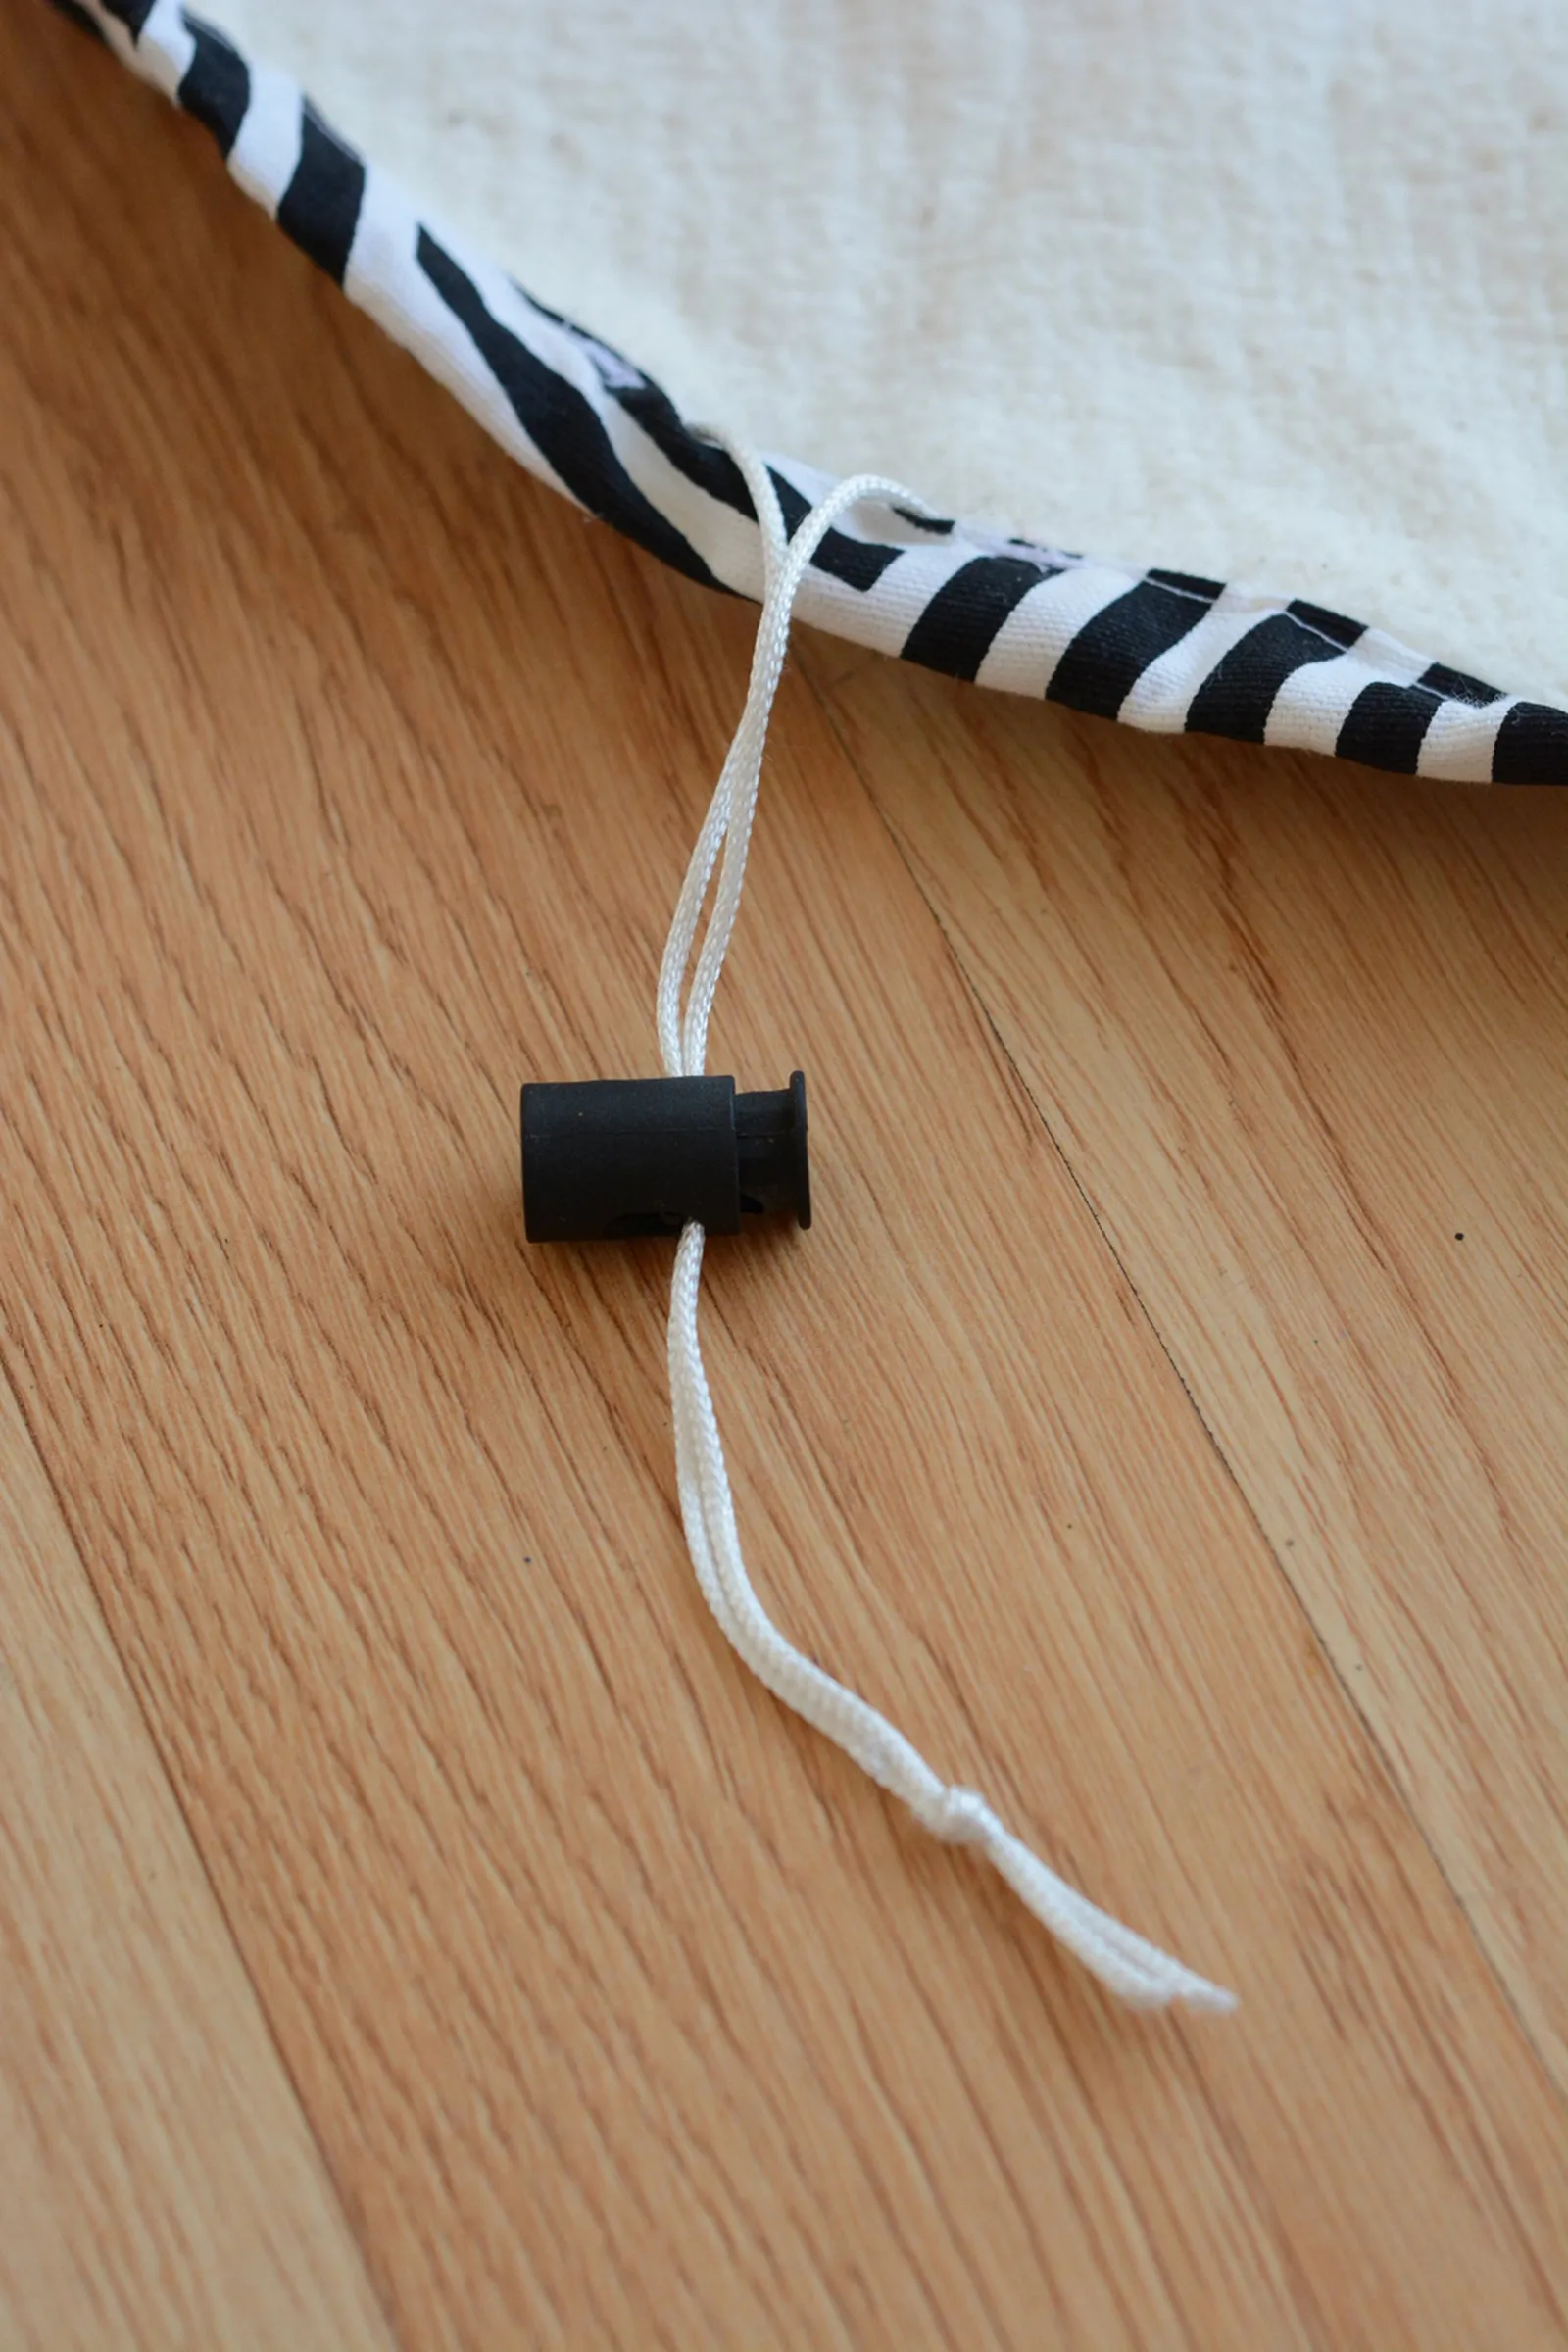
Add a plastic toggle and tie off the cording.
Step 16
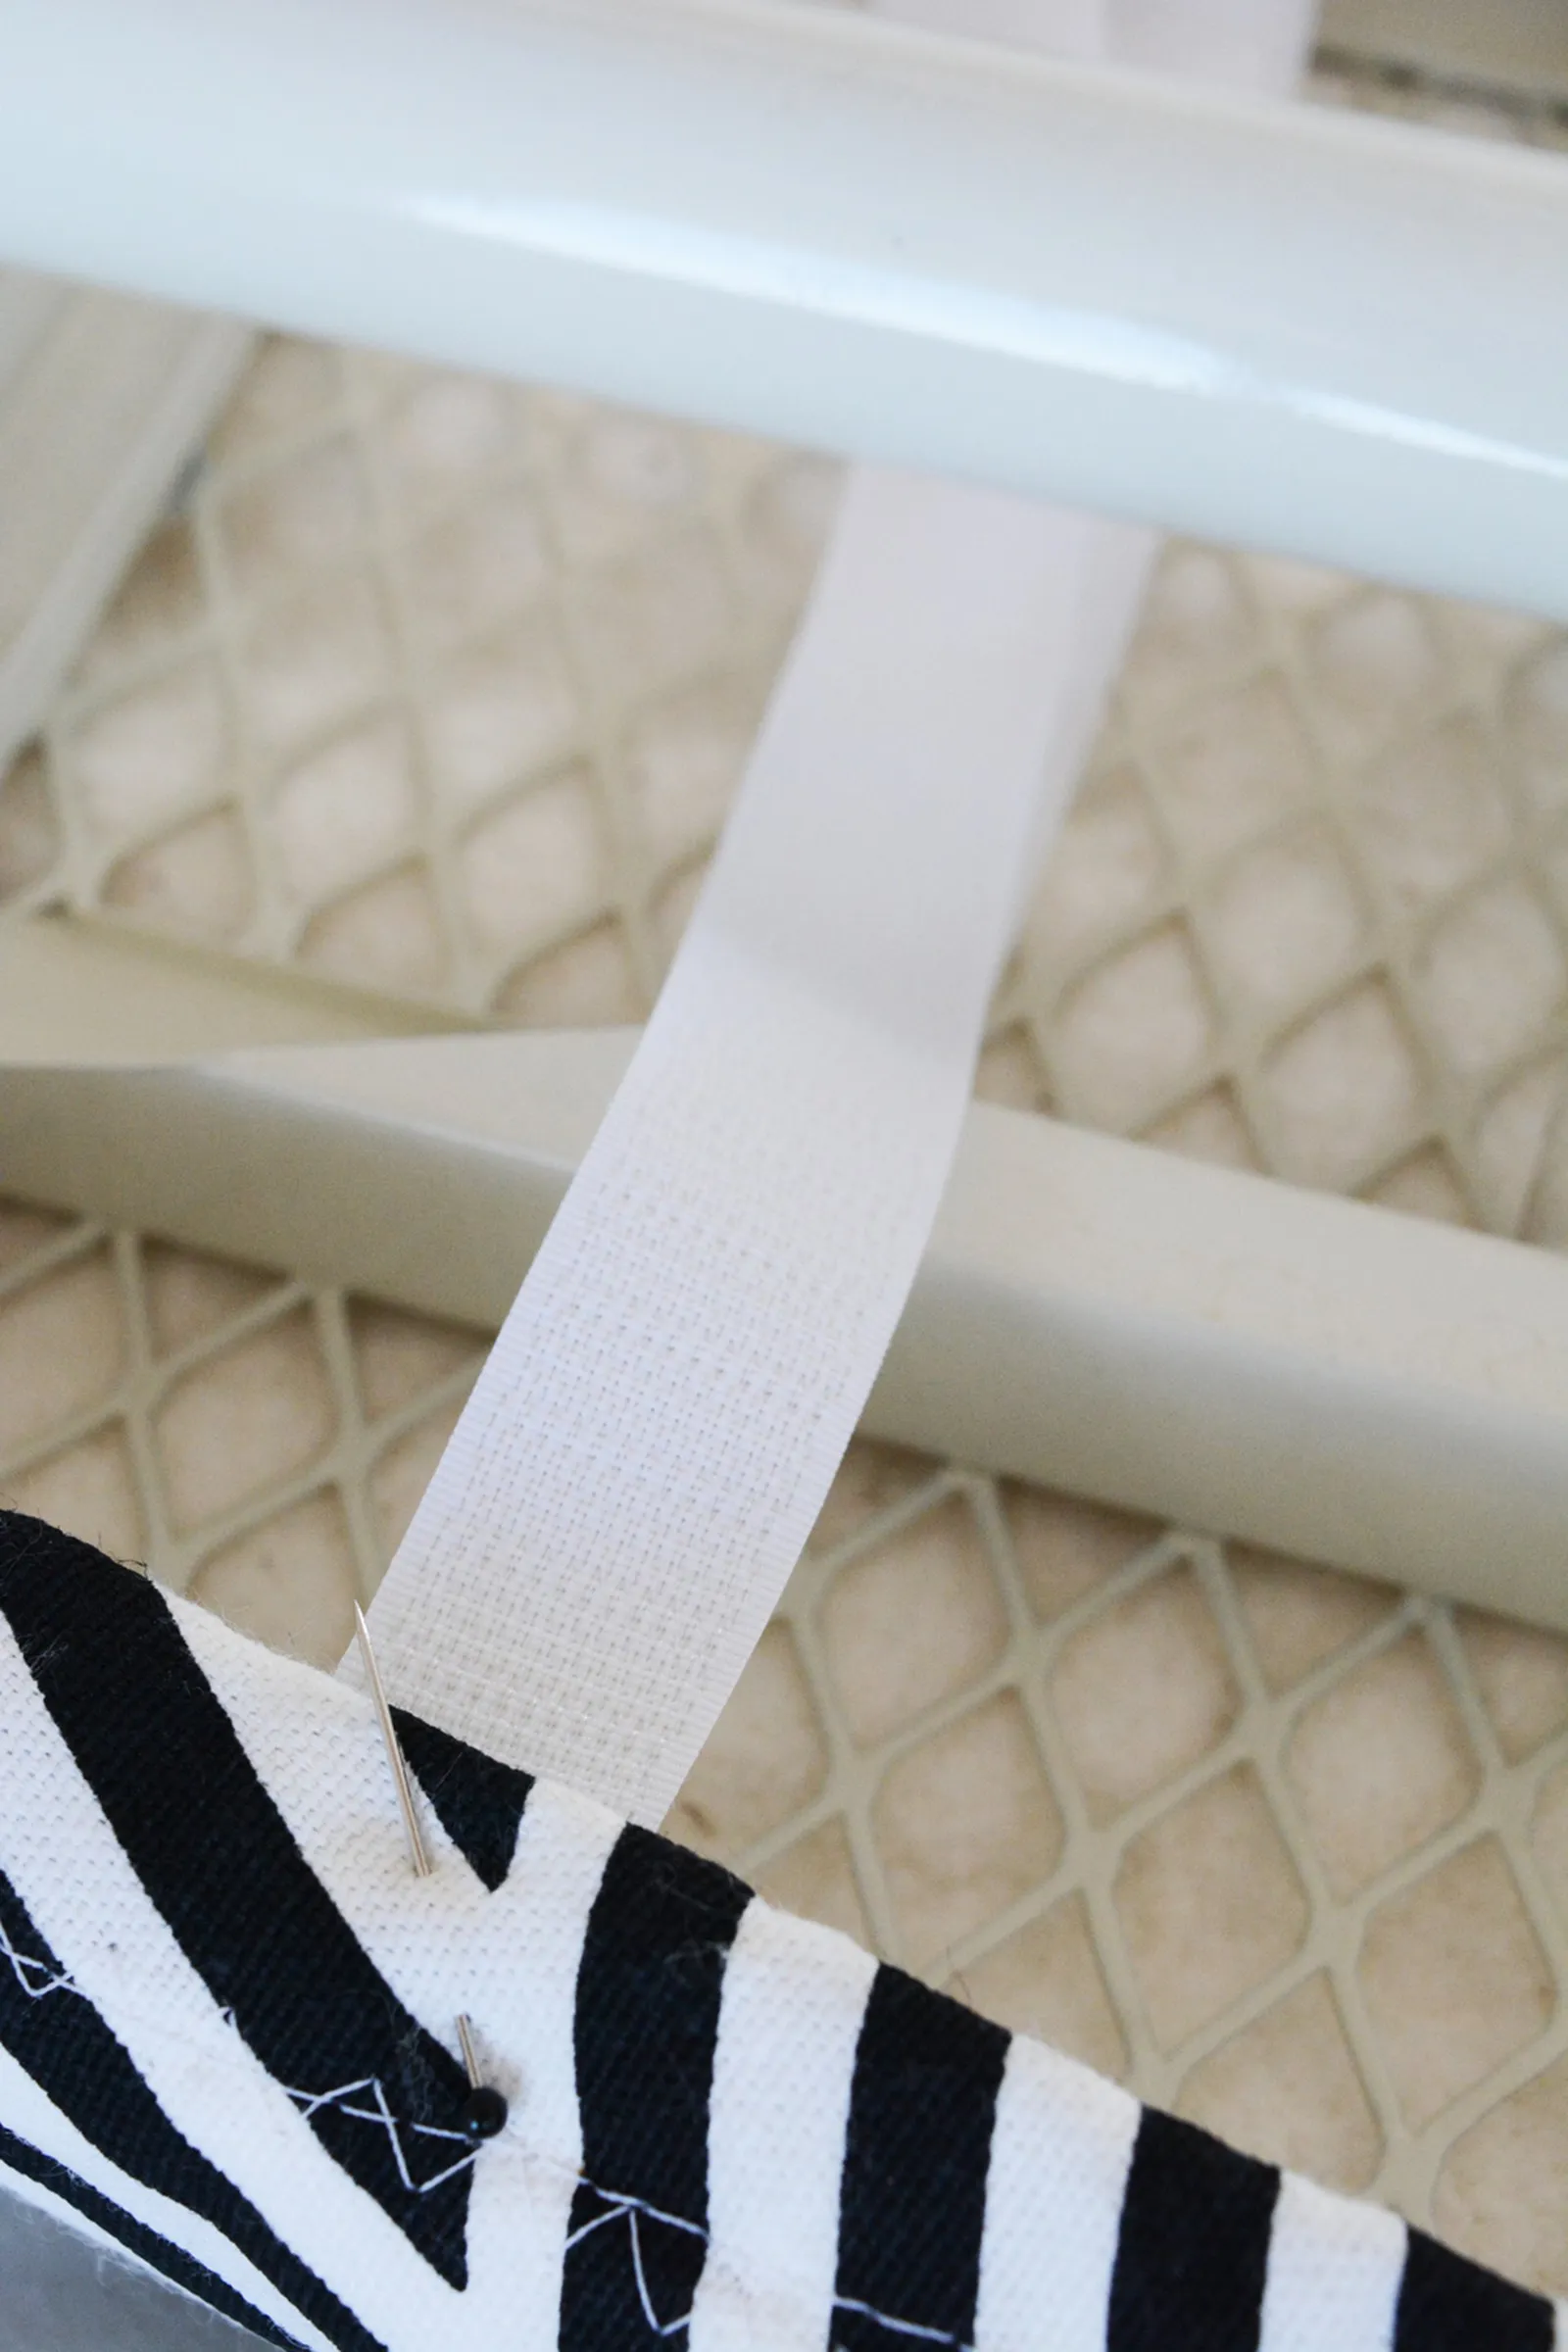
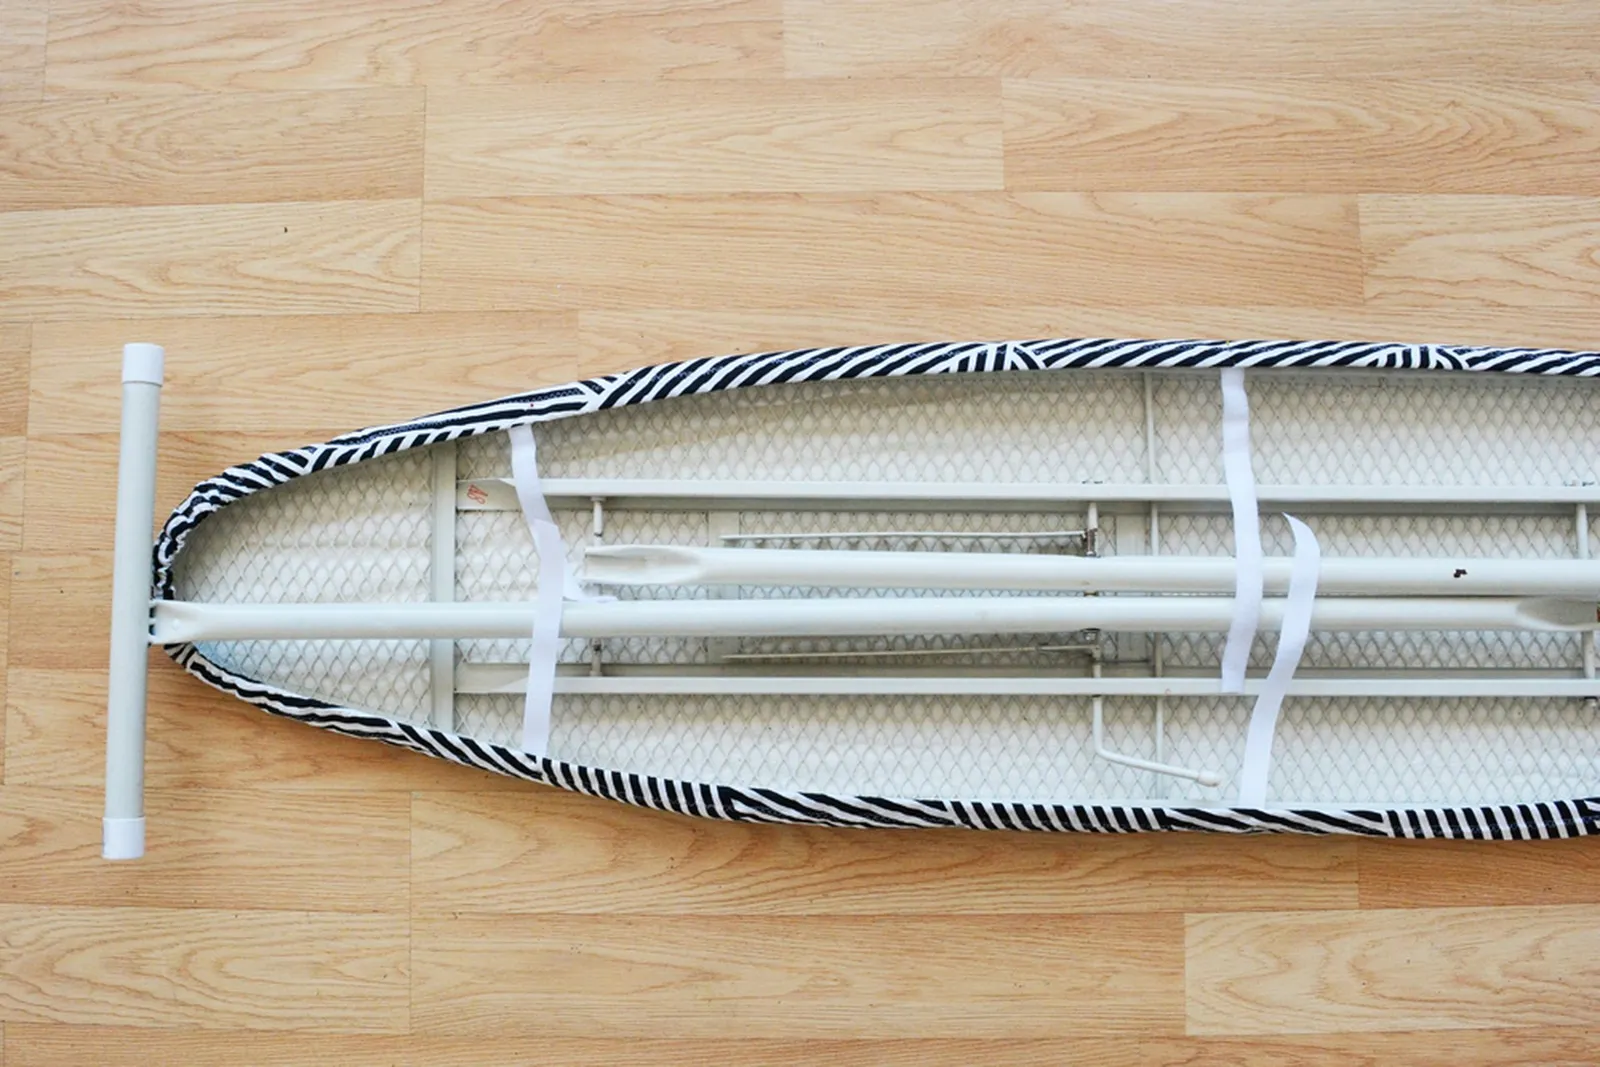
Sew two velcro straps to the sides to keep the cover snug and in place. Position one pair toward the front and the other near the end. Be sure to fit the cover on the board before pinning the velcro so it won't interfere with the legs. Once pinned, stitch the velcro with the sewing machine, sewing back and forth at least four times to handle the tension.
Step 17
Put the cover on the board, pull the drawstring tight, and fasten the velcro straps.
Happy ironing!