Build Your Own Fabric Swatch Book: A Step-by-Step Guide
Designers and sewing hobbyists often rely on fabric swatch books to organize and preview material options. These compact books hold multiple fabric samples and can be tucked into a bag or briefcase. Interior and fashion designers use them to select the right fabric for a space or garment. This guide explains how to make a personal swatch book using purchased fabrics or your own designs.
By Sam Walker10 steps
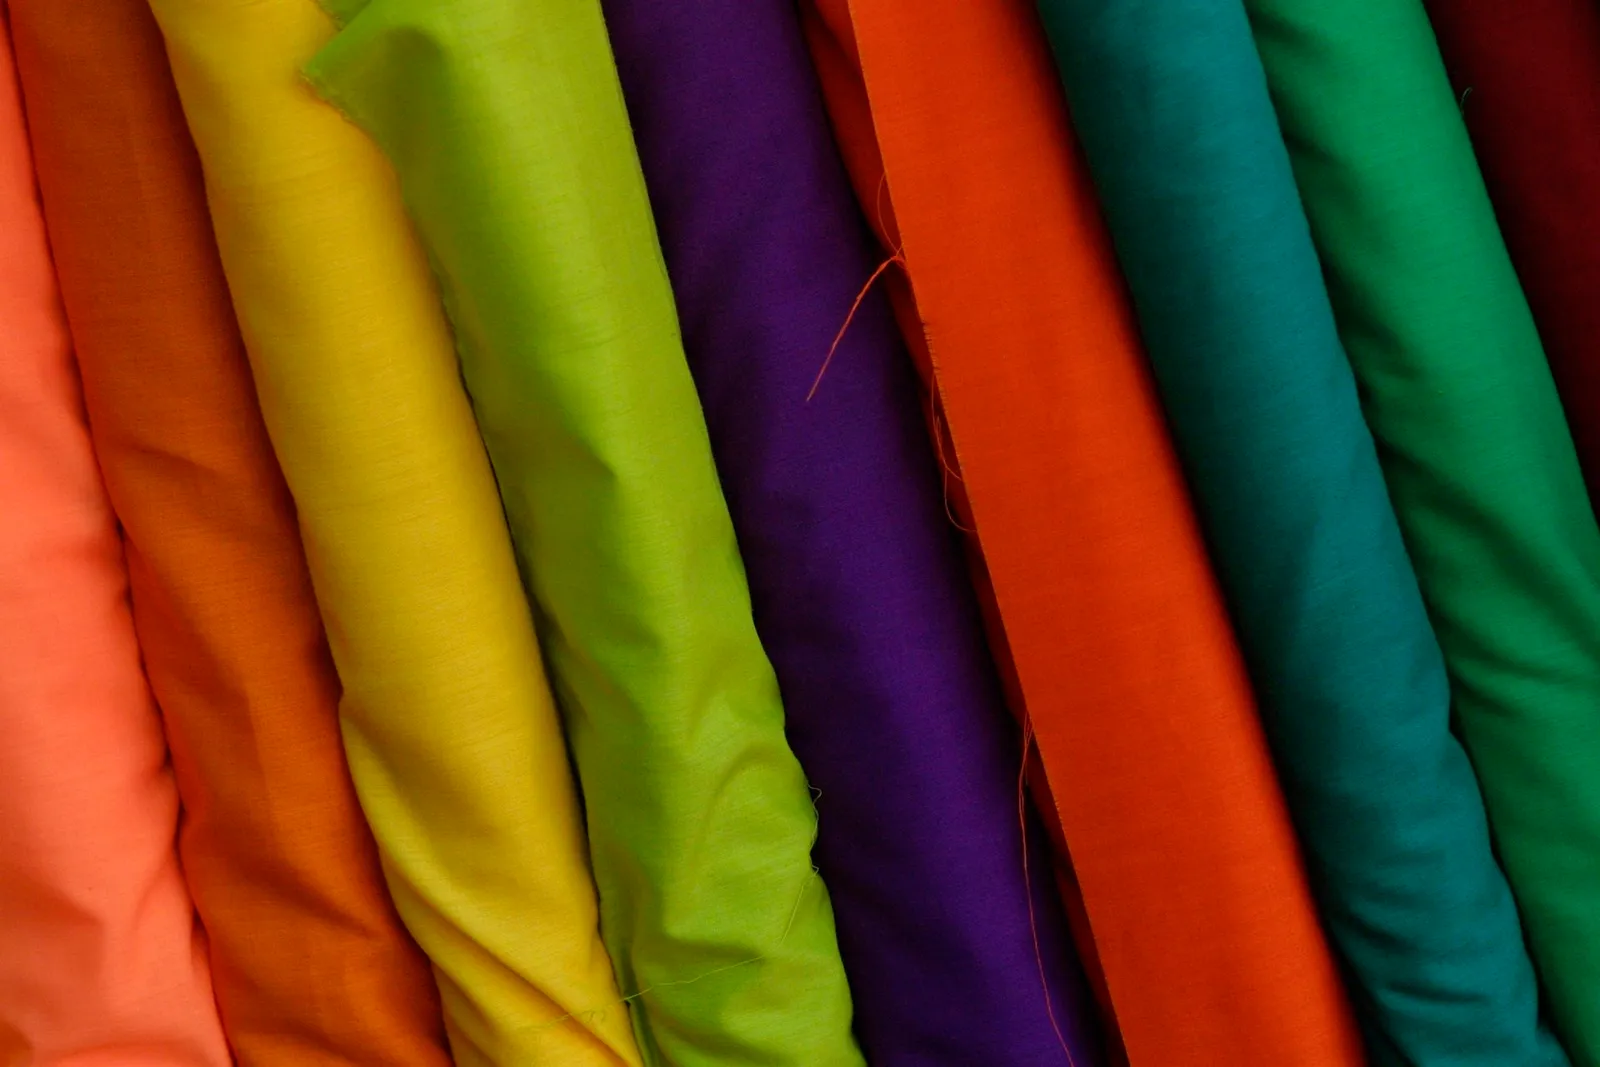
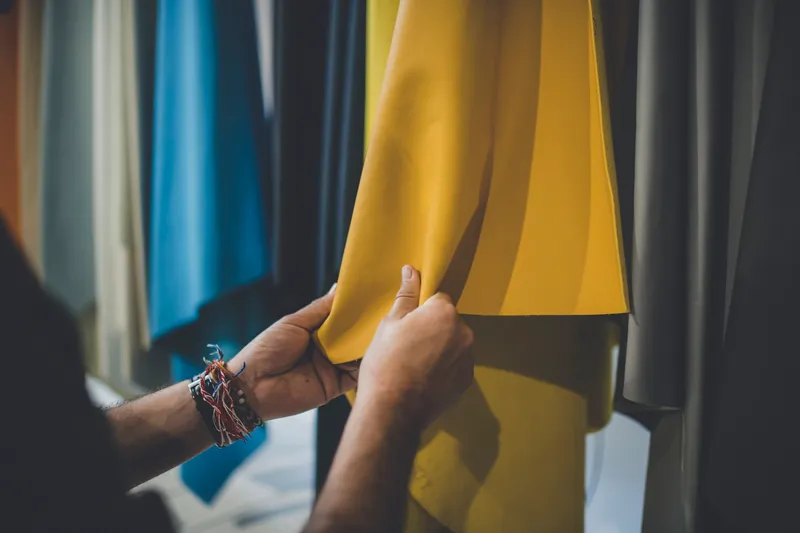
A fabric swatch book can display a range of different fabrics.
Designers and sewing enthusiasts frequently use fabric swatch books. These books display multiple fabric samples and are compact enough to carry in a purse or briefcase. Interior designers and fashion designers rely on swatch books to find the right fabric for a room or a garment. Sewing hobbyists use them to select fabrics for new projects and to compare patterns and styles for future items. You can make your own fabric swatch book using fabrics you purchase or your own designs.
Step 1
Place your fabric on a flat surface. Using a ruler or measuring tape, measure a 3-inch by 5-inch rectangle on one piece of fabric.
Step 2
Cut out the measured fabric rectangle with pinking shears. These scissors create a zigzag edge that helps prevent fraying.
Step 3
Using the same pinking shears, cut the rest of your fabric samples into 3-inch by 5-inch rectangles. Count how many fabric rectangles you have.
Step 4
Also with pinking shears, cut 3-inch by 5-inch rectangles from the card stock. You'll need the same number of card stock rectangles as fabric rectangles.
Step 5
Flip the fabric rectangles over so the right side faces down on a flat surface.
Step 6
Use a glue stick or paste to coat one side of a card stock rectangle. Spread the glue or paste evenly.
Step 7
Press the glued side of the card stock rectangle onto the back of a fabric rectangle. Apply gentle pressure to the back of the card stock and set it aside. Repeat with the remaining card stock and fabric rectangles. Let the samples dry completely.
Step 8
With a hole punch, make a hole in the top left corner of each sample, 1/2 inch from the edge. All holes should be in the same position on every sample.
Step 9
Slide each sample onto a metal binder ring. When all samples are on the ring, close it.
Step 10
If you like, attach address-sized labels to the back of each sample. You can write the fabric name and price on the label with a pen, or print the information using an inkjet printer. If you print, do so before attaching the label to the sample. Also note the fabric manufacturer so you can locate the fabric again if you decide to use it.