Craft a Bloodshot Eyeball Candle in a Beaker for Halloween
Learn how to make a Halloween candle that looks like a mad scientist's specimen: a glass beaker filled with wax, topped with bloodshot eyeballs and dripping red 'blood'. The step-by-step guide covers molding wax eyeballs, adding colored irises and pupils, and assembling the creepy centerpiece.
By Robin Green
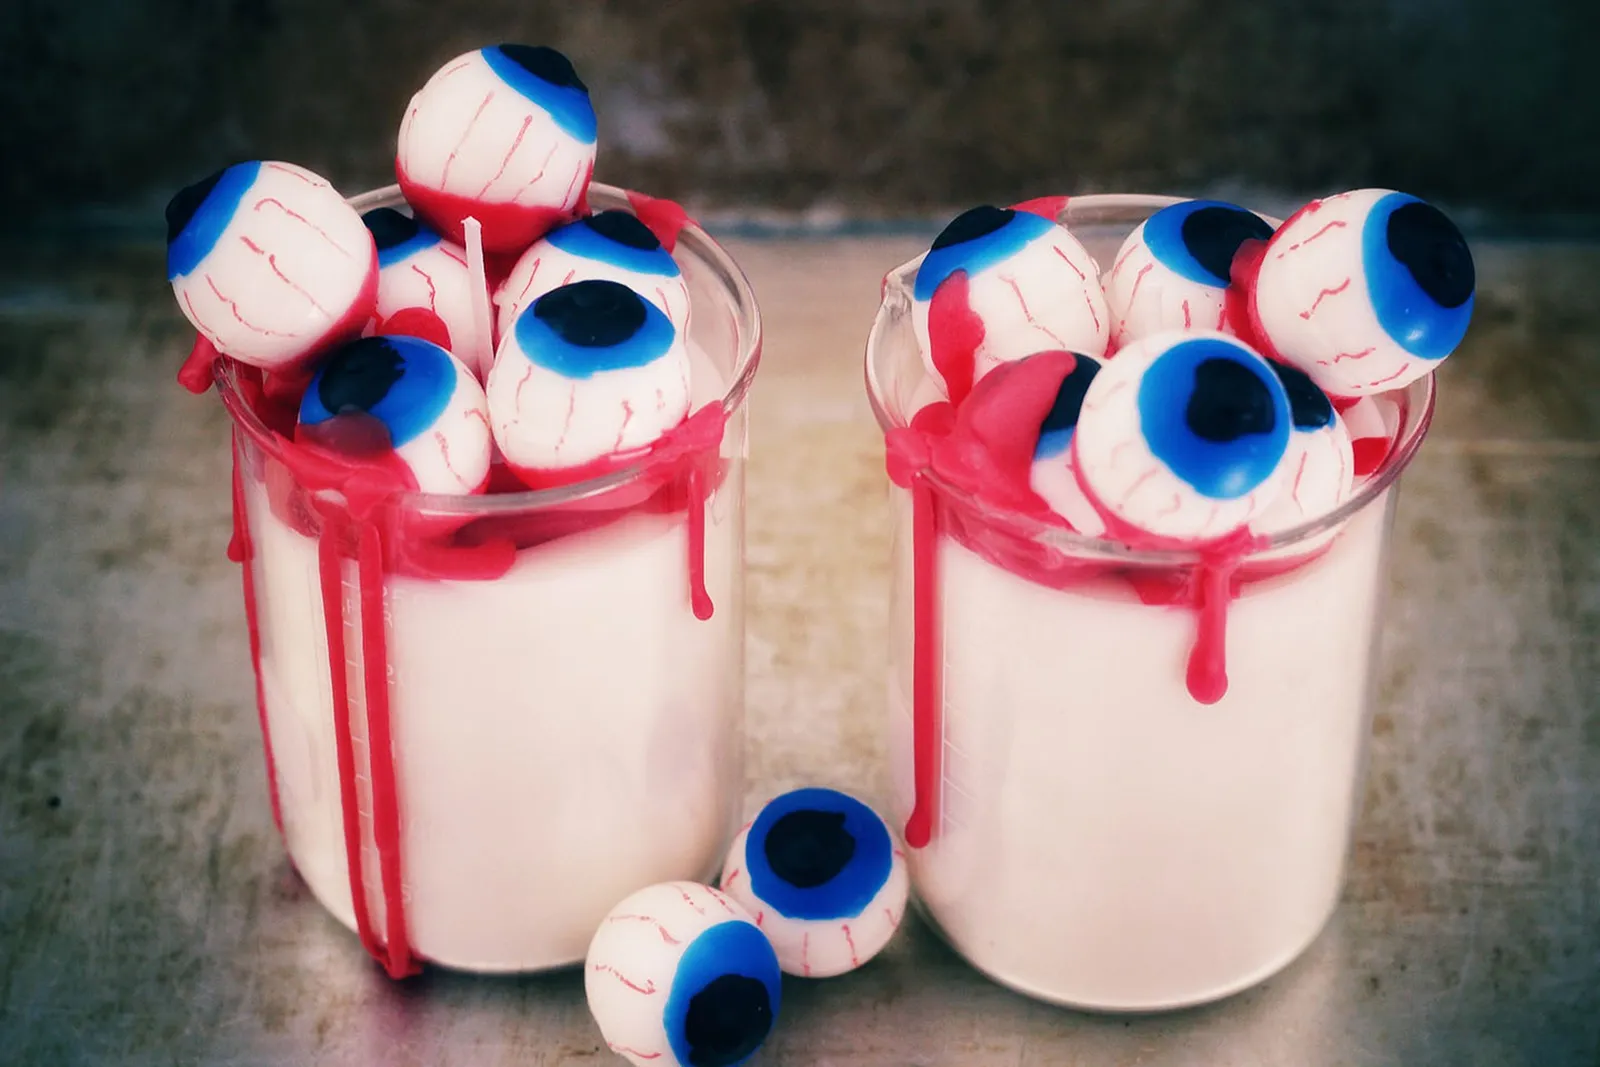
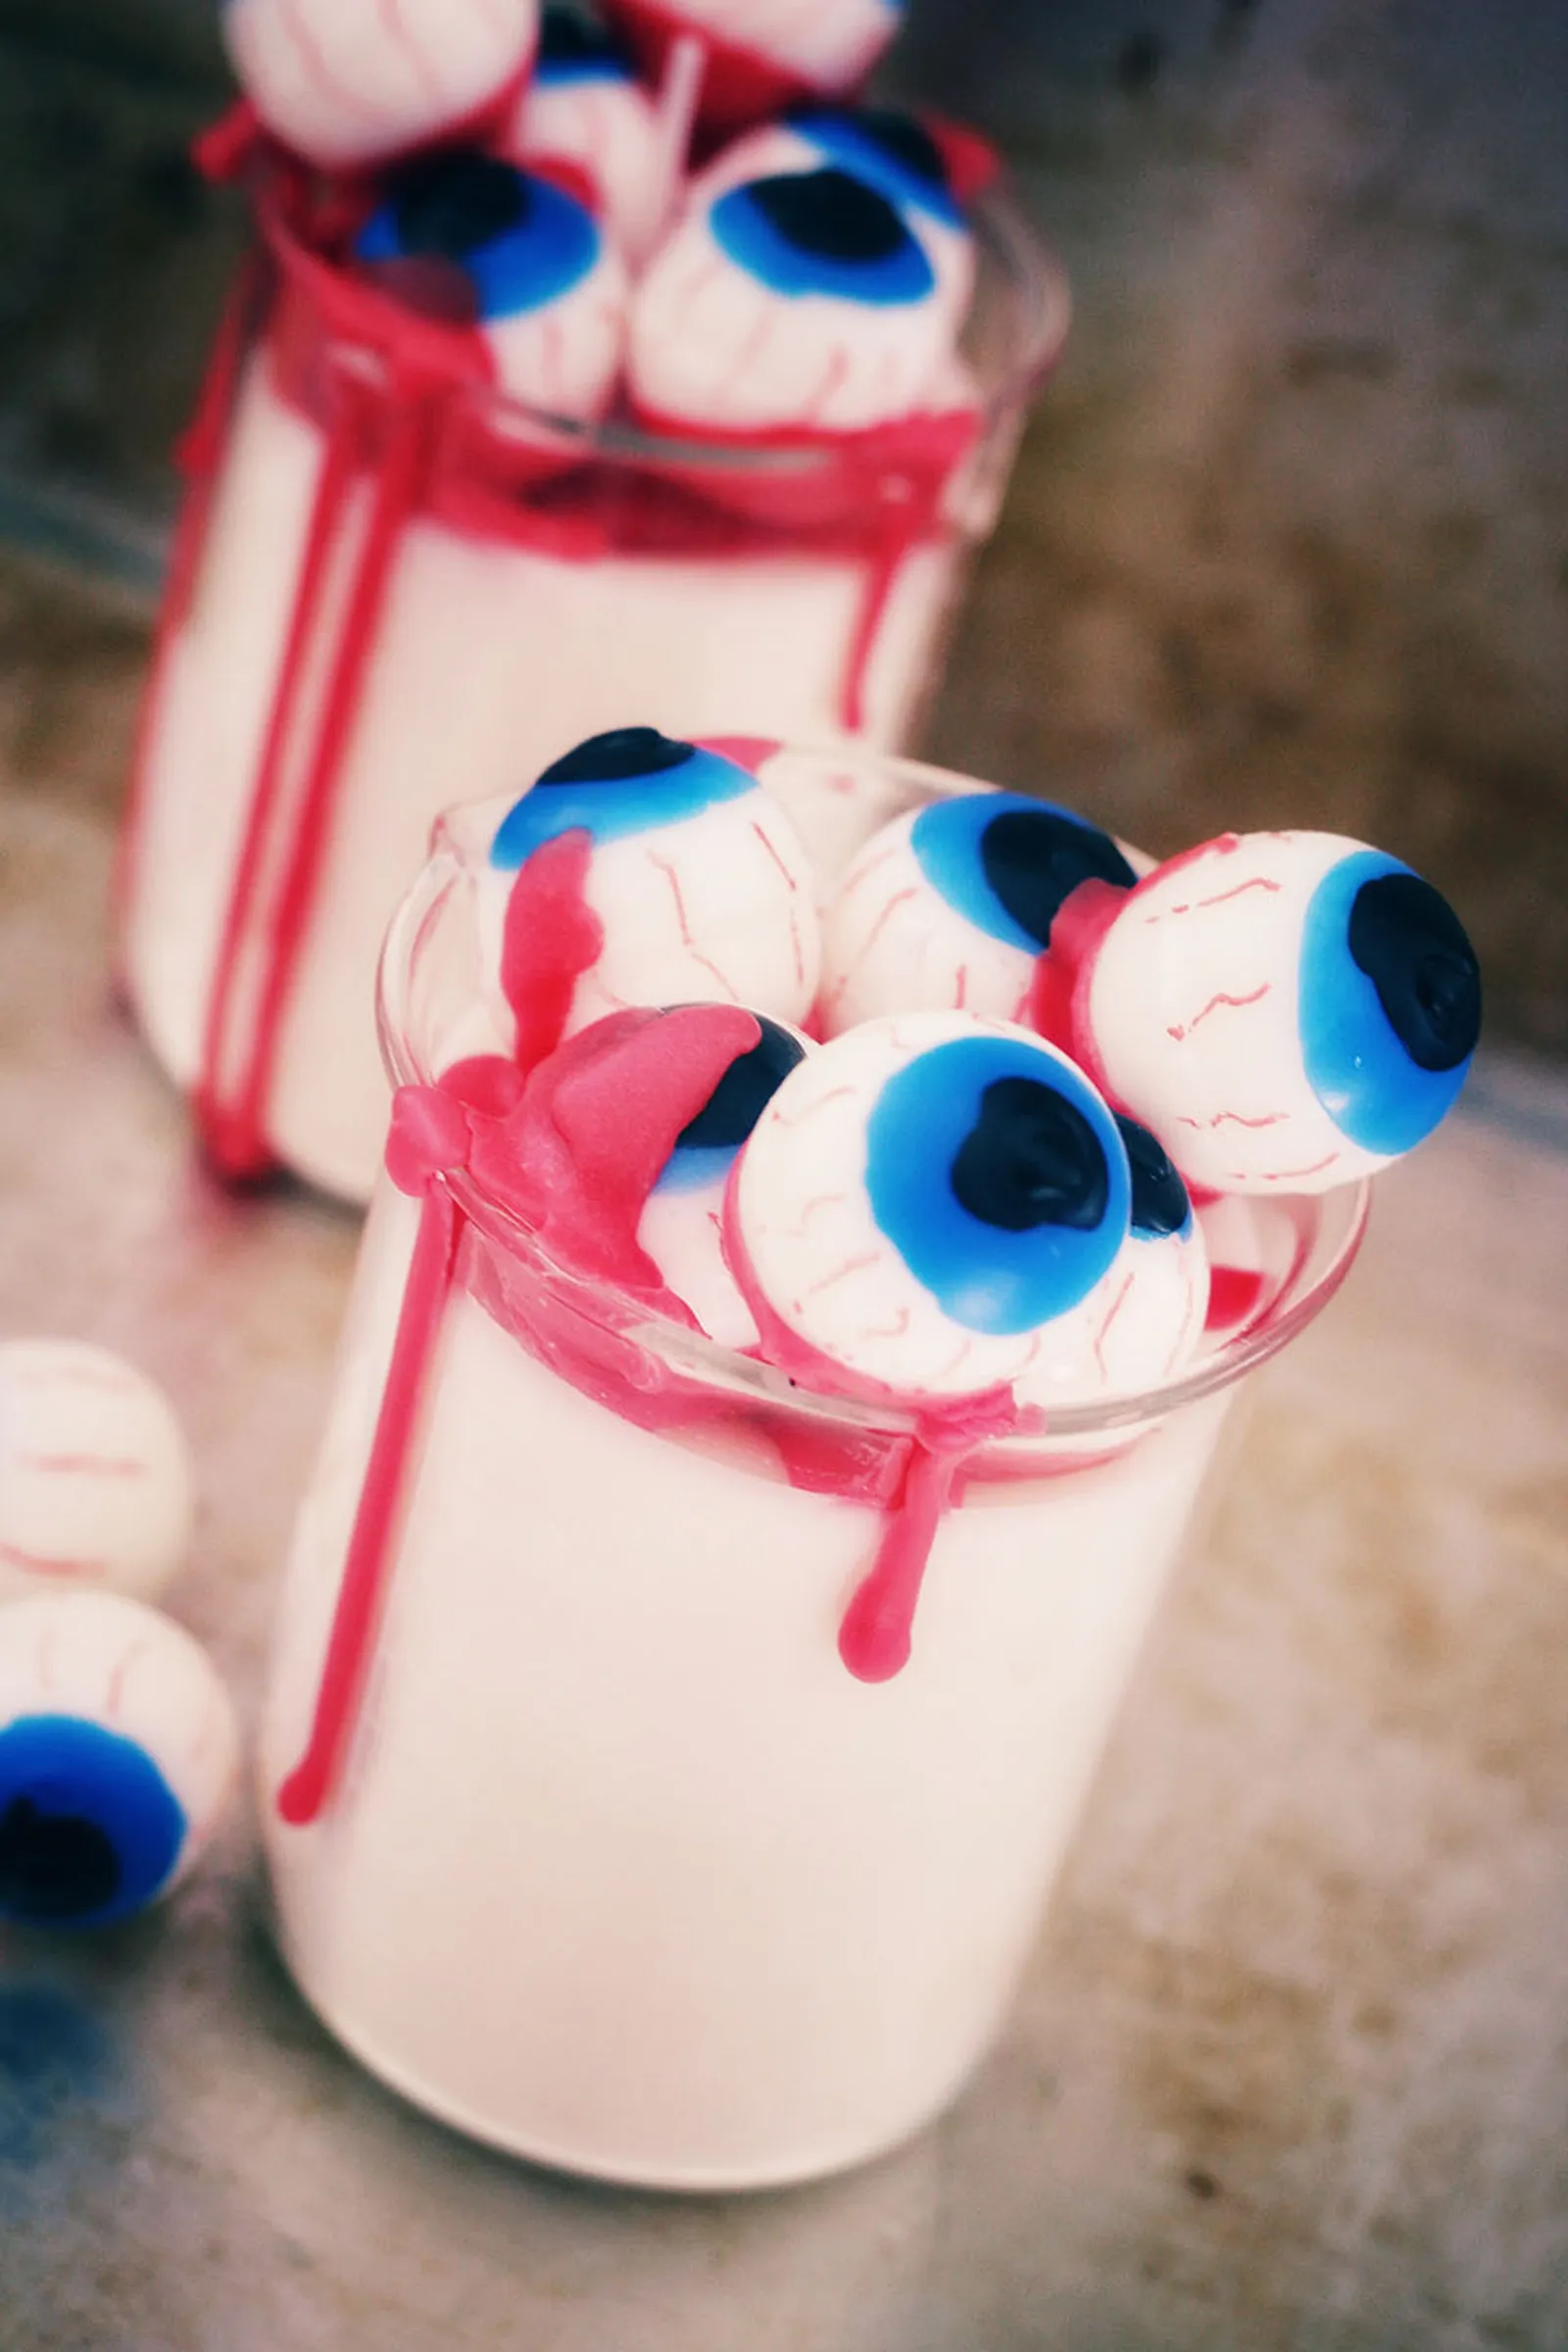
This DIY project puts a gruesome twist on Halloween candles: a cluster of bloodshot eyeballs appears to float atop a candle housed in a laboratory beaker. The result suits a mad scientist theme, and it can serve as a standalone spooky accent or as a centerpiece for a Halloween tablescape. Either way, it is designed to be a striking addition to Halloween decor.
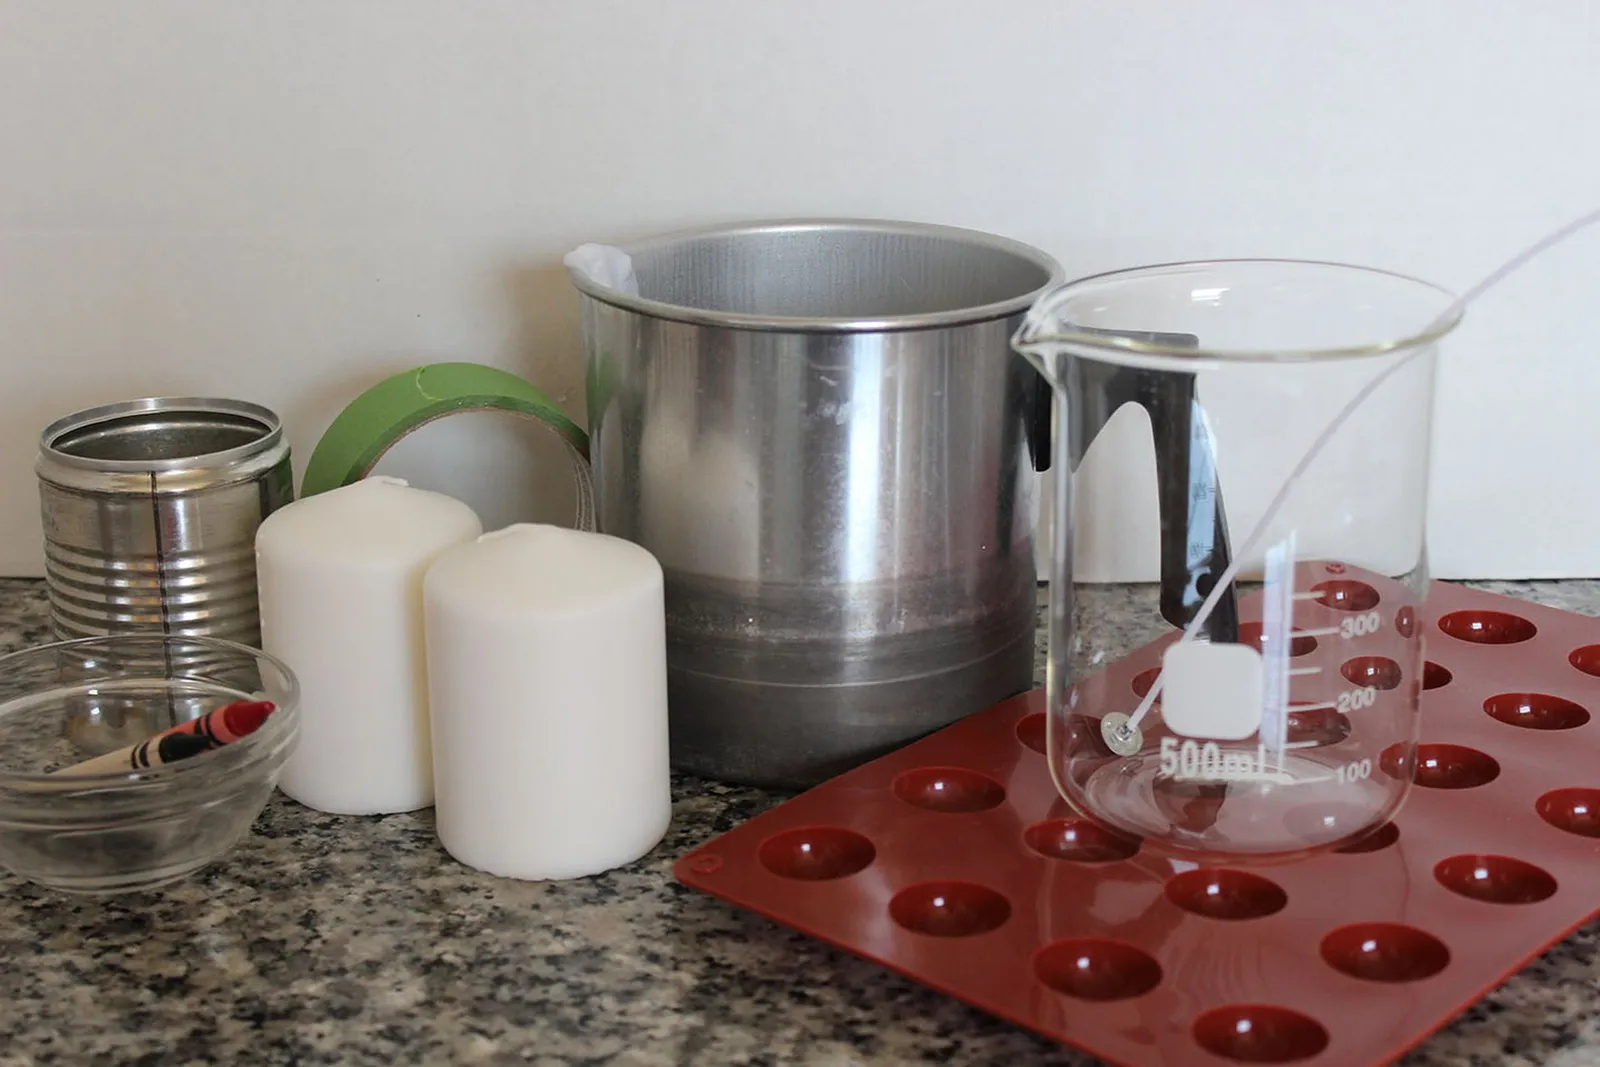
Forming the Eyeballs
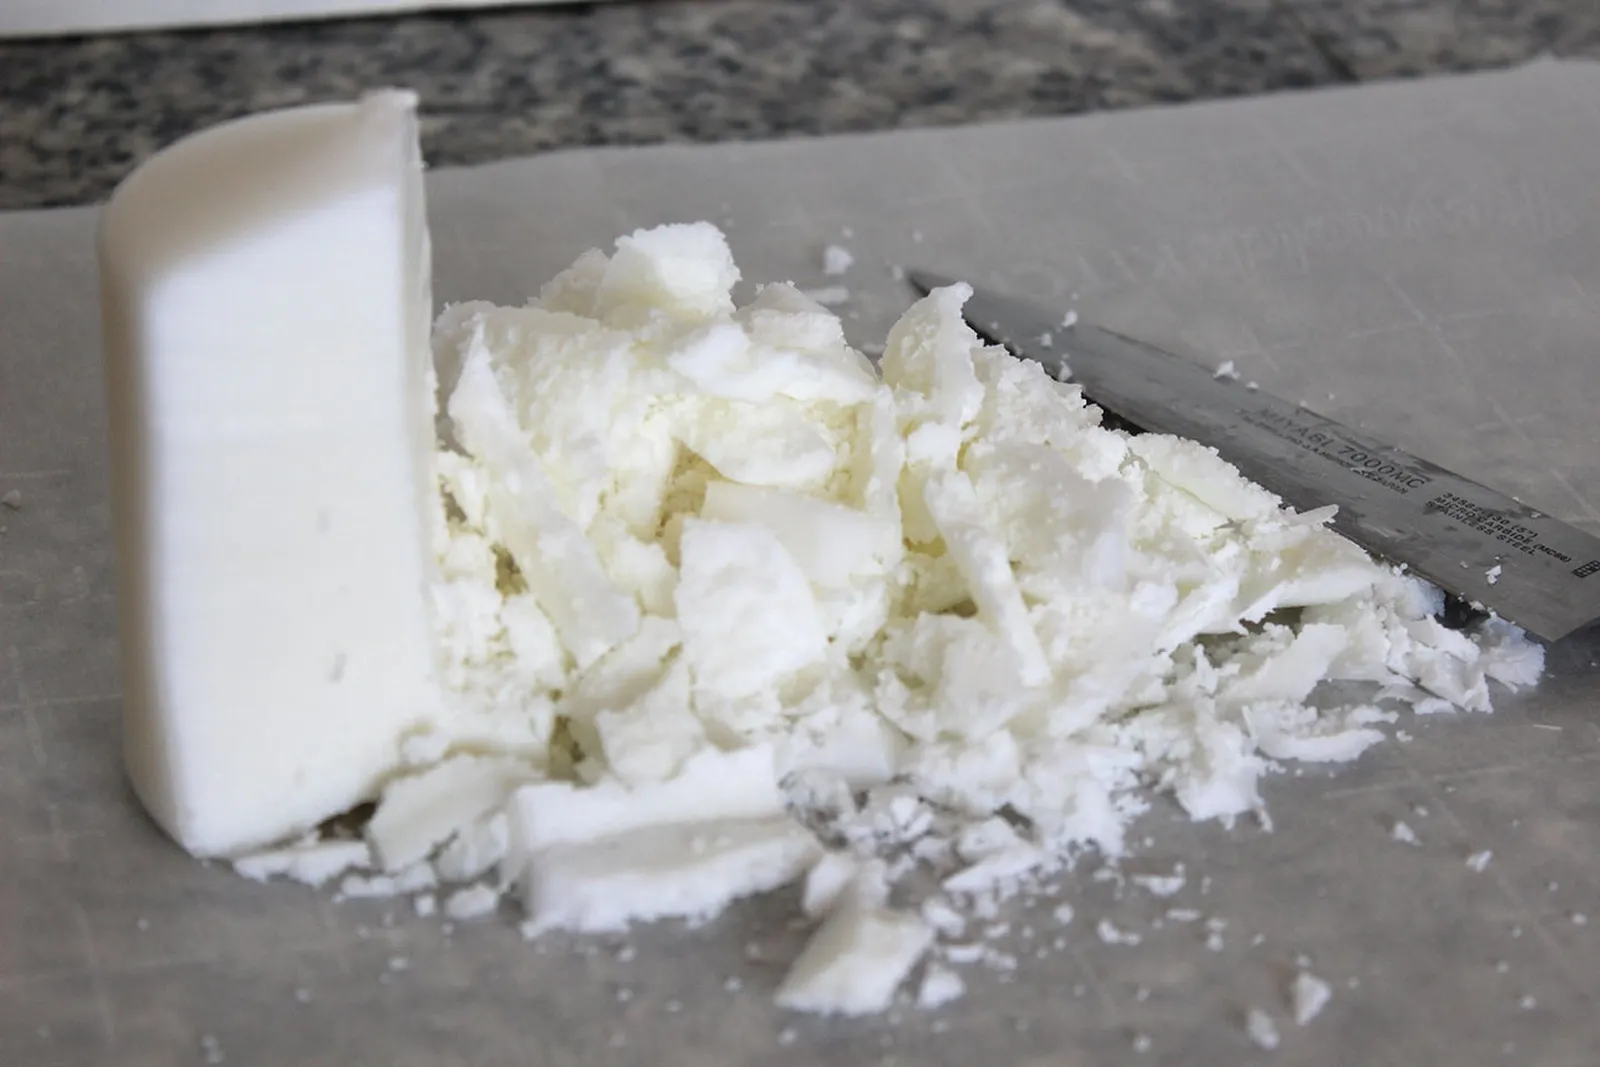
Shave the white wax
Candle wax generally falls into two categories: one for container and jar candles, and another for pillar and taper candles. Because the wax eyeballs will rest on top of the main candle, this project uses wax intended for white pillar candles. Working from an existing pillar candle helps ensure the wax is the appropriate type. A knife makes it easy to shave the wax into small pieces for melting.
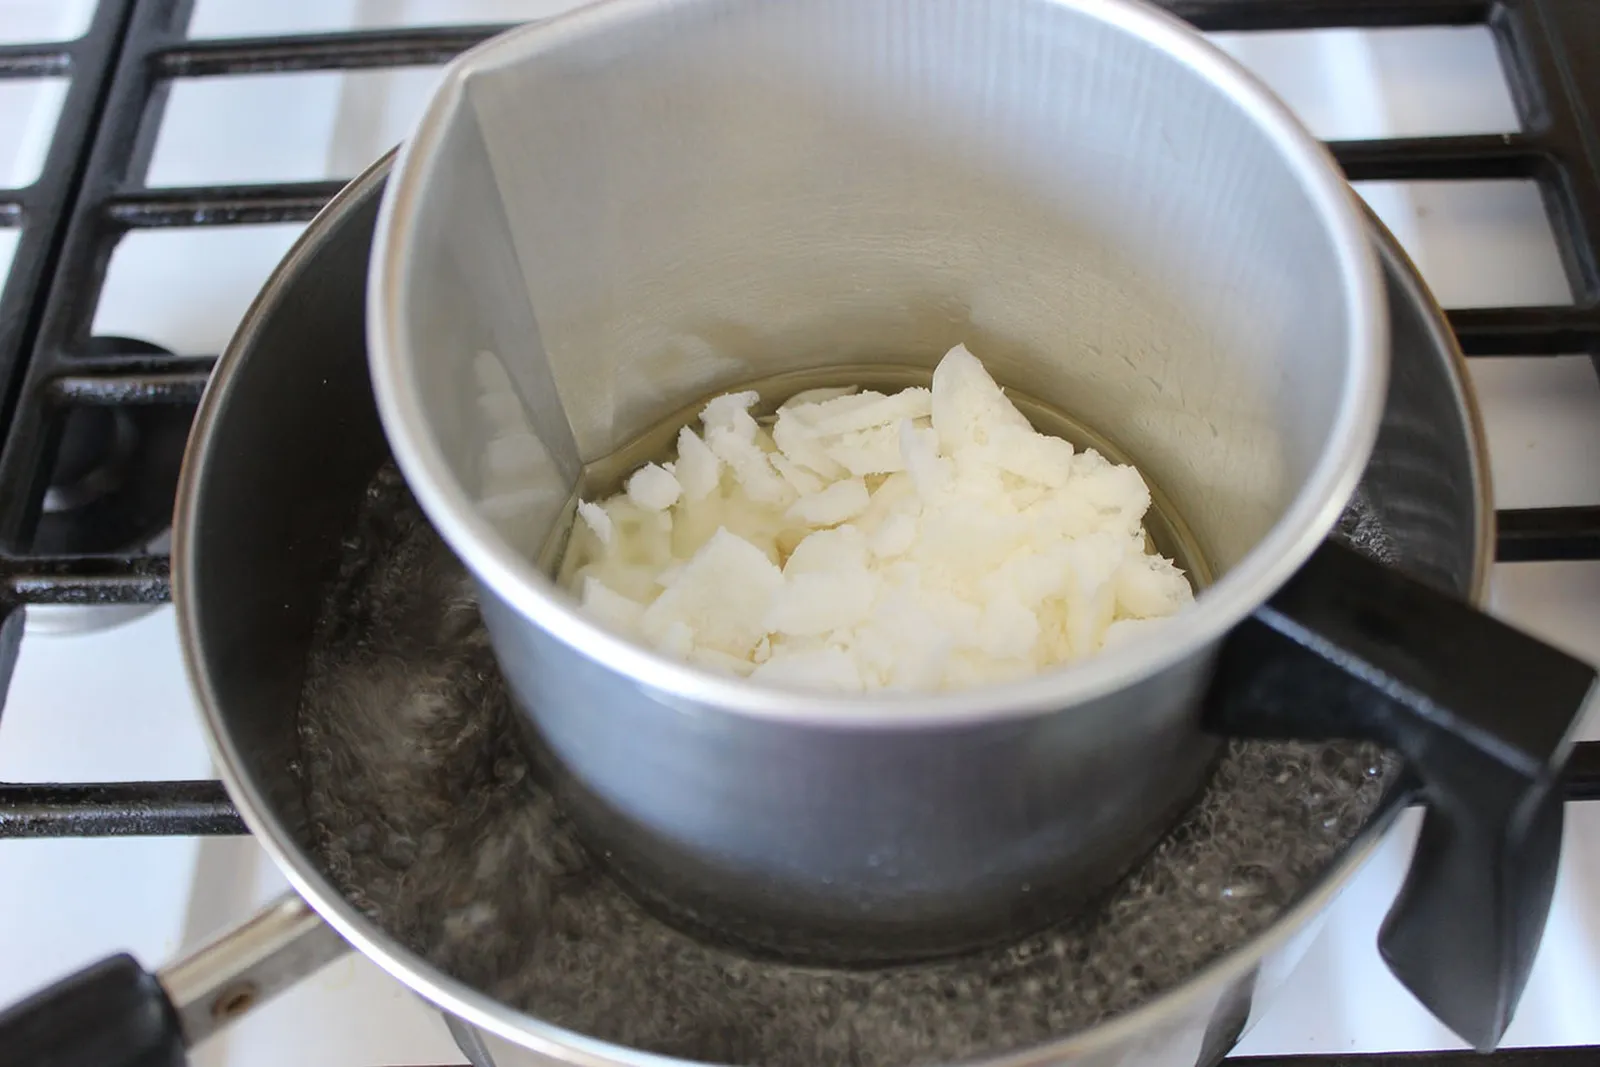
Melt the wax
Put the wax chips in a candle pouring pot, then set the pot in a saucepan holding about an inch of water to make a double boiler. Apply heat until the wax has completely melted.
Cast the wax
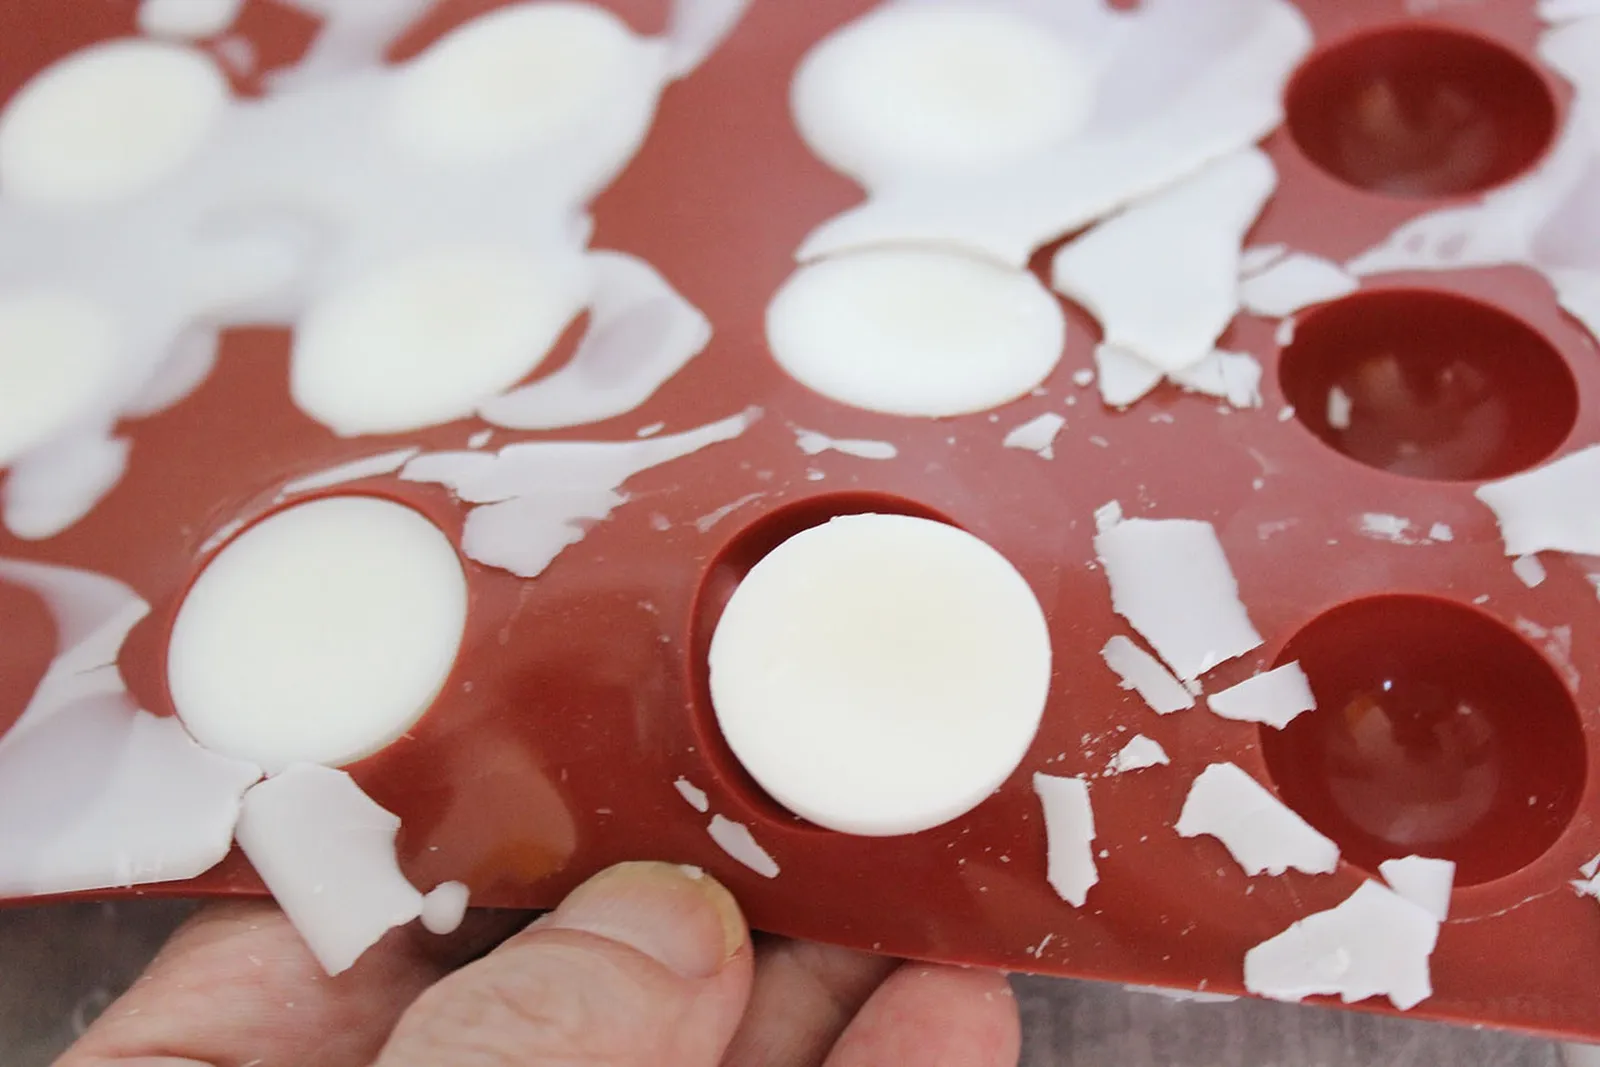
Pour the melted wax into a semi-sphere silicone mold. Precision is not critical here; any wax that spills over the edges will snap off once it hardens.
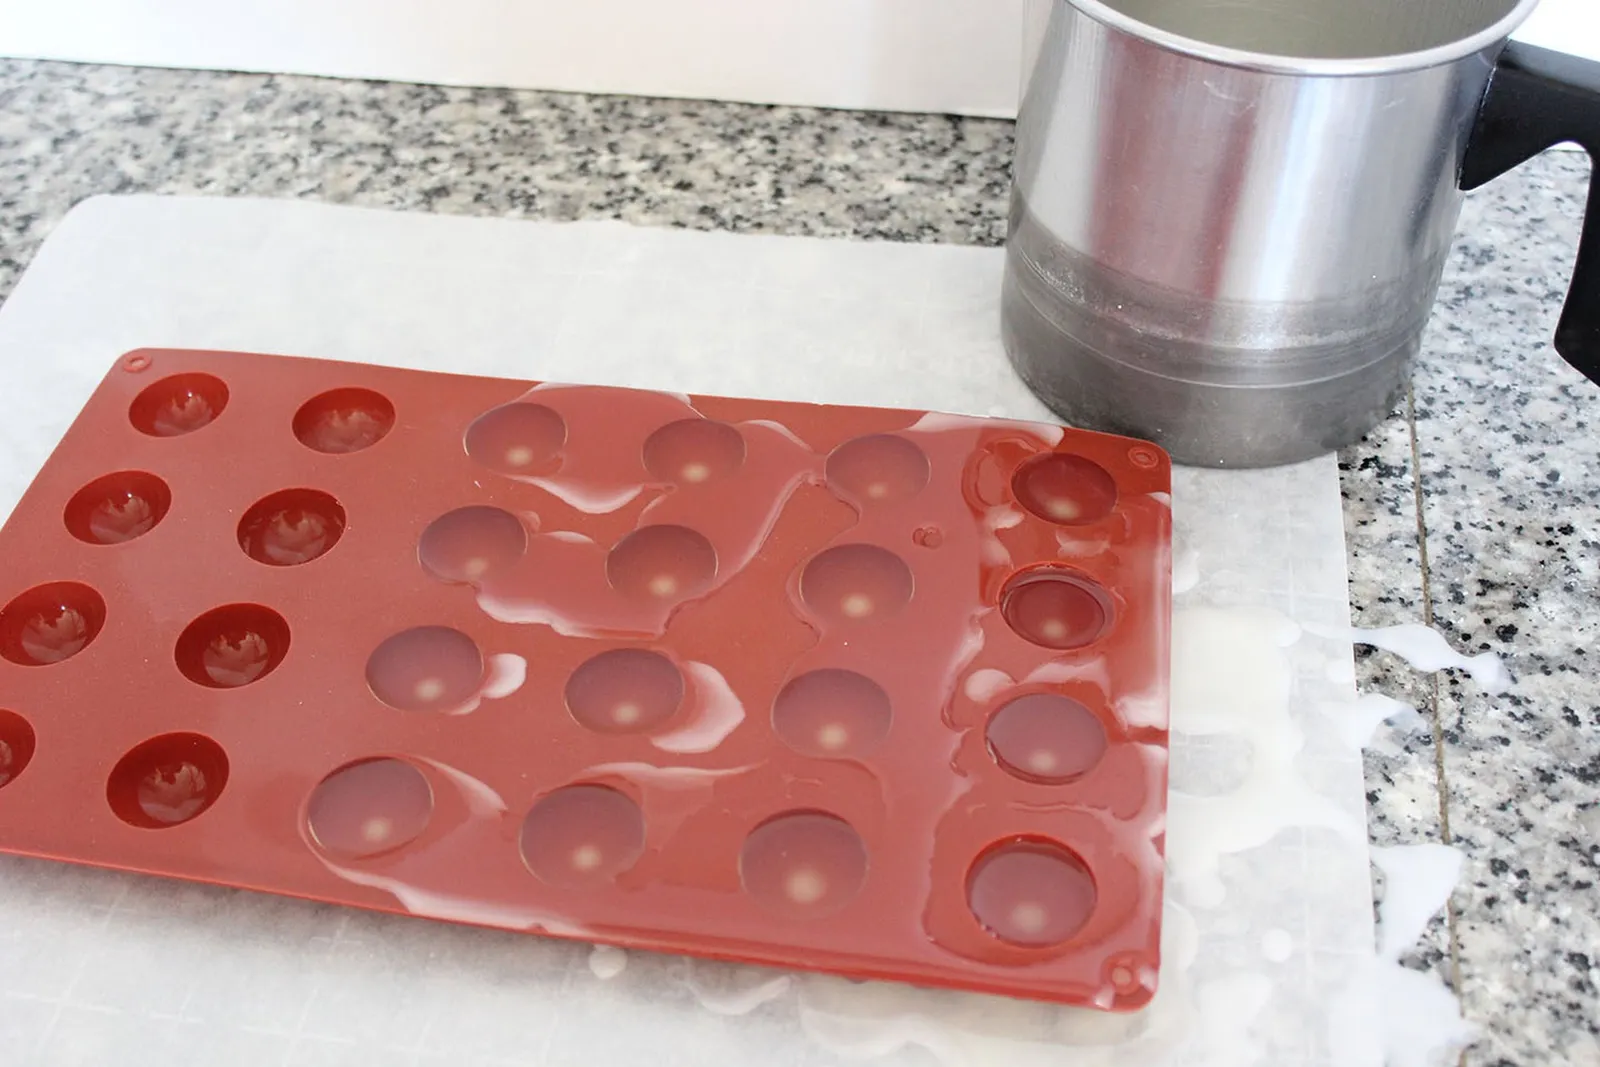
The wax takes roughly an hour to harden. Remove the semi-spheres from the mold and trim away any excess.
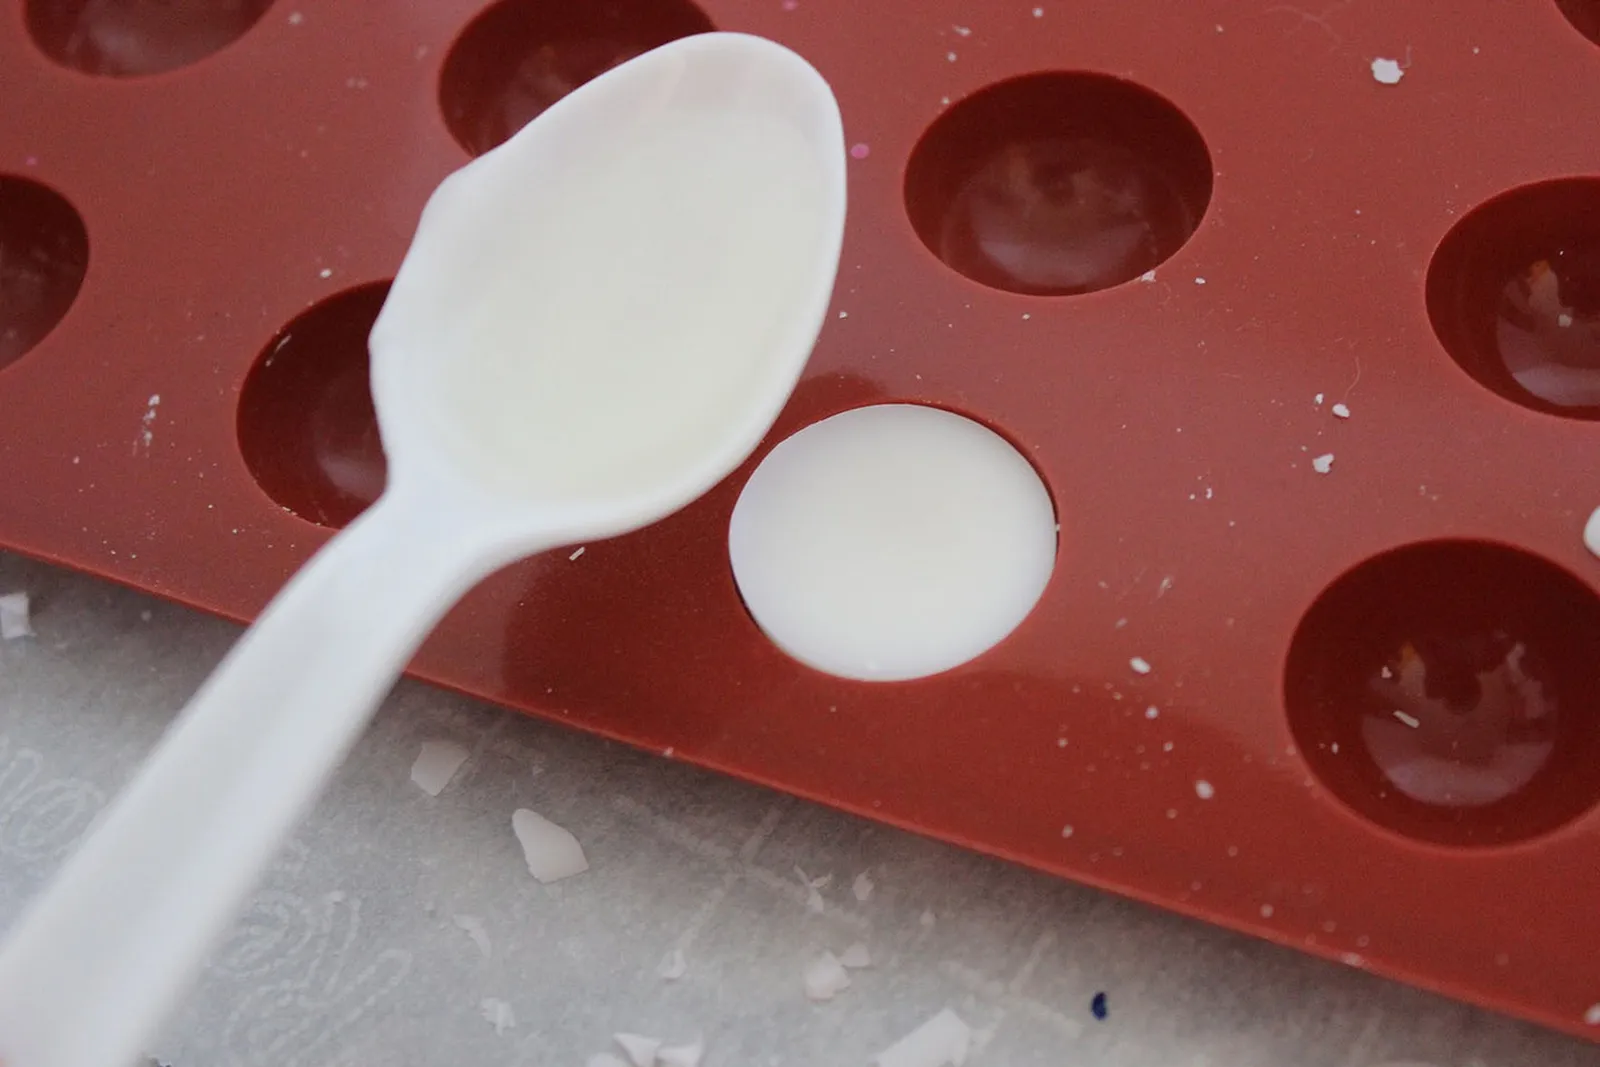
Join two halves into a sphere
To form an eyeball, fuse two semi-spheres together. Use a plastic spoon to drizzle melted wax onto the flat face of one semi-sphere.
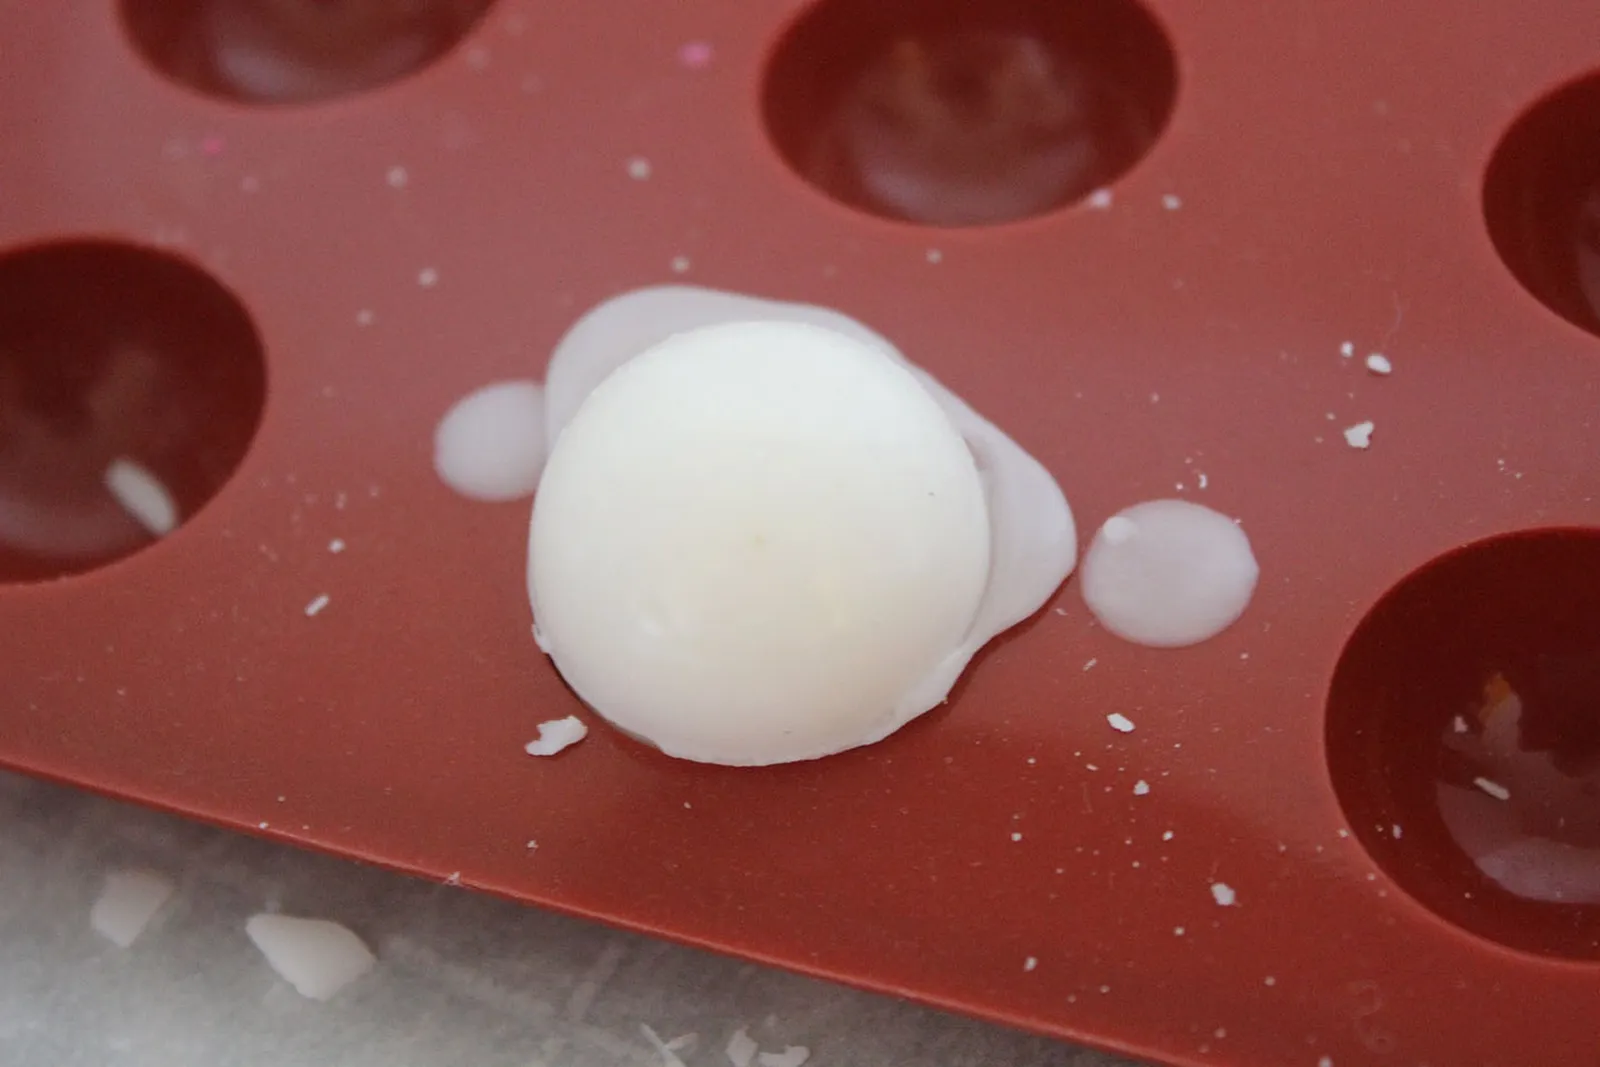
Press a second semi-sphere onto the first, using the melted wax as the adhesive. Hold the halves together until the wax cools and seals.
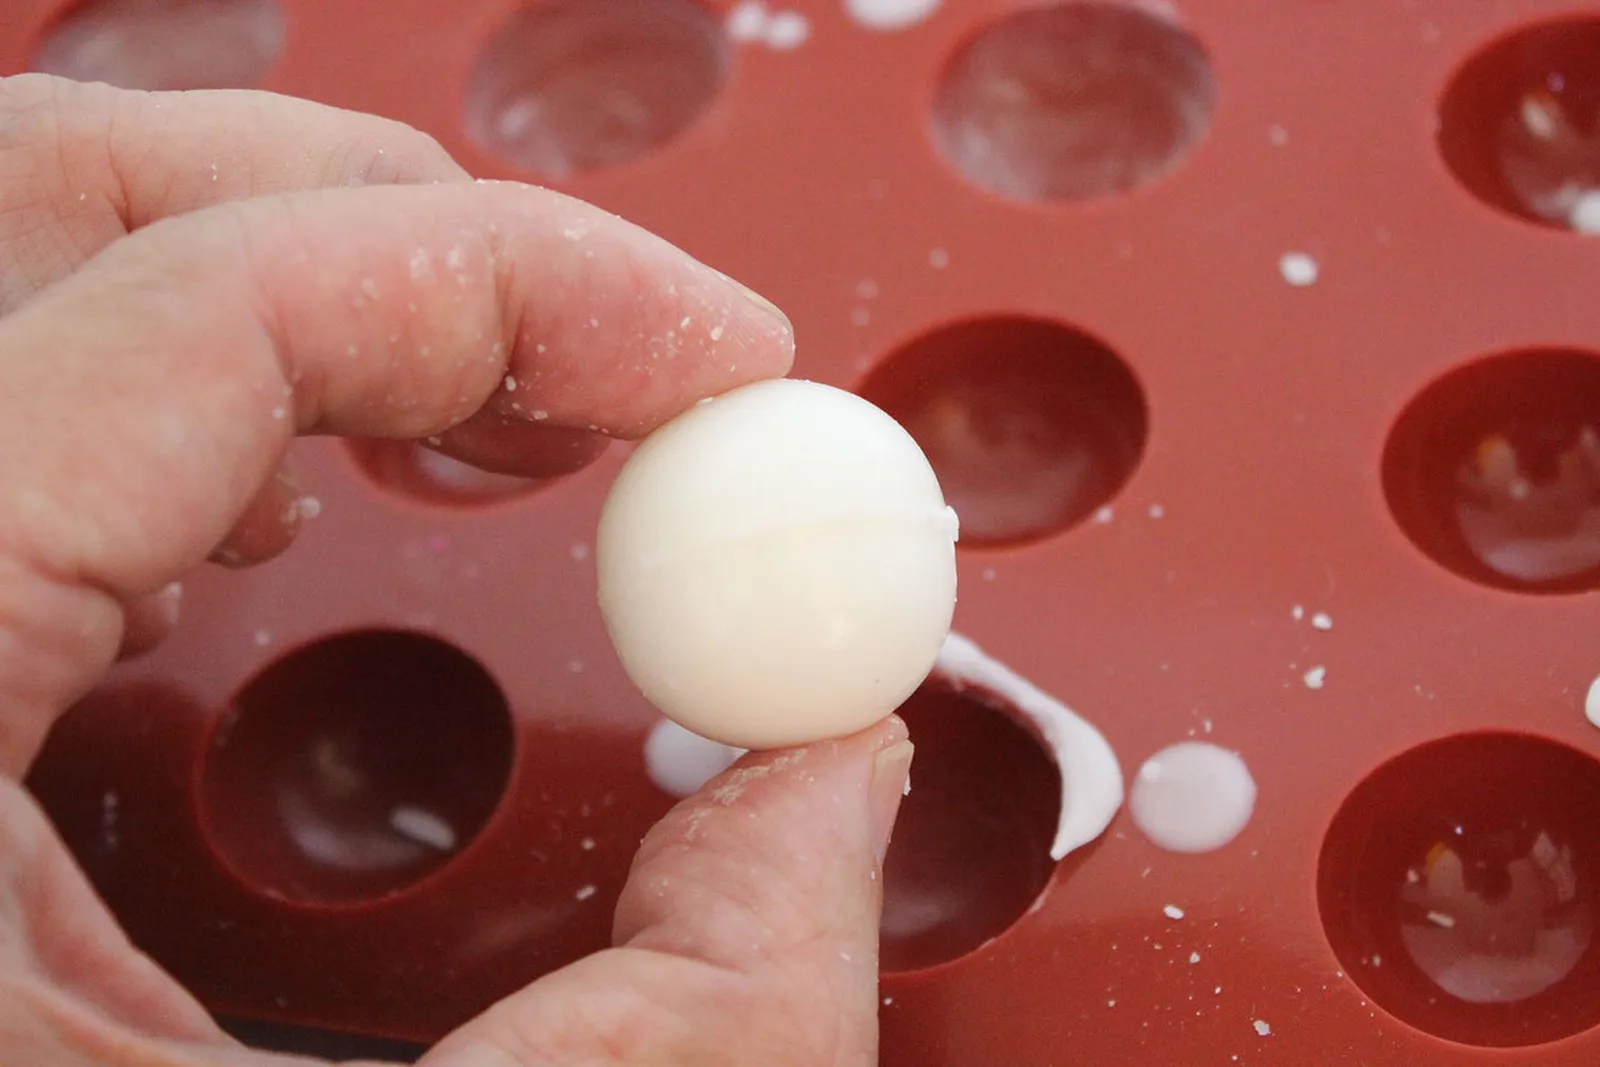
Wipe away any excess wax along the seam where the two halves meet.
Add the iris and pupil
Put some wax shavings into two shallow, heat-proof dishes. Peel the wrapper from a blue crayon and a black crayon, and add about half an inch of each crayon to the wax. (Blue irises are used here, but any iris color can be chosen.)
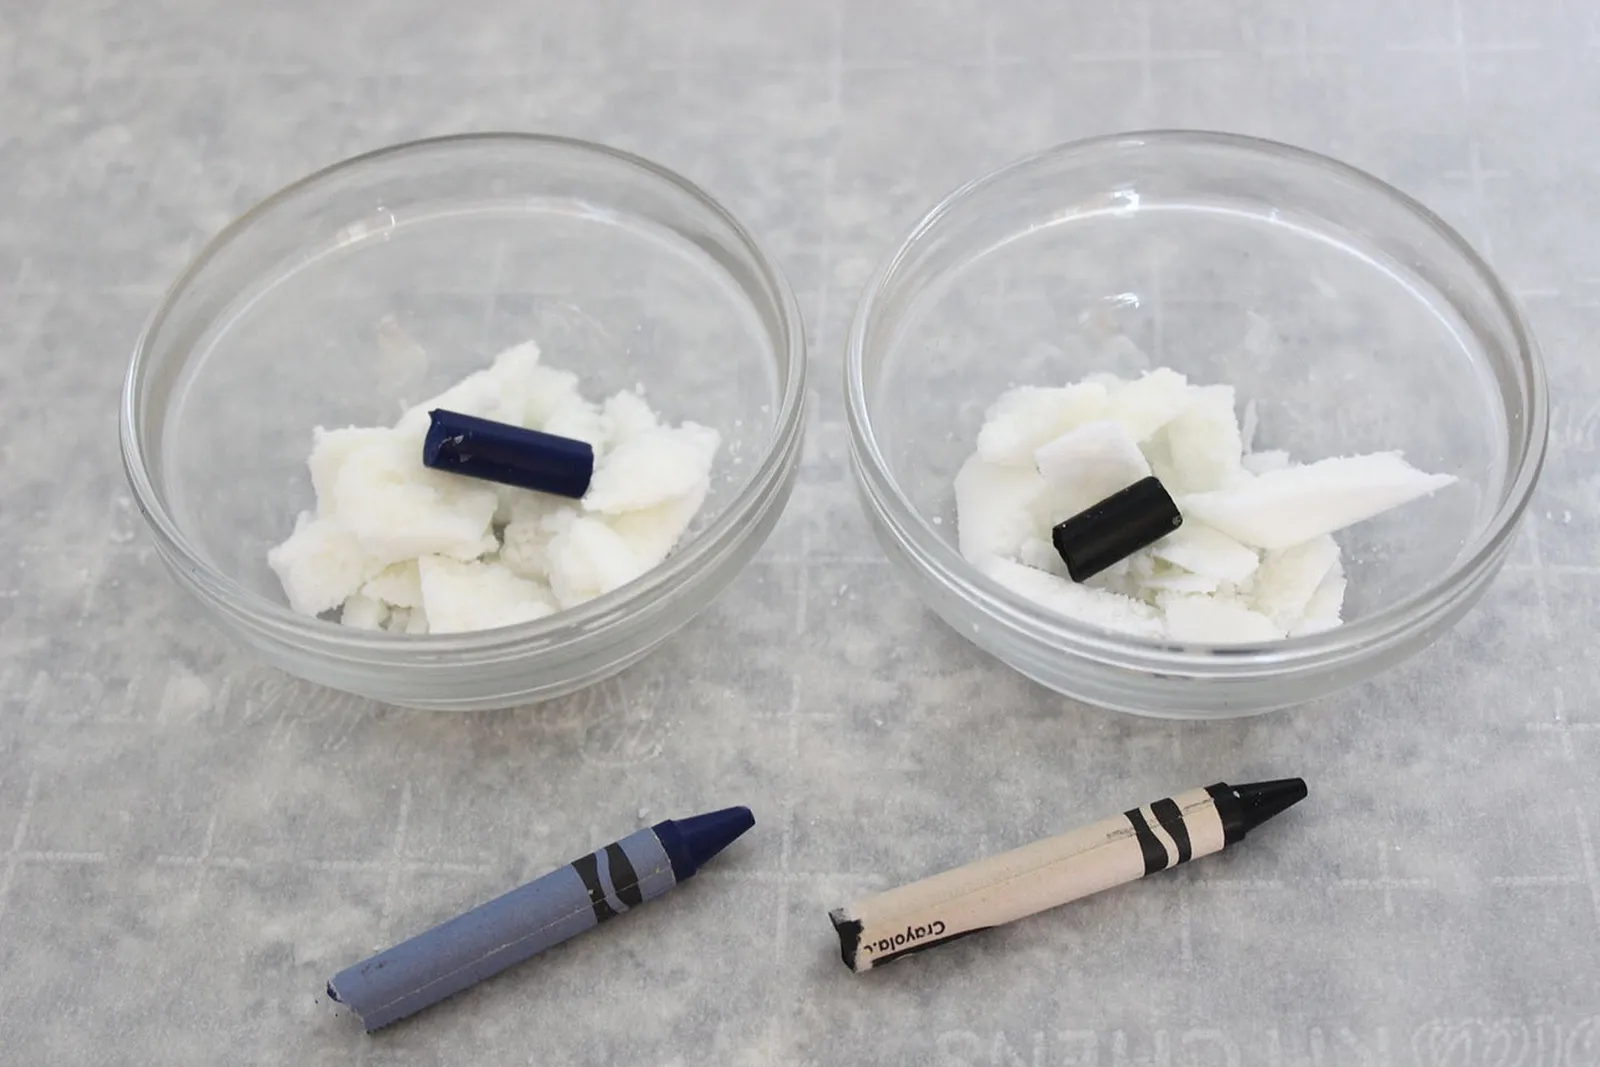
Heat about an inch of water in a saucepan; the water used to melt the wax can be reused. Turn off the stove, then set the bowl containing the blue crayon in the hot water. The wax and crayon will melt on their own fairly quickly; a skewer can be used to stir and speed the process.
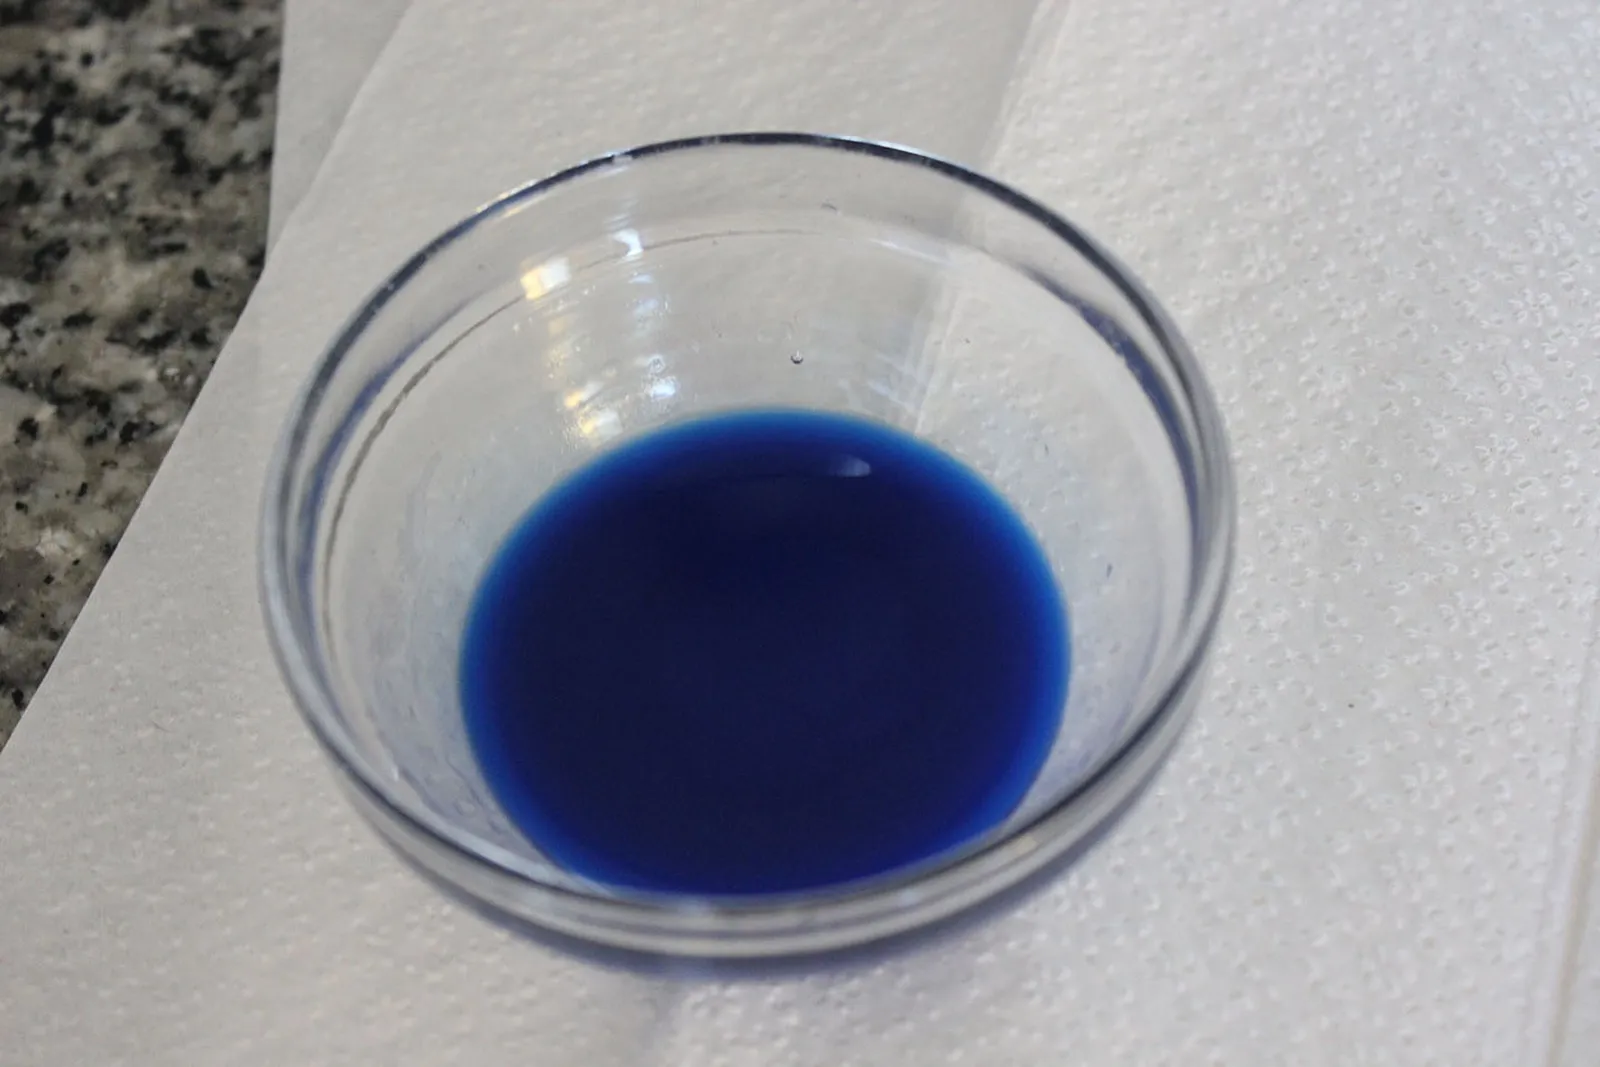
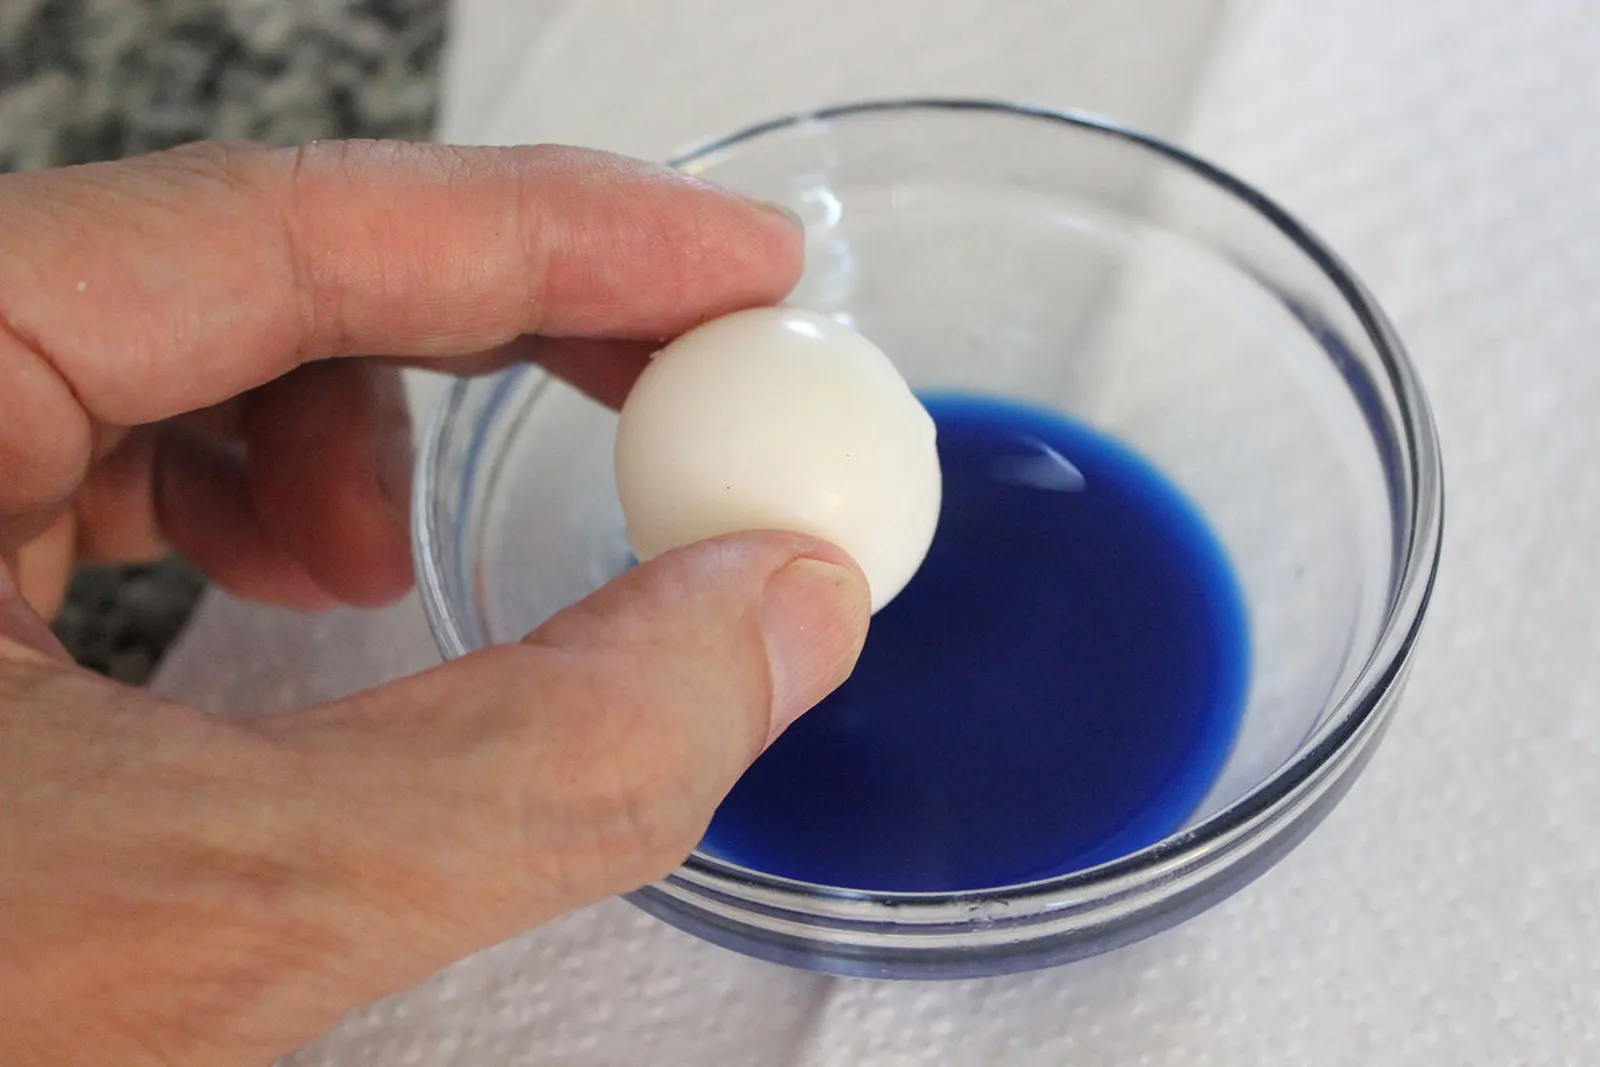
Dip an eyeball into the melted blue wax to form the iris.
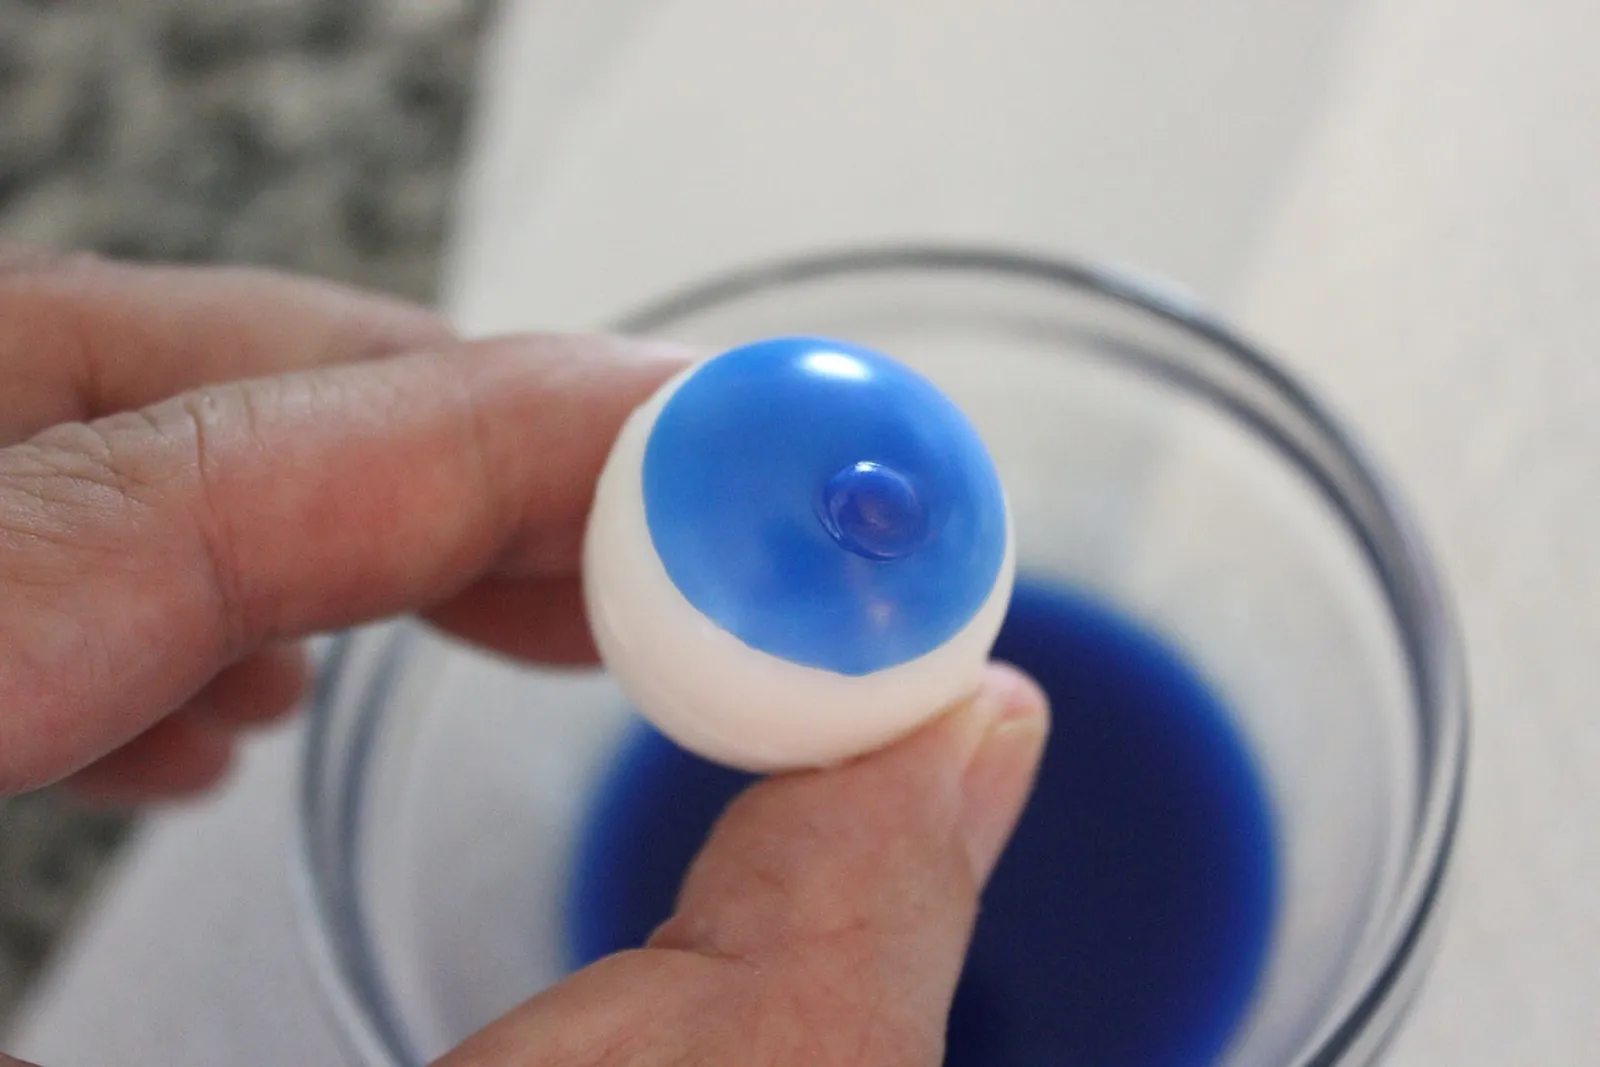
Allow it to dry for about a minute.
Melt the wax in the bowl with the black crayon.
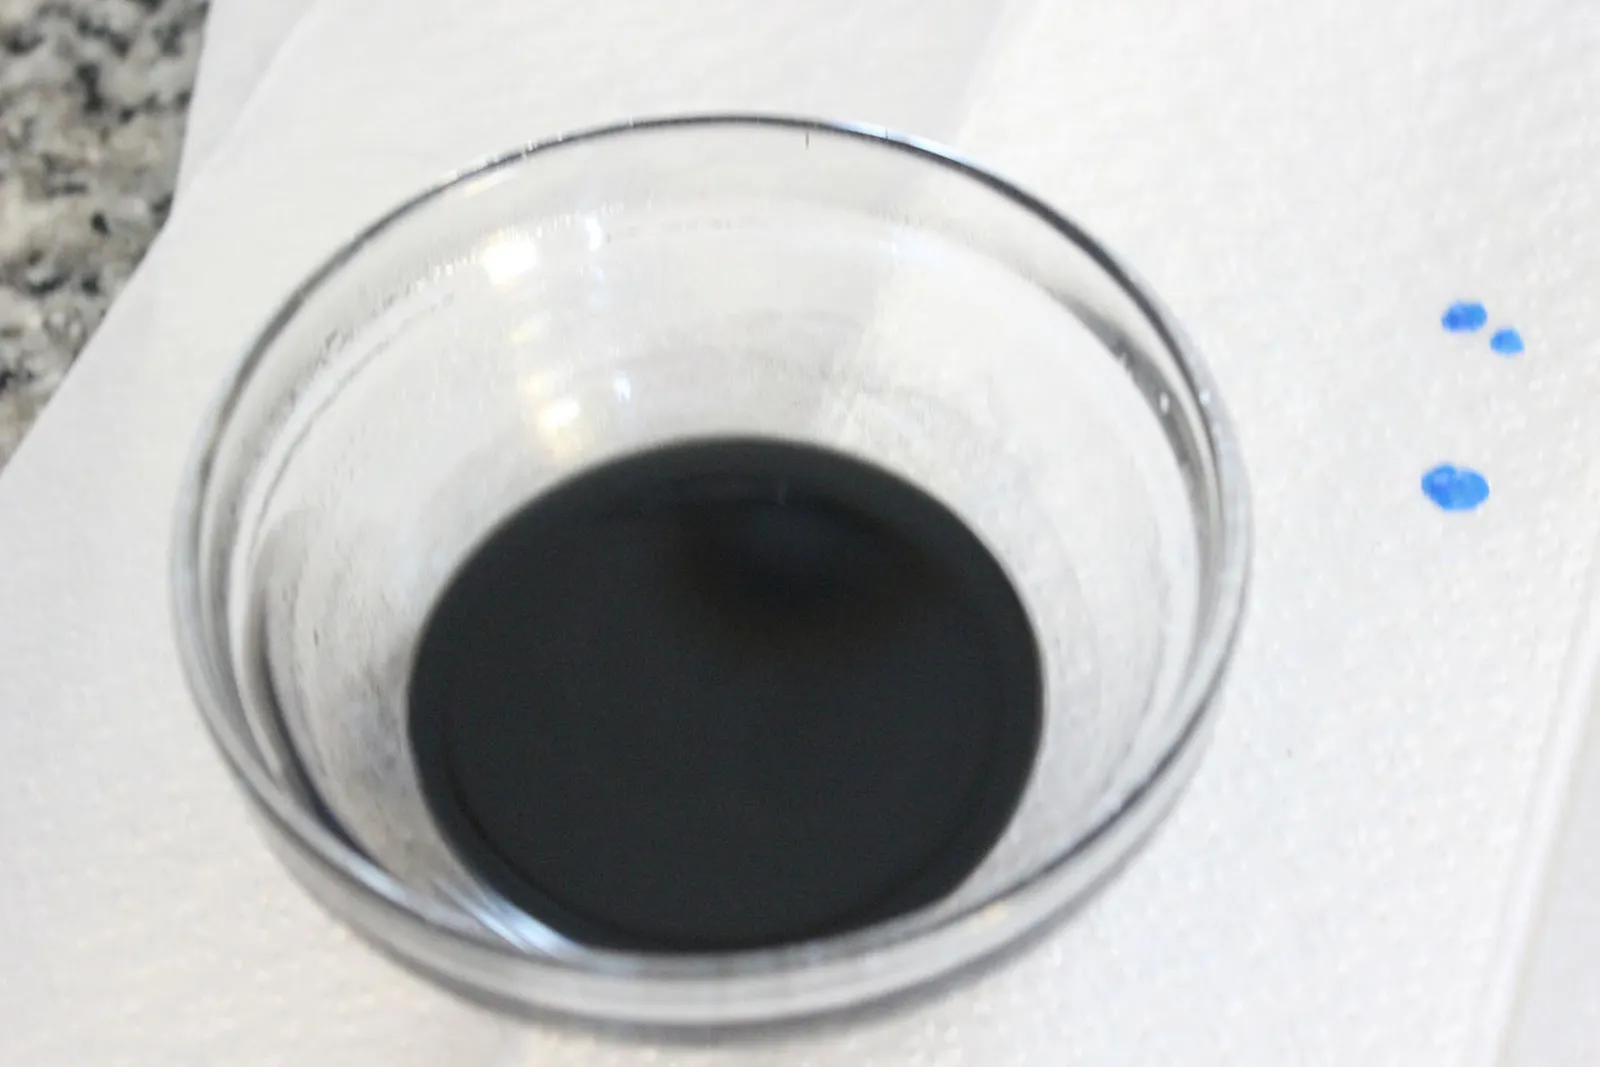
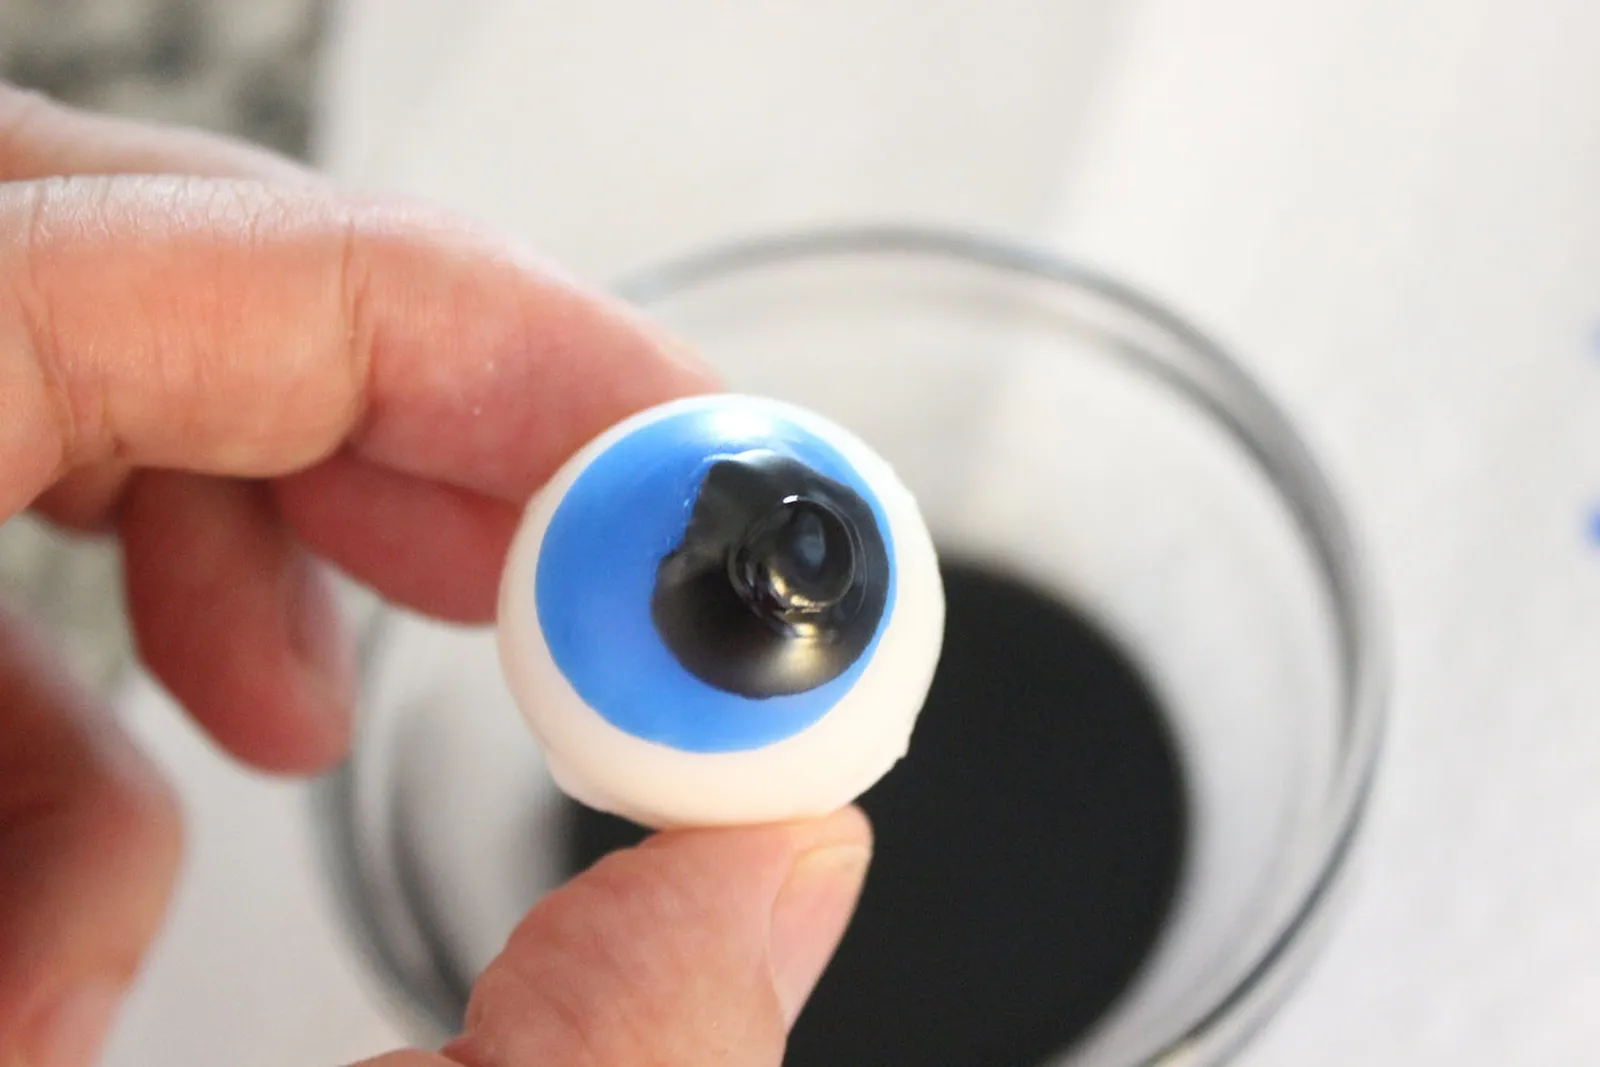
Dip the eyeball into the melted black wax to create the pupil; make sure the pupil is smaller than the iris. Let it dry for about five minutes.
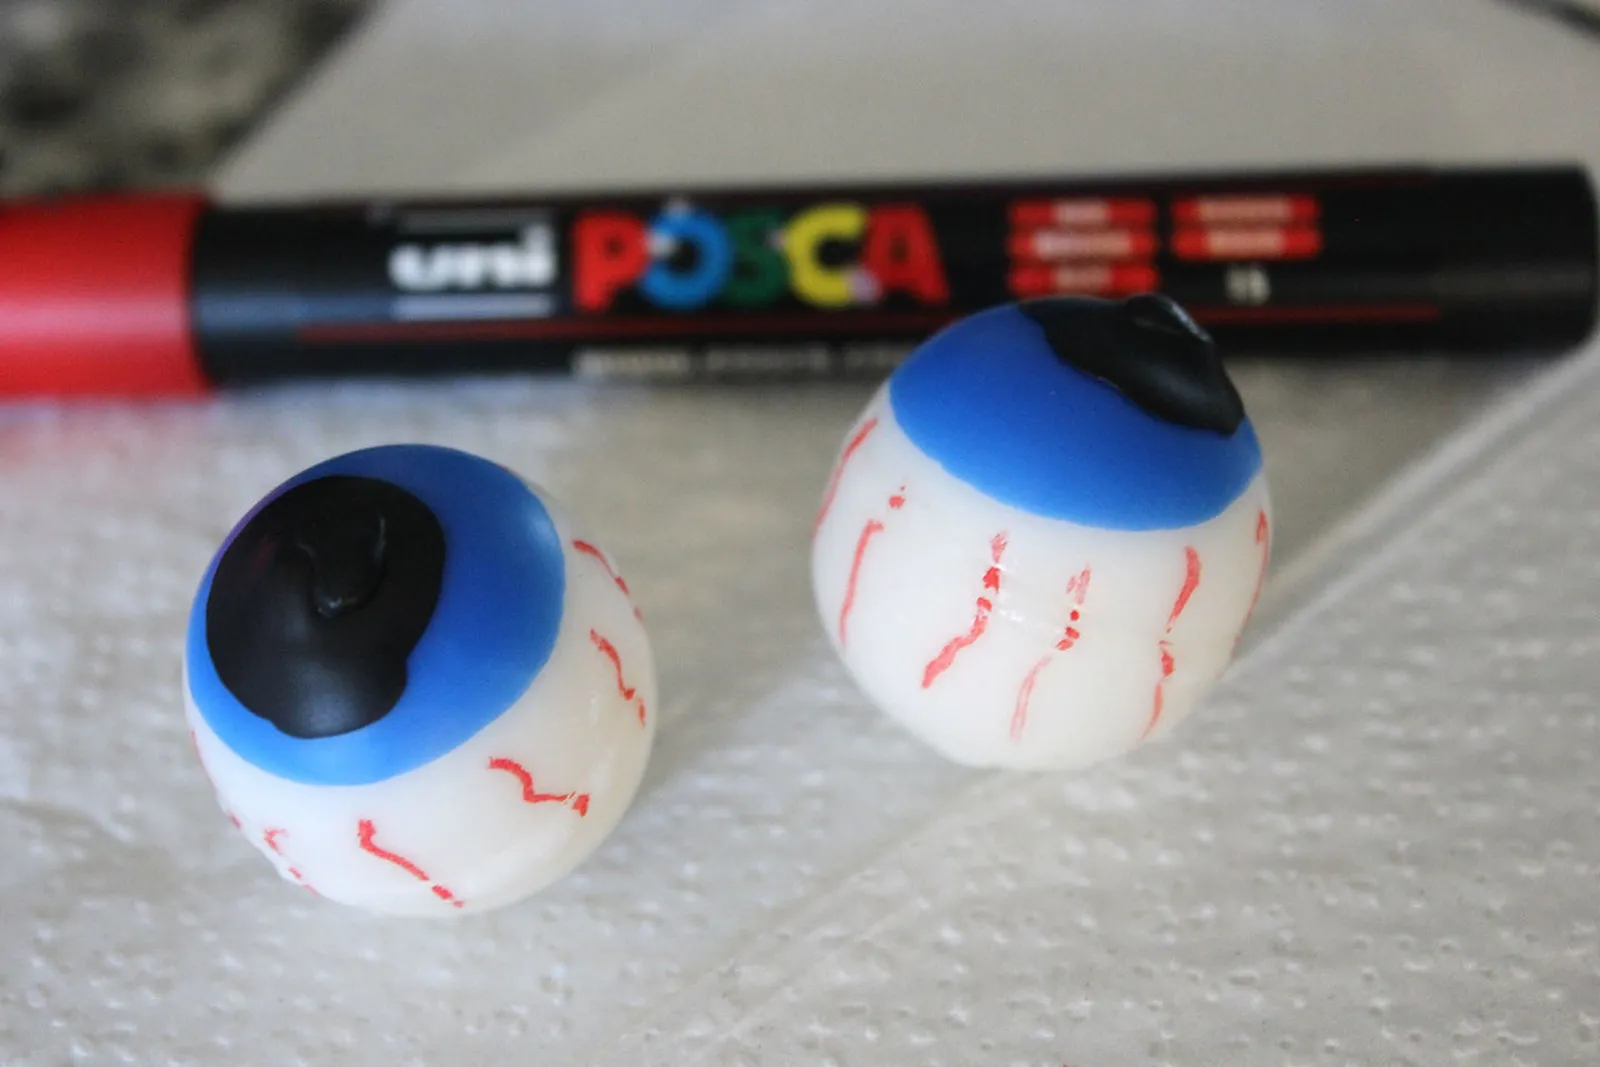
The bloodshot veins are what give the eyeballs their unsettling look. To make the eyes bloodshot, draw squiggly lines with a red acrylic paint marker; a brand such as Posca is recommended because the paint is not flammable.
Assembling the Beaker Candle
Set up the beakers
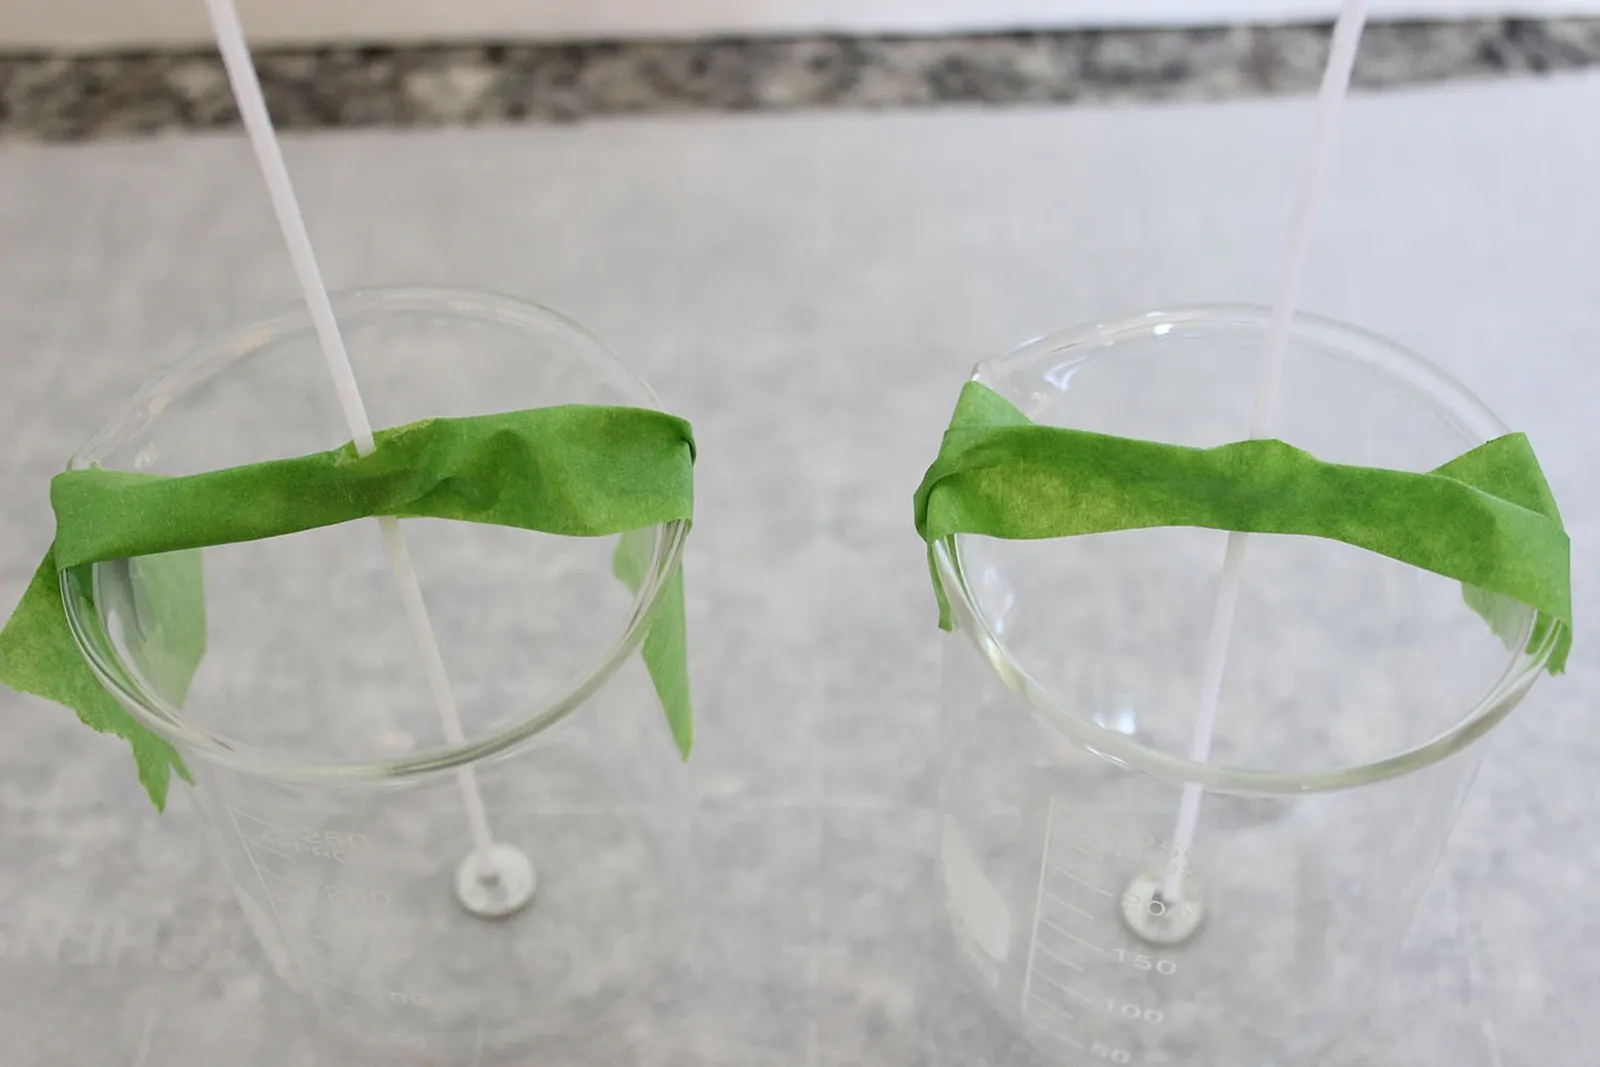
A 250 ml beaker works well for these candles, though larger beakers can be used if preferred. Take a candle wick with a metal tab and stick a glue dot to its bottom. Thread a drinking straw over the wick to guide it into the beaker, then use the straw's tip to press the glue dot onto the bottom of the beaker. Remove the straw.
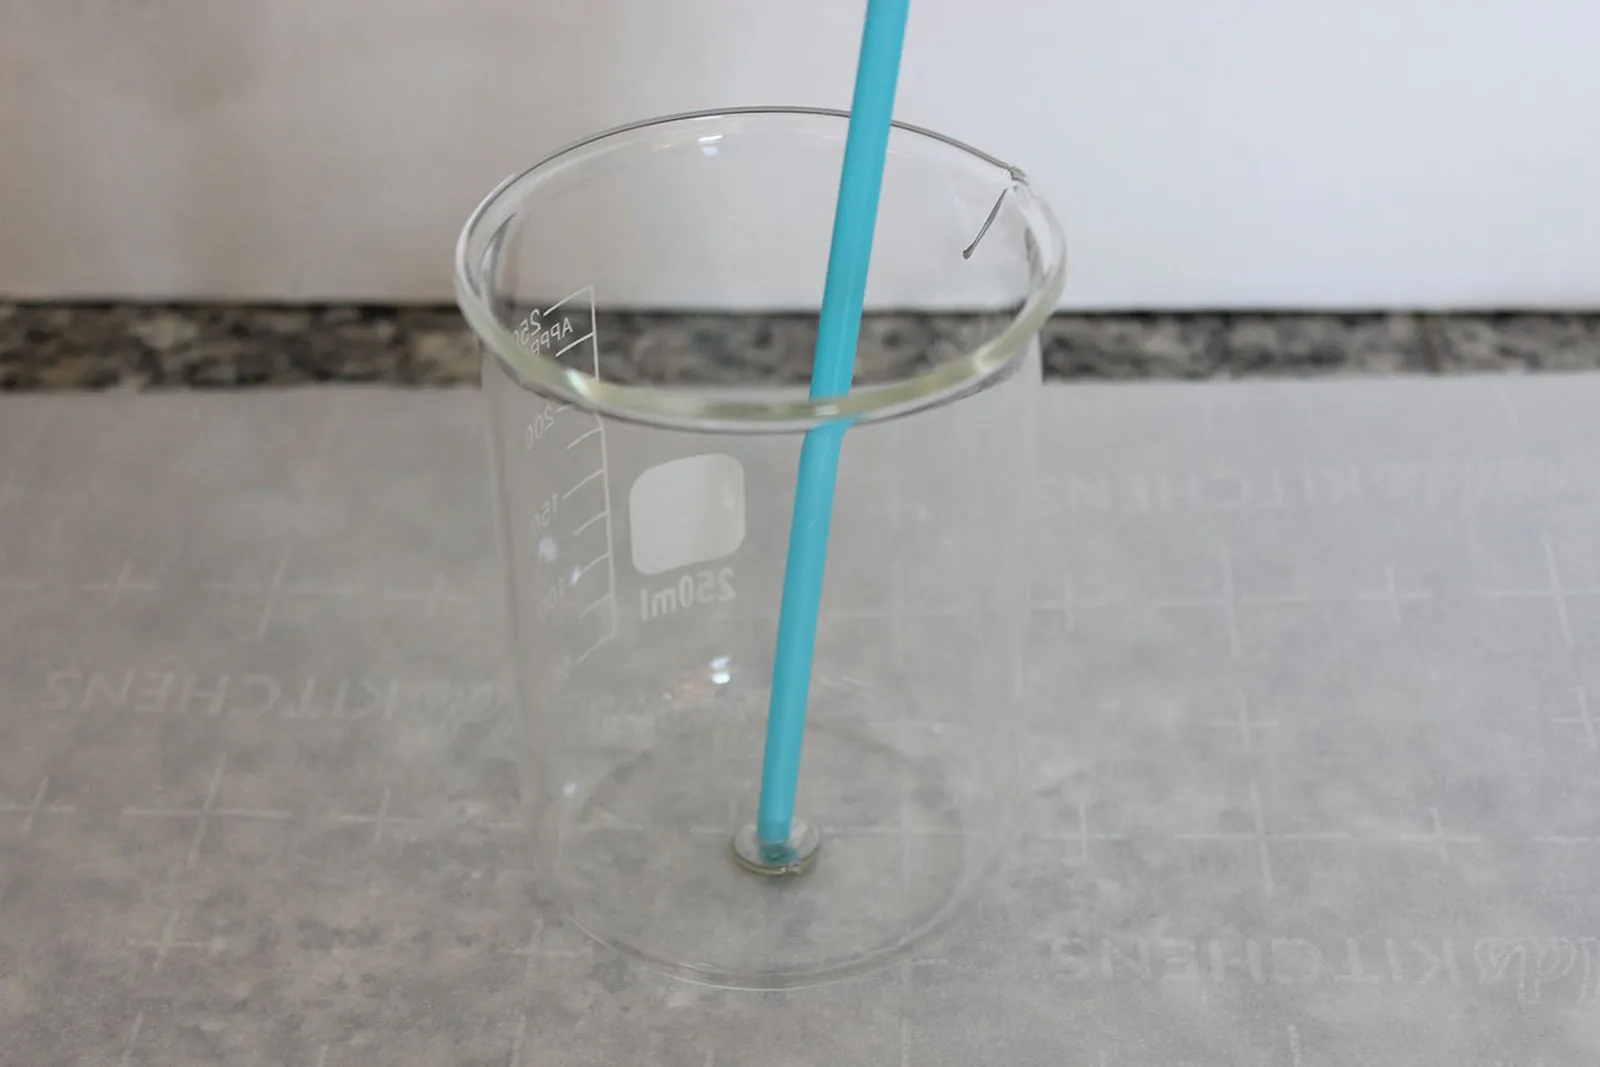
To keep the wick upright, tear off a piece of masking tape longer than the beaker's diameter and cut a slit in the center. Pass the wick through the slit, stick the tape to the sides of the beaker, and pinch the tape around the wick to hold it steady.
Pour the wax
Shave more wax and melt it in the pouring pot.
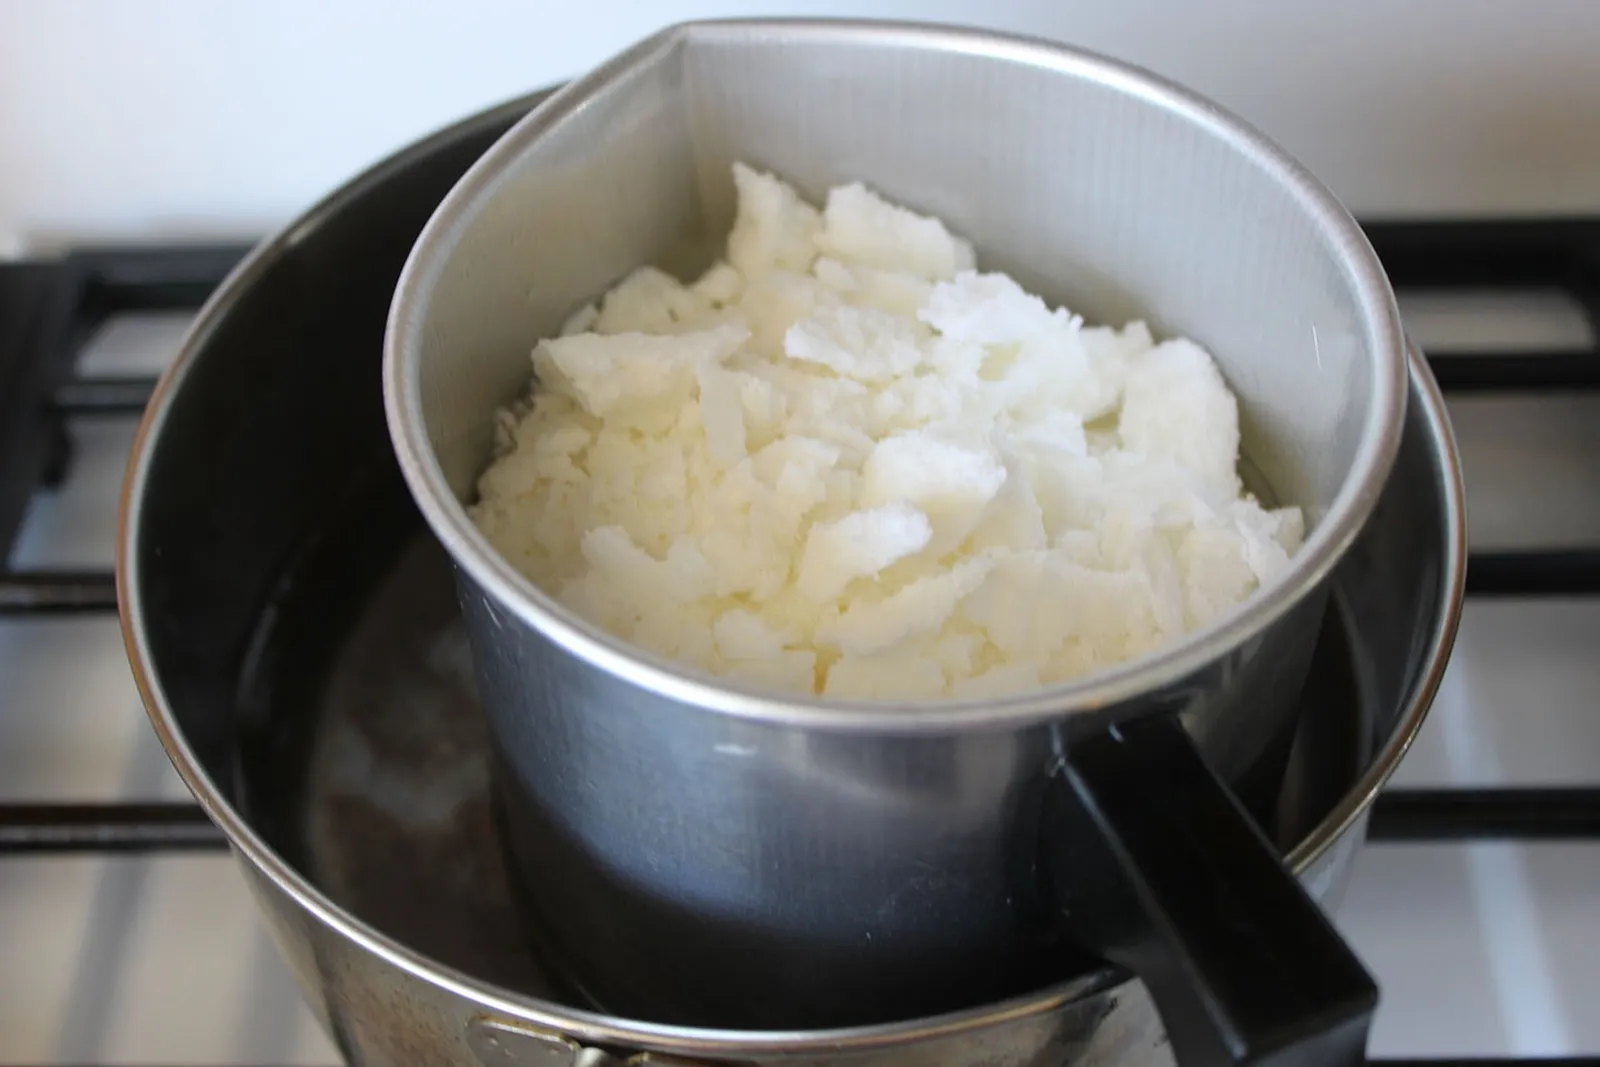
Fill the beaker with melted wax to about half an inch below the rim. Let the wax cool and harden overnight. Even after the candle looks white and solid, the center may still be liquid, so leave it undisturbed until the next day.

Adding the Blood Effect
Prepare the "blood"
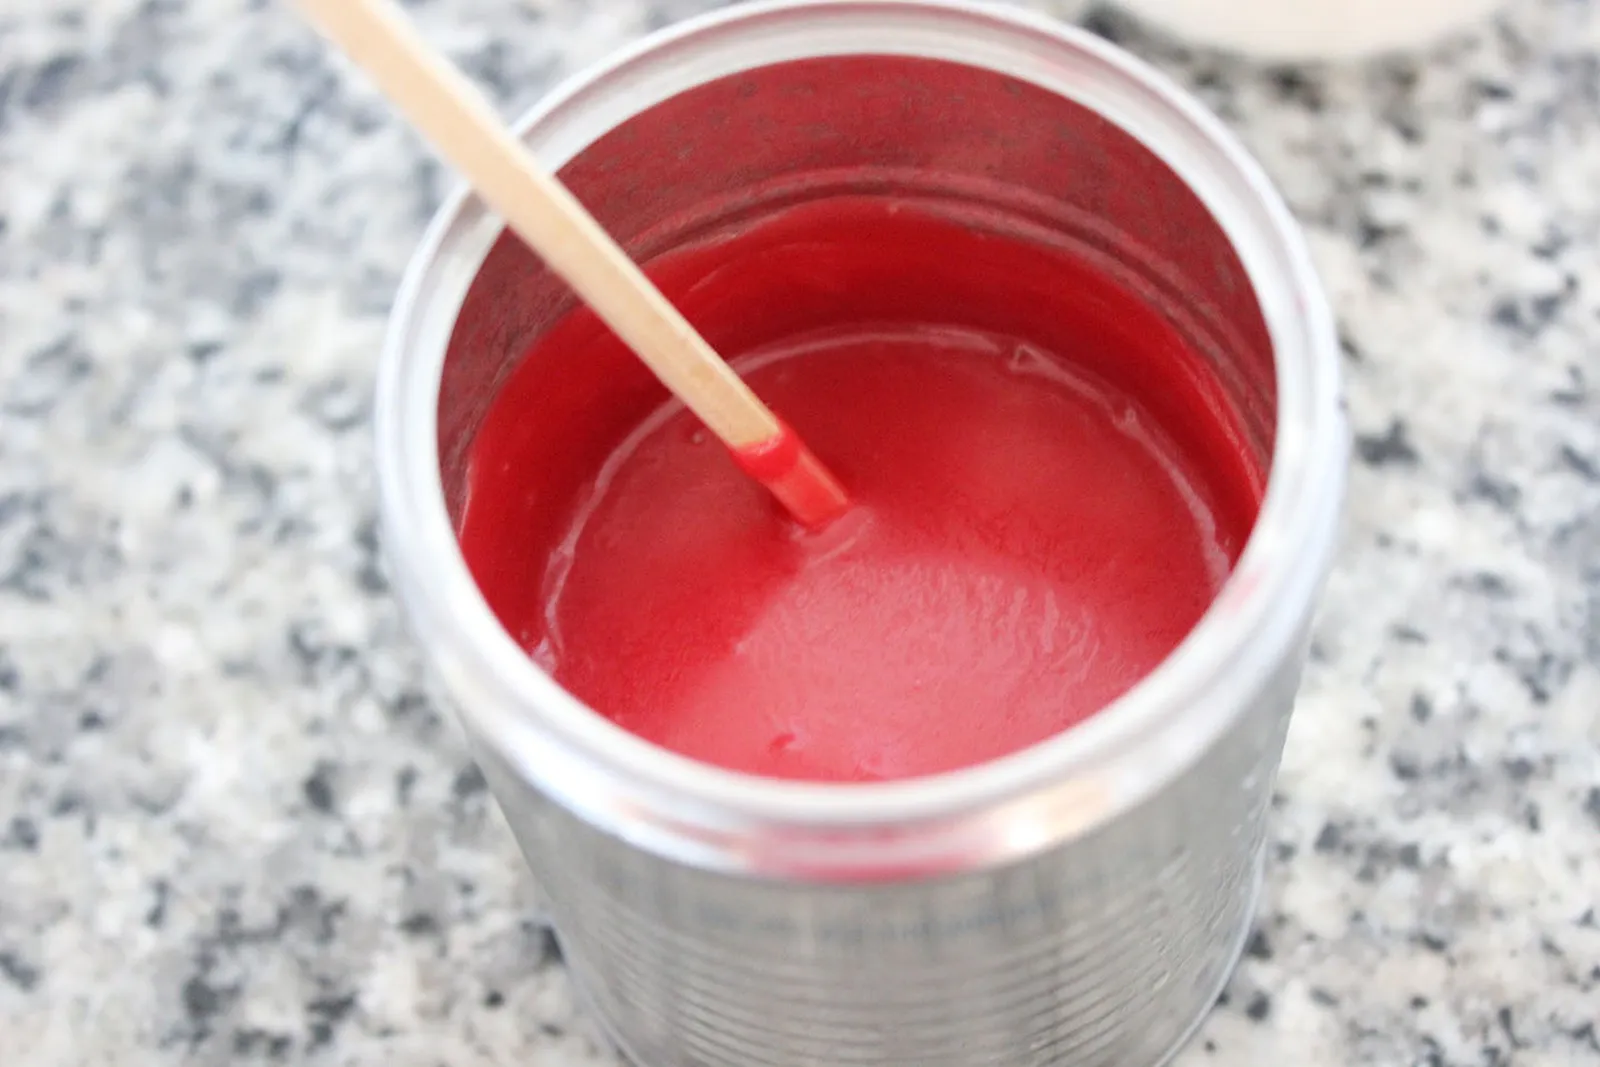
Put wax shavings into a clean tin can and add a red crayon; use at least an inch of the crayon, or the whole crayon for a more intense color.
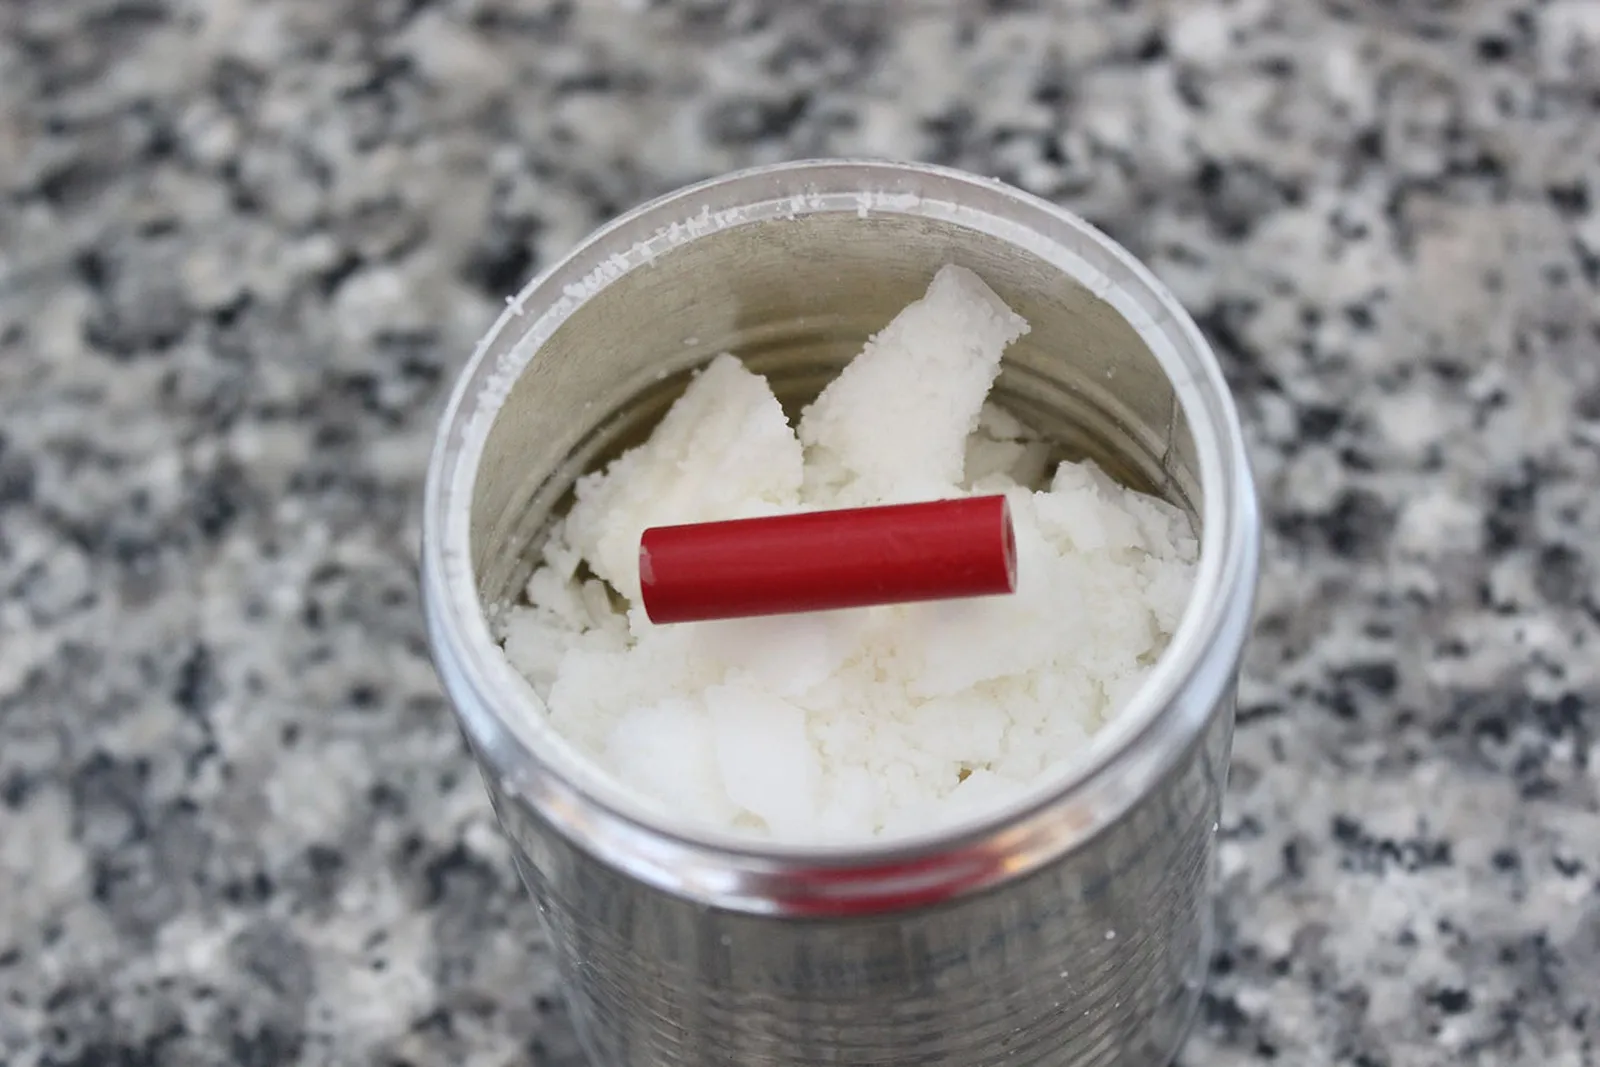
Melt the wax using the double boiler method: set the can in a saucepan of hot water over low heat.
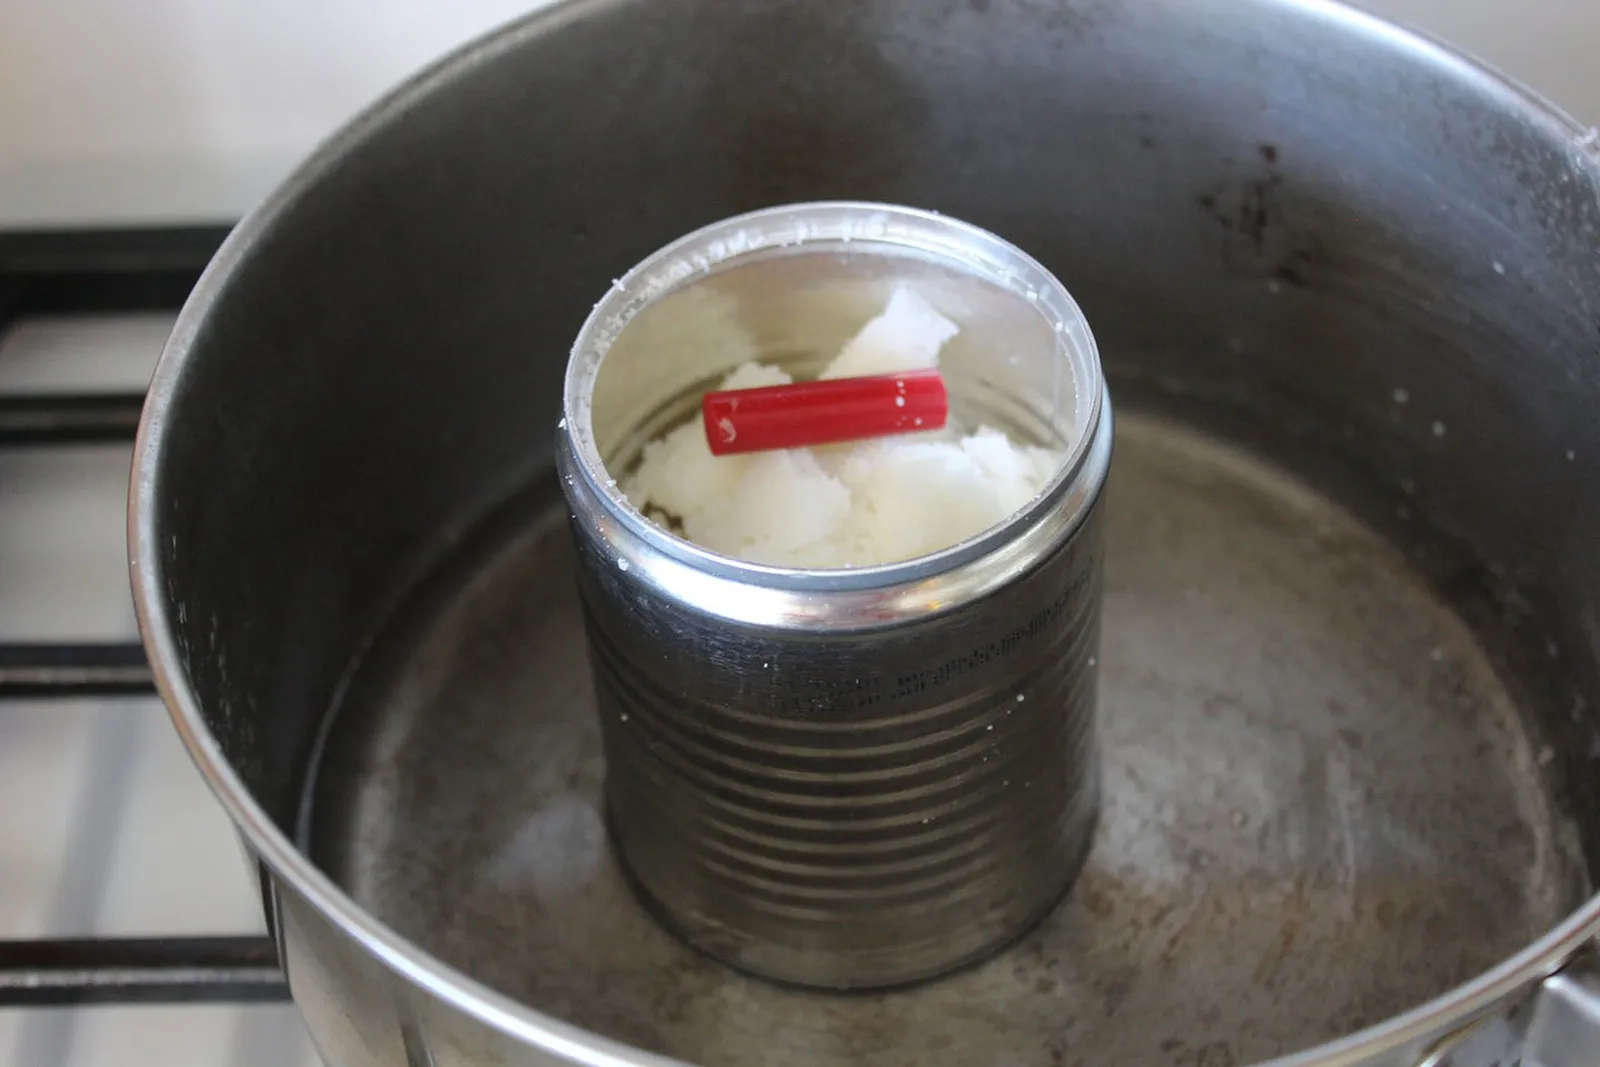
After the wax has melted, let it cool while stirring constantly until it reaches the consistency of strawberry syrup. When the wax is liquid but thick, it is easier to control.
Drip the "blood"
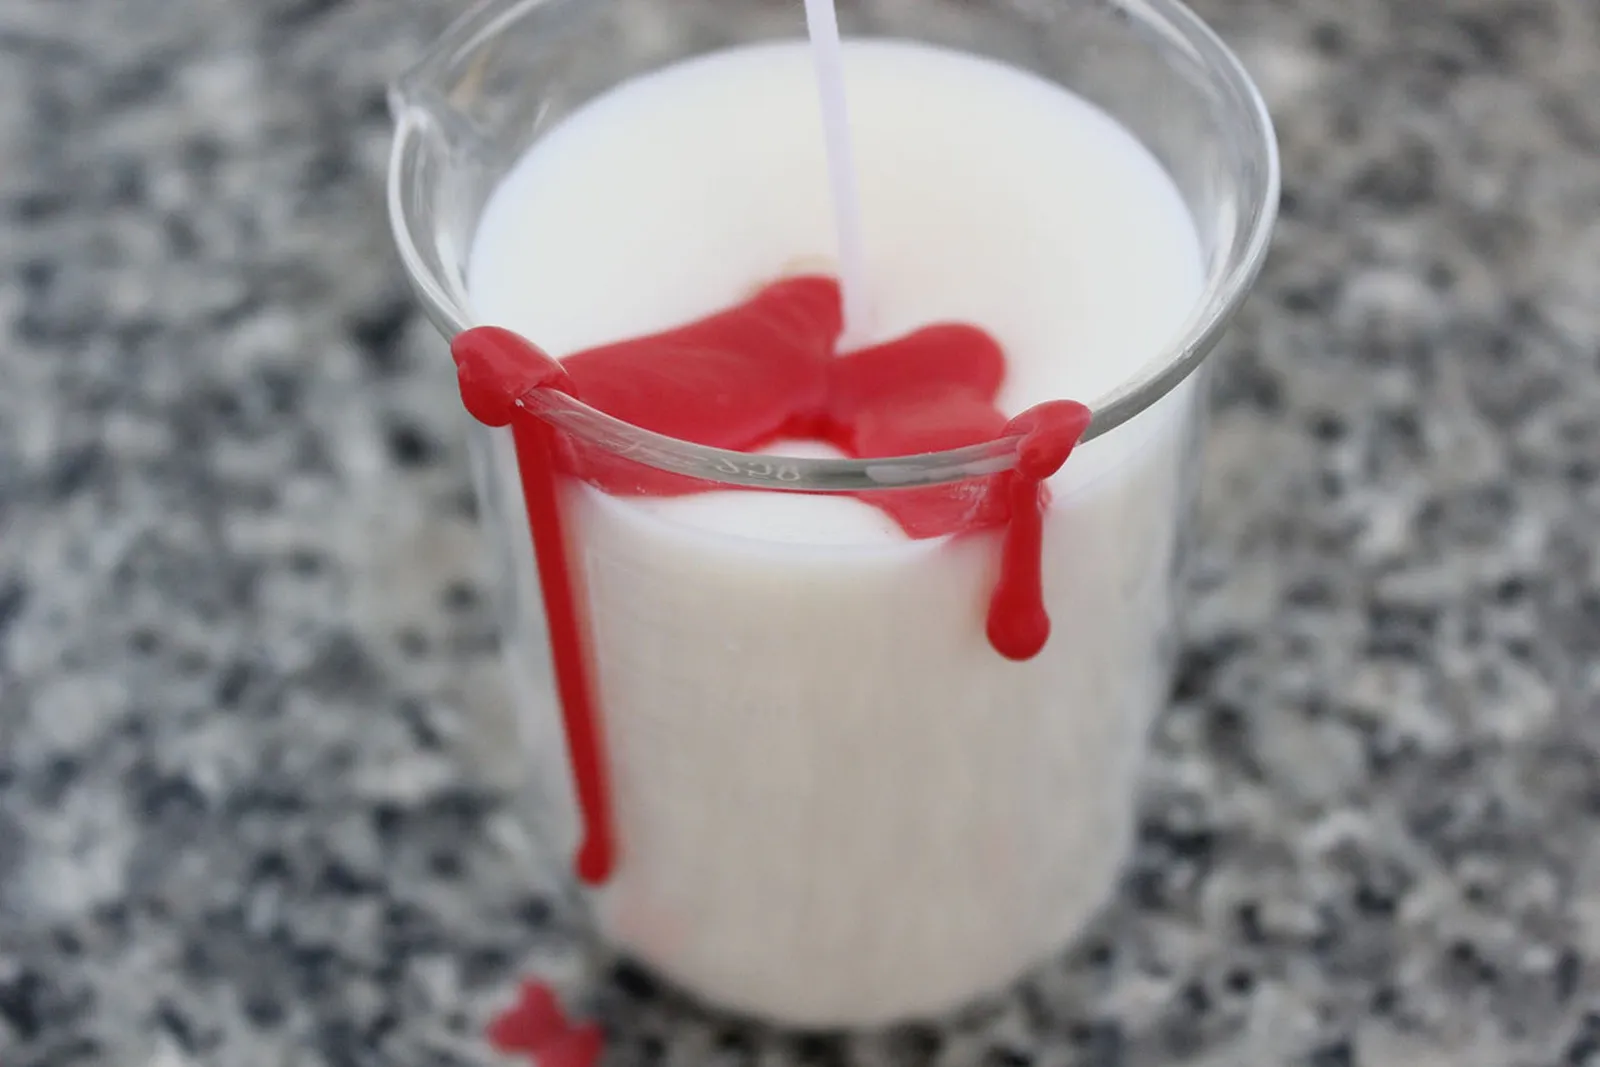
Pour the red wax over part of the candle's top, letting some drip over the beaker's rim to mimic running blood.
Attach the eyeballs
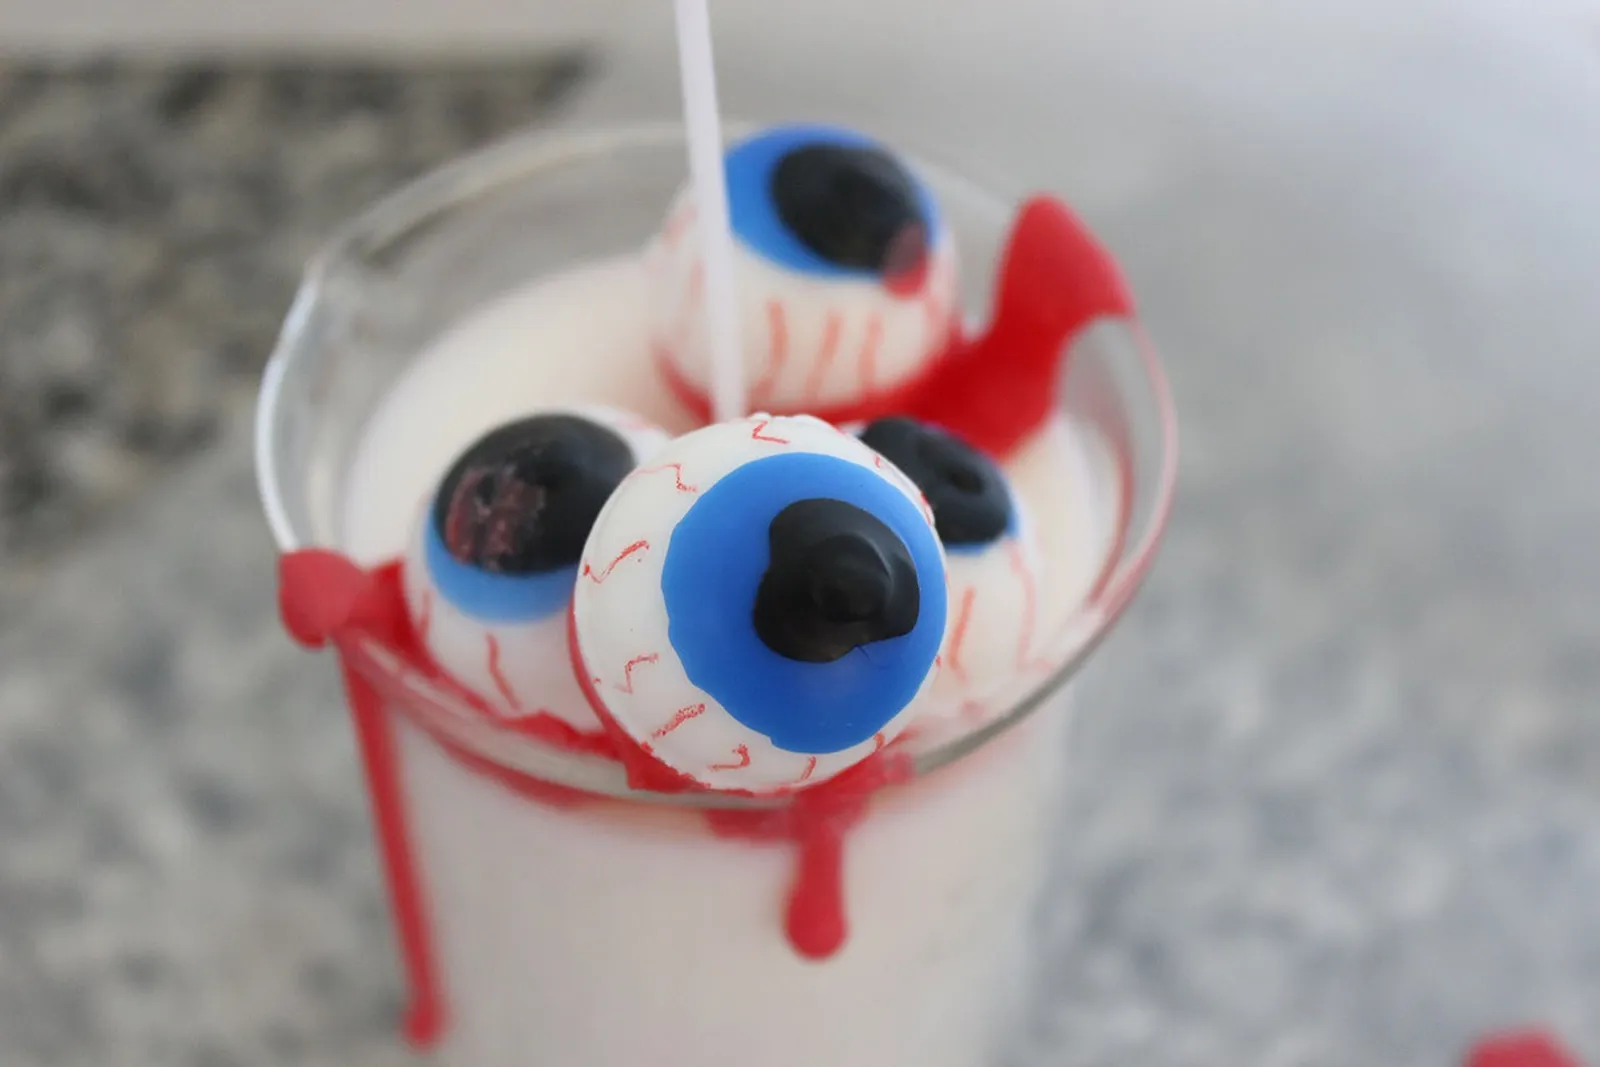
Dip the eyeballs in the red wax and press them onto the candle, using the melted red wax as glue. As the wax hardens, the eyeballs lock in place. Stack some eyeballs for a more gruesome effect.
Drizzle a little more red wax over the eyeballs.
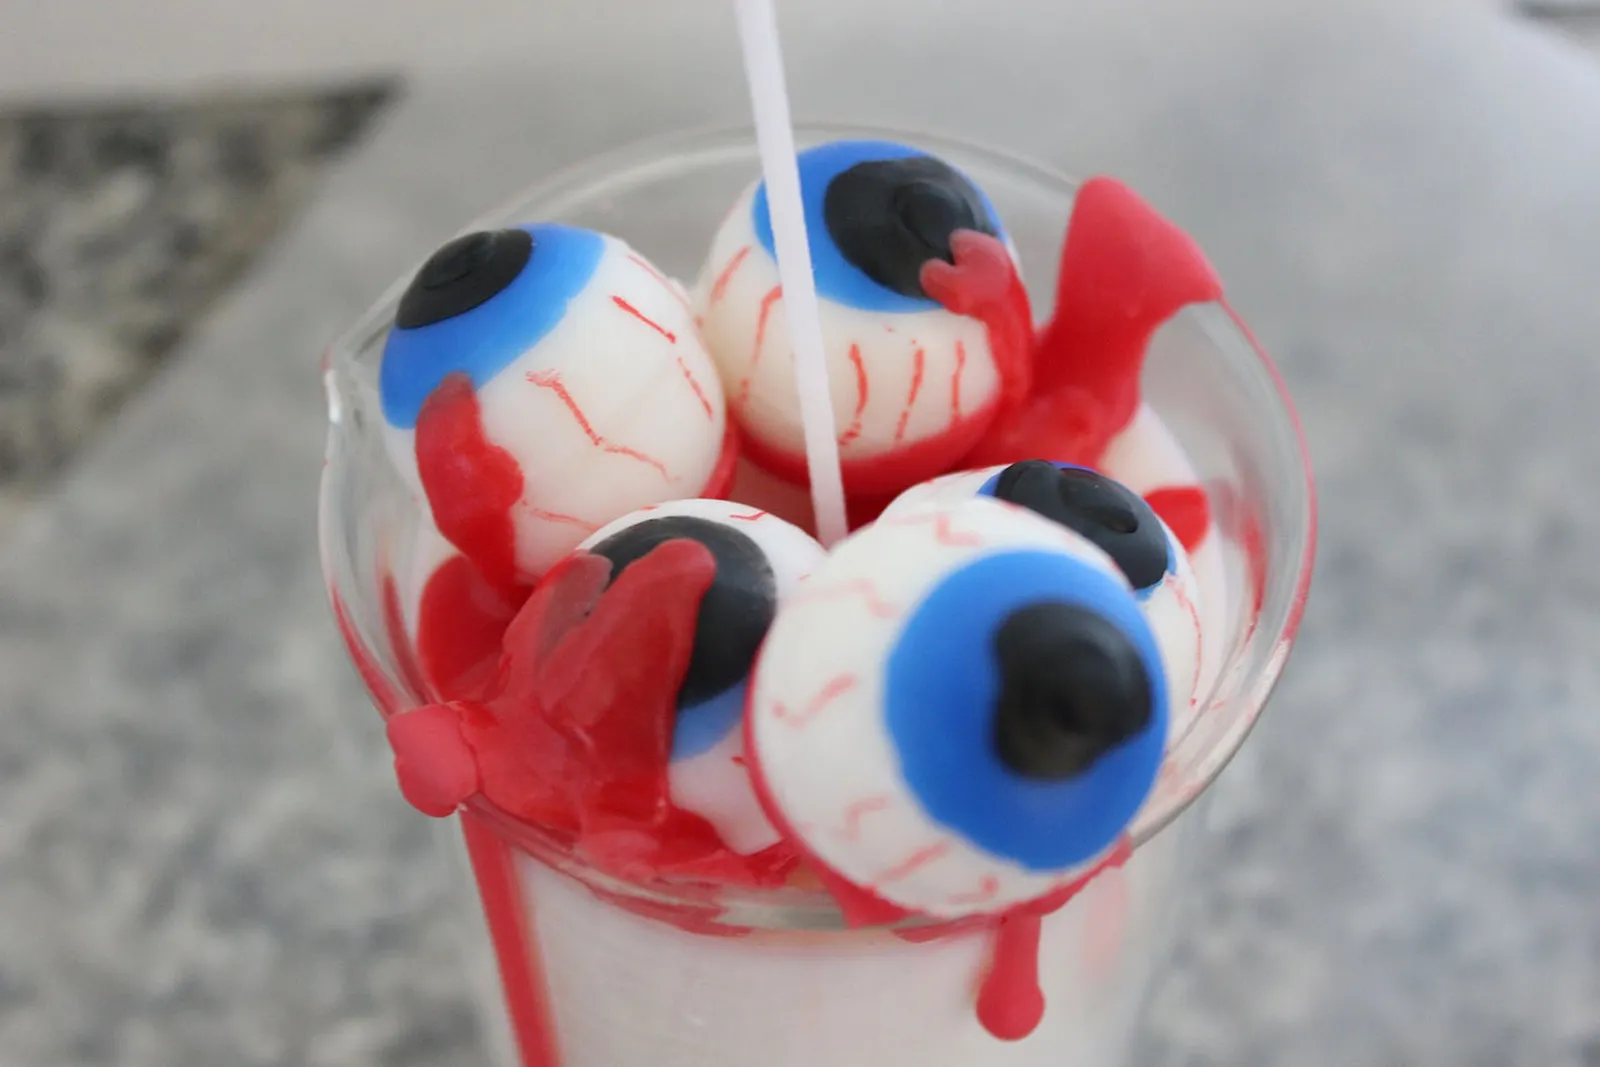
Trim the wick, and the creepy candle is complete.
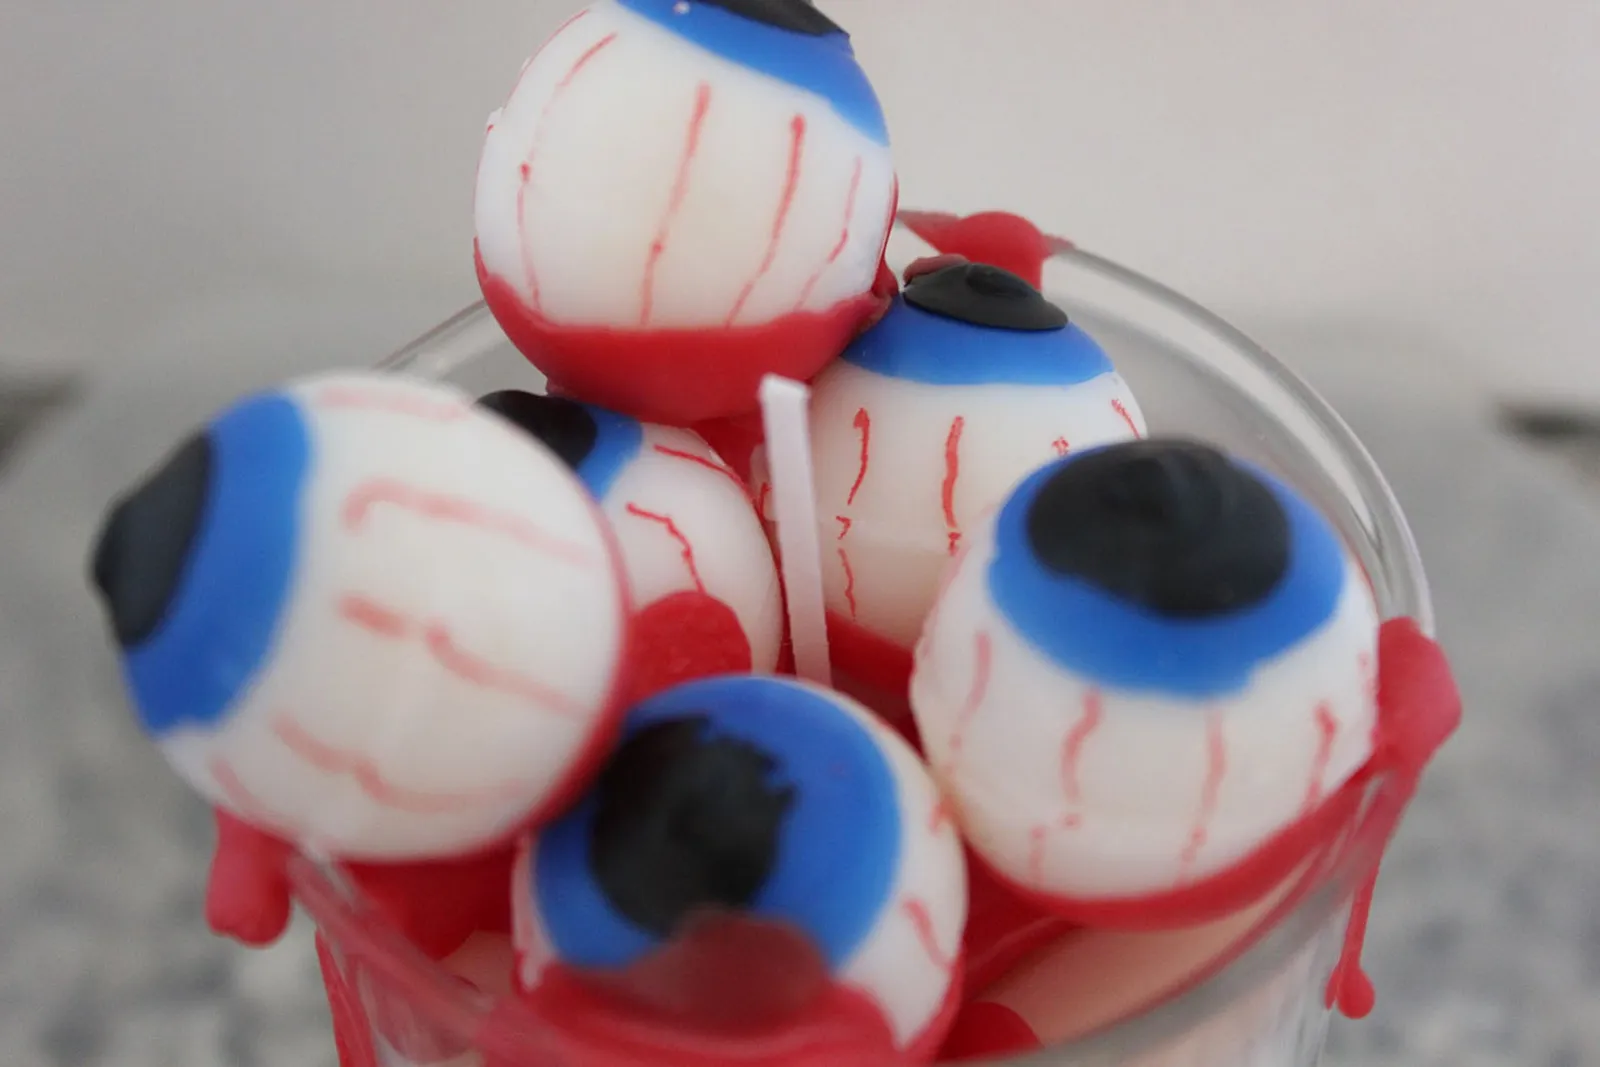
All eyes will definitely be on this candle for Halloween.